
Rachio 3 Smart Sprinkler Controller Review (After One Full Summer): The “Set It and Forget It” Upgrade That Actually Works
It’s been about a year since I installed the Rachio 3 smart sprinkler controller, and after one full summer of real-world use, I can confidently say: I’m a fan. The big win for me is that it doesn’t just automate my sprinklers, it helps me water smarter, with fewer “oops” moments and way less guesswork.
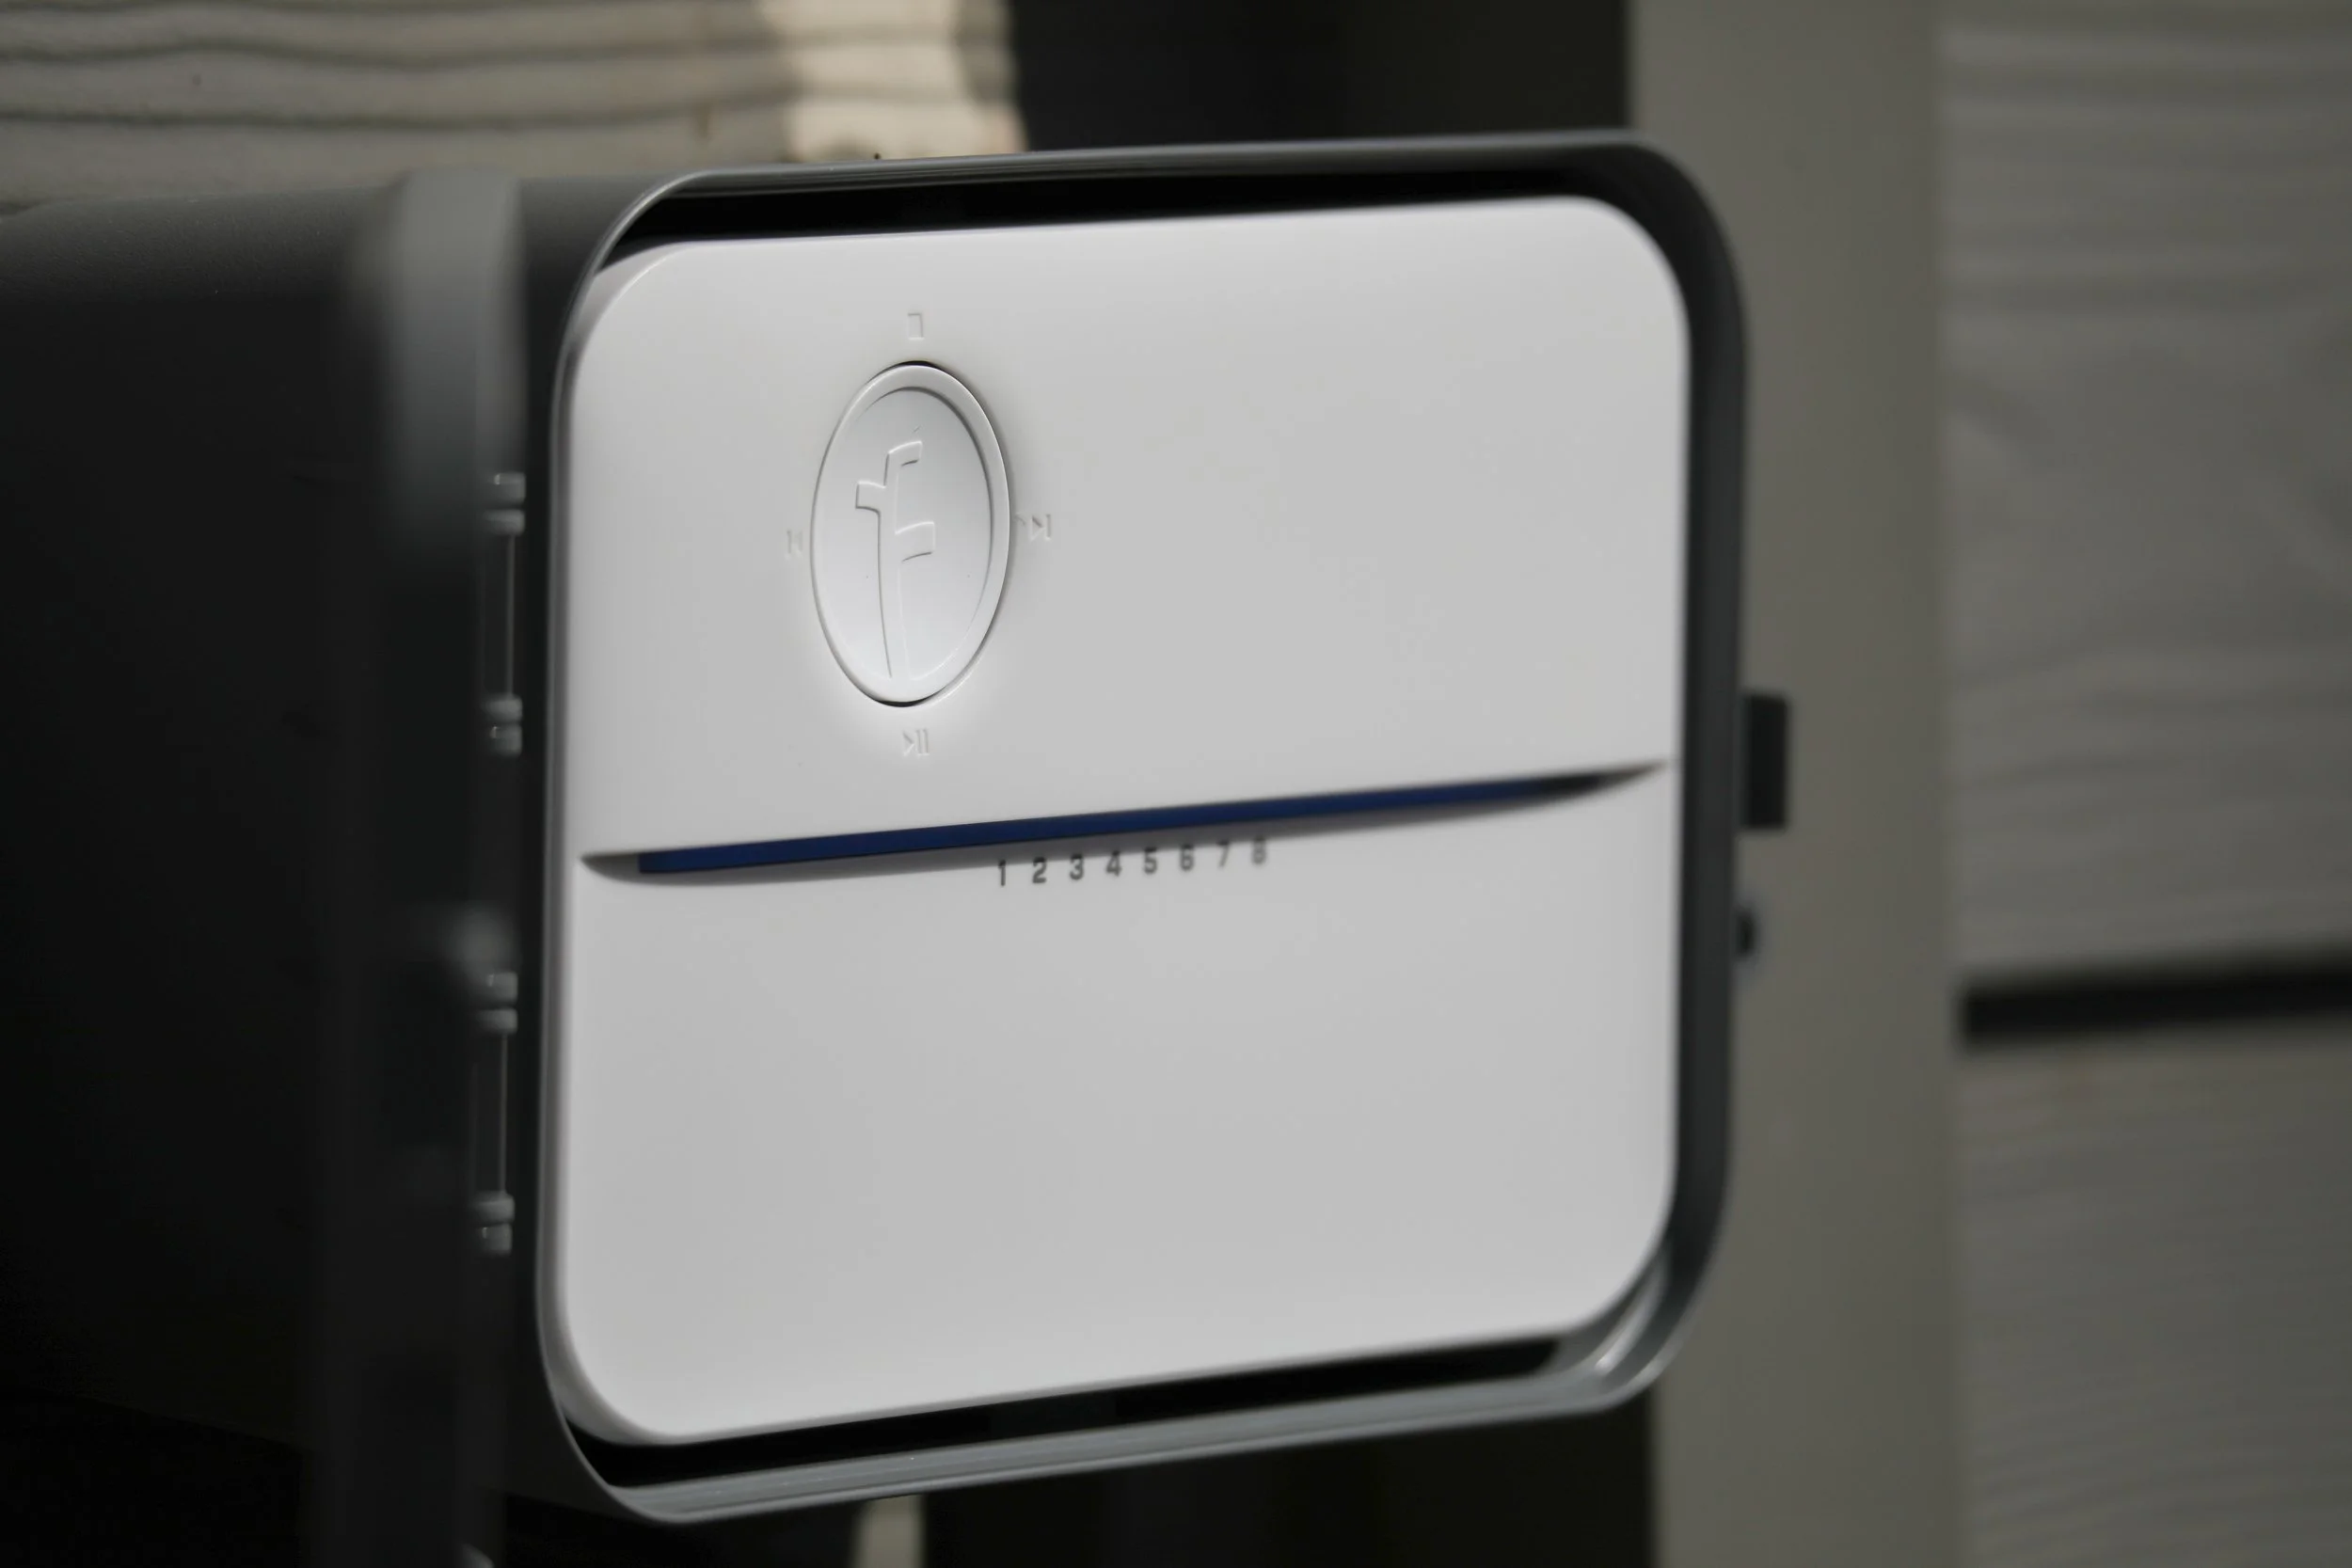
The controller itself was easy to install (seriously, one of the smoother DIY tech installs I’ve done). Setup in the app was simple and intuitive, and within the first day I was up and running with schedules, quick runs, and weather-based adjustments. Rachio’s app is designed around “control from anywhere” and includes features like Weather Intelligence(skips watering when weather doesn’t cooperate) and Seasonal Shift (automatic adjustments through the year).
The game-changer: Tempest Weather Station integration
The single biggest reason my watering finally felt dialed in is my Tempest Weather Station integration (check out my Tempest Weather Station Review here). Instead of relying only on general area forecasts, Rachio can use weather data measured right in your yard and that’s where the accuracy really jumps. Rachio describes Tempest as reporting weather “directly from your yard,” and you can use Tempest as the weather source for your controller so it can help drive schedules and trigger Weather Skips.
If you’ve ever watched your sprinklers run right after a surprise shower (or skip watering during a hot, windy week when your yard is begging for it), you’ll appreciate what “hyper-local” weather data fixes.
The one learning curve: your zone info has to be right
Here’s the honest part: the only real learning curve was understanding what Rachio needs to know about each zone.
I have four zones, and at first I entered the basics—vegetation type, soil type, sun exposure, etc.—and assumed that would be enough. It helped… but I still got a few brown spots early on. That was my clue that I needed to take the “Advanced Zone Settings” seriously.
Once I took the time to dial those in, everything improved, more consistent coverage, better soak depth, fewer dry patches, and less watering “just because.”
You may also be interested in these blog posts
Why Advanced Zone Settings matter (and what they actually do)
Rachio’s Advanced Zone Settings are what it uses to calculate how long and how often each zone should run, based on how much water your plants need and how your soil holds (or sheds) moisture.
These settings are where the controller goes from “smart timer” to smart irrigation manager.
The key advanced settings (in plain English)
While the names can feel a little technical, they map to real, practical outcomes in your yard:
Nozzle Inches/Hour (precipitation rate): How fast your sprinklers apply water. This is a huge one—if it’s wrong, your run times will be wrong.
Efficiency: How much of that water actually makes it into the soil where roots can use it (vs. lost to wind, misting, overspray).
Available Water + Root Depth: How much usable moisture your soil can store in the active root zone.
Allowed Depletion (MAD): How “dry” you let the soil get before watering refills it.
Crop Coefficient: A multiplier for how thirsty your plant type is (turf vs shrubs vs beds).
Area: Helps translate “inches of water needed” into run times for that zone.
Rachio describes allowed depletion as the maximum amount of plant-available water you allow to be removed from the soil (as a percentage) before irrigation refills it. University irrigation guidance explains the same concept: maximum allowable depletion is the point where plants start experiencing water stress if you push it too far.
In other words: if your Allowed Depletion is set too high, you may see stress/browning before Rachio decides it’s time to water. Too low, and you may water too often.
The “secret weapon” setting: Nozzle Inches/Hour (do a catch cup test)
If you do only one advanced-tuning step, do this: verify your precipitation rate.
Rachio specifically recommends using a catch cup test to measure your zone’s nozzle/precipitation rate rather than guessing.
This one setting can fix a lot of “Rachio is overwatering/underwatering” complaints because it directly affects how Rachio calculates runtime.
My takeaway: once my nozzle rate matched reality, the schedule math finally made sense—and the brown spots stopped showing up.
How Rachio prevents waste once zones are dialed in
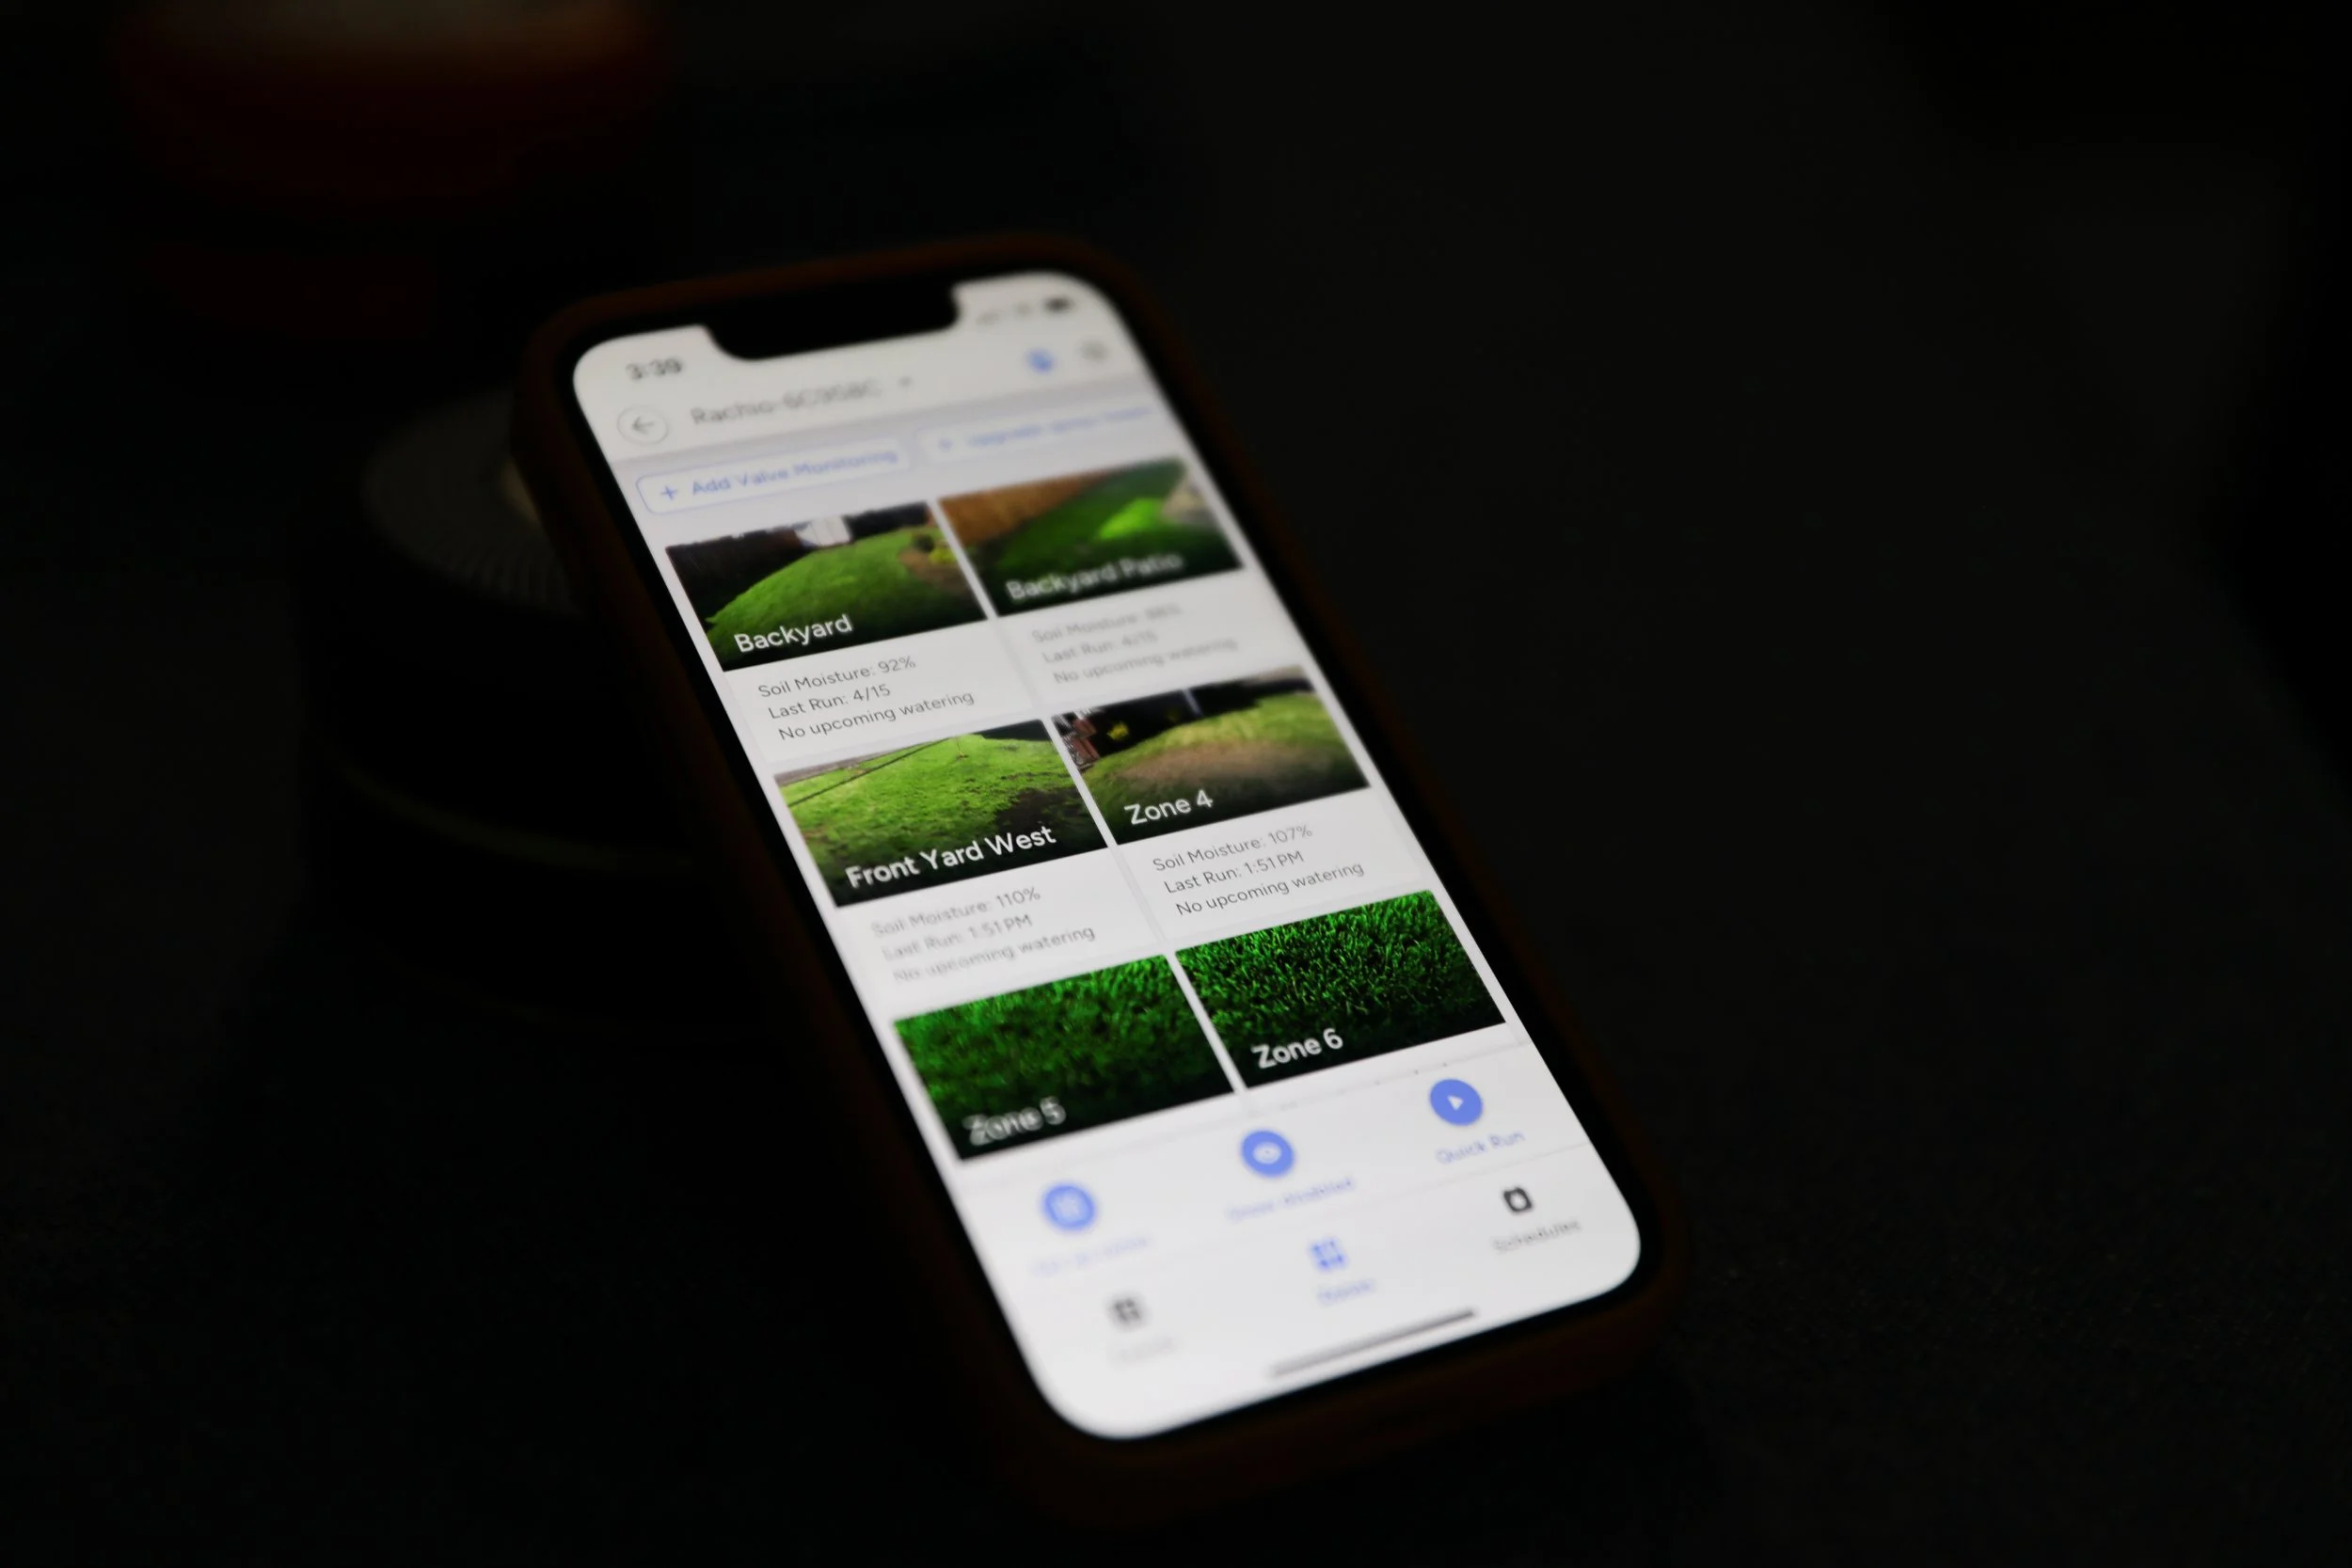
After I got my zone data right, this is where Rachio started shining:
Weather-based skips (hands-off savings)
Rachio’s Weather Intelligence includes skip logic like Rain Skip, Wind Skip, Freeze Skip, and Saturation Skip so it can avoid watering when it doesn’t make sense.
Better watering behavior (not just “more minutes”)
If you’re dealing with runoff or compacted spots, Rachio also supports cycle and soak behavior, and it uses your zone settings to calculate those cycles.
Flex Daily: adjusts per-zone dynamically
If you’re using a Flex Daily schedule, Rachio adjusts watering intervals dynamically on a zone-by-zone basis using weather conditions and soil moisture estimates.
That’s exactly the kind of “set it, monitor a bit, then trust it” automation I wanted.
What I’d tell a friend before they buy (or before they give up too early)
If you install a Rachio 3 and it’s “not working,” it’s usually not the controller—it’s the inputs.
Here’s the fast track:
Enter the basics accurately (plant type, soil type, sun exposure).
Do a catch cup test for precipitation rate.
Double-check allowed depletion and root depth (these heavily influence frequency).
Give it 2–3 weeks, watch results, then fine-tune one setting at a time.
My verdict after one summer
I’m genuinely happy with the Rachio 3. The app is easy, the installation was painless, and once I understood the advanced zone settings, my watering became more consistent and noticeably more efficient.
If you like smart home tech that actually earns its keep—and you’re willing to spend a little time dialing in your zone details, this is one of the best “quietly useful” upgrades you can make for your yard.