
Did You Know You Can Dehydrate Carrots for Quick Winter Soups?

The grips of fall and winter in the Pacific Northwest are tightening. With some steady rain on the way I jumped out early and pulled my carrot patch. The soil was still slightly damp, but the roots looked healthy and strong. I have tried several different ways to store my carrots for the winter, from freezing to dry storage. This year I decided to dehydrate them.
Be sure to check out our review of the COSORI Food Dehydrator.
Later this winter, I’ll break out a pot of homemade chicken stock, toss in a handful of my dehydrated carrots, and let everything simmer. It feels good to preserve a little of summer’s bounty, and know that future meals will be richer for it.
Here is my step-by-step guide on how I did it.
Tools & Supplies
Fresh carrots
Sharp knife
Cutting board
Slotted spoon or spider strainer
Large bowl with ice water
Colander or fine-mesh strainer
Mesh tray liners or parchment (optional)
Airtight storage containers (mason jars, vacuum-sealed bags, or mylar bags)
A few notes about carrot prep:
Peeling is optional. If your carrots are organically grown or well cleaned, you may leave skins on.
You can slice into coins (⅛–¼ inch thick) or small cubes. Coins rehydrate quickly; cubes give a chunkier texture in soups.
Uniform thickness is key — uneven slices can lead to underdone bits that go bad.
Step-by-Step: Dehydrate Those Carrots
Here’s the process I followed in my kitchen. Yours may vary slightly depending on ambient humidity or your dehydrator’s performance, but the principles are consistent.

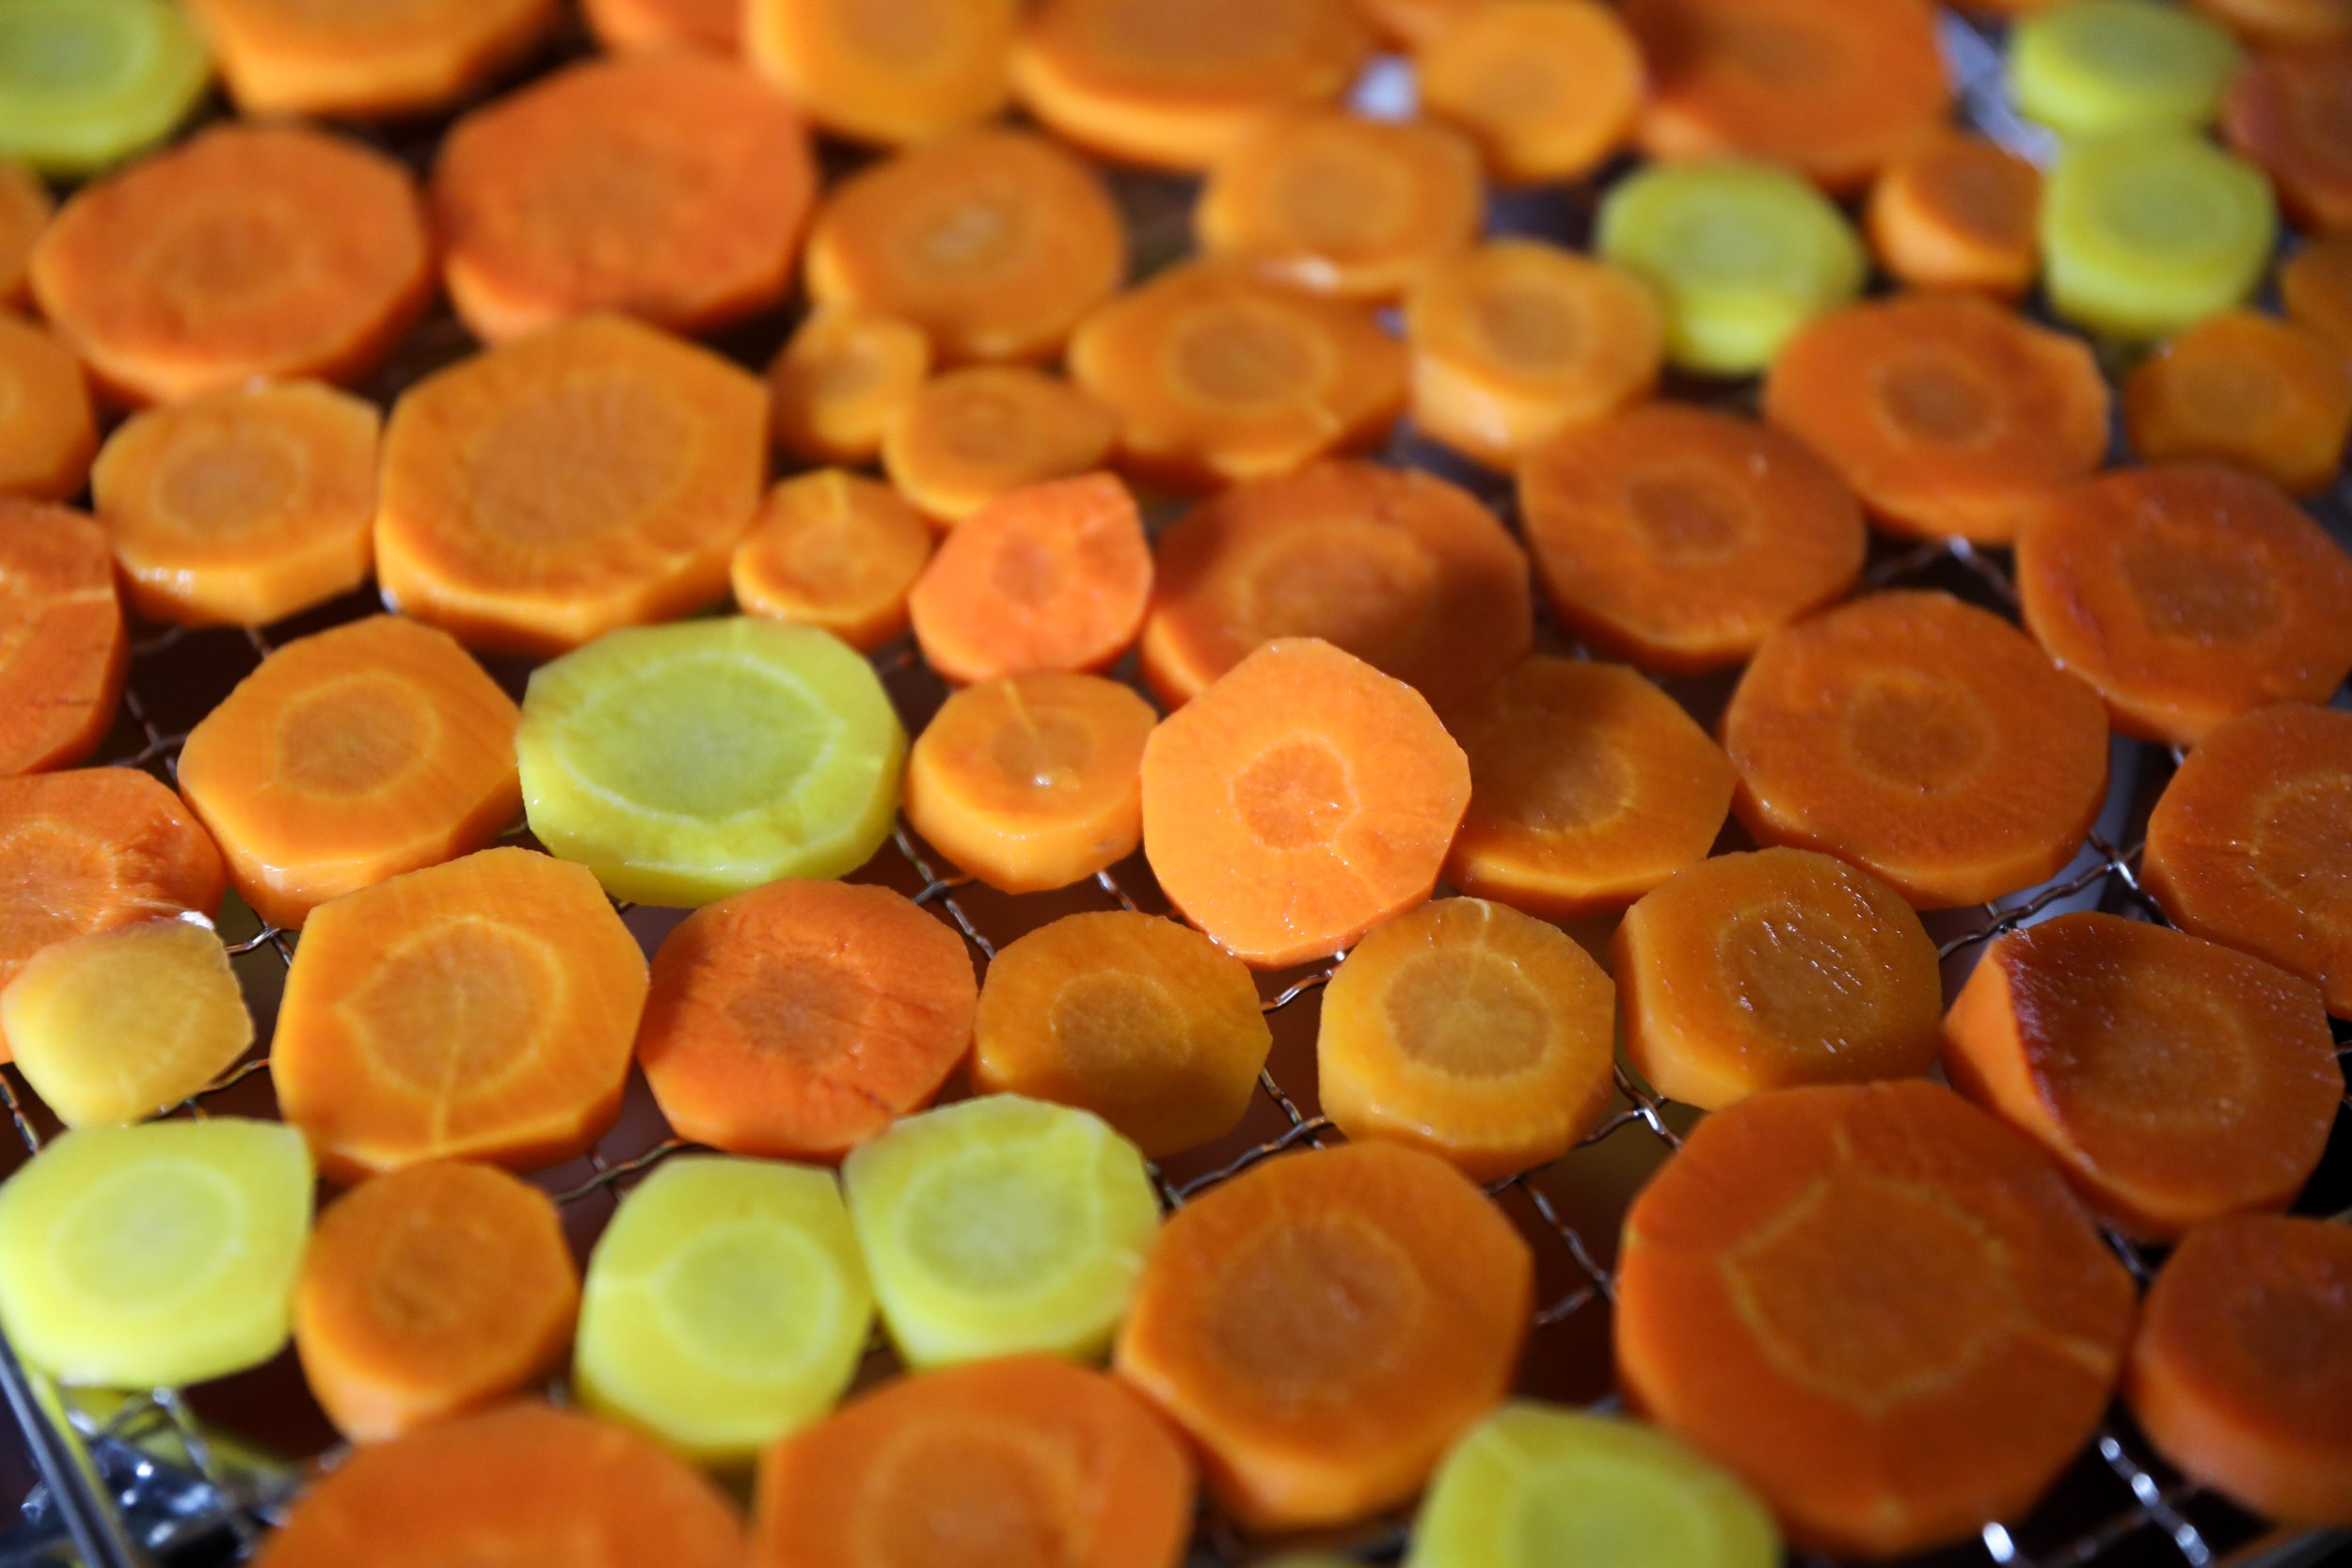
1. Slice the Carrots
Peel if desired, then slice your carrots into uniform coins or cubes. I used ⅛" coins with a mandoline to save time and ensure consistency.
Tip: Reserve peelings and smaller scraps for compost, bone broth, or even chicken feed.
2. Blanch Briefly
Bring a large pot of water to a rolling boil.
Add the carrot slices. Once it returns to a boil, set a timer for 3 to 4 minutes.
Meanwhile, prepare an ice bath (bowl of ice + cold water).
Once your timer goes off, scoop out carrots quickly and plunge them into the ice bath to stop cooking.
Blanching helps preserve color, flavor, and nutritional quality over long storage.
3. Drain & Dry Off Excess Water
Let the blanched carrots sit in a colander or strainer for a few minutes. Pat them gently with a clean towel if needed — you don’t want extra moisture lingering before dehydration.
4. Load the Dehydrator
Arrange the carrot pieces in a single layer on each tray.
Avoid overlap; leave small gaps so air flows freely.
If your trays have large holes, consider using mesh liners or parchment to prevent little bits from falling through.
5. Dehydrate at 125 °F (approx.)
Set your dehydrator to ~125 °F and let it run 6 to 10 hours, depending on slice thickness and humidity.
You’ll know they’re done when the carrot pieces are brittle or leathery and break cleanly (they should crack, not bend).
Let them cool fully before packaging — warm carrots sealed in jars can trap moisture and lead to spoilage.


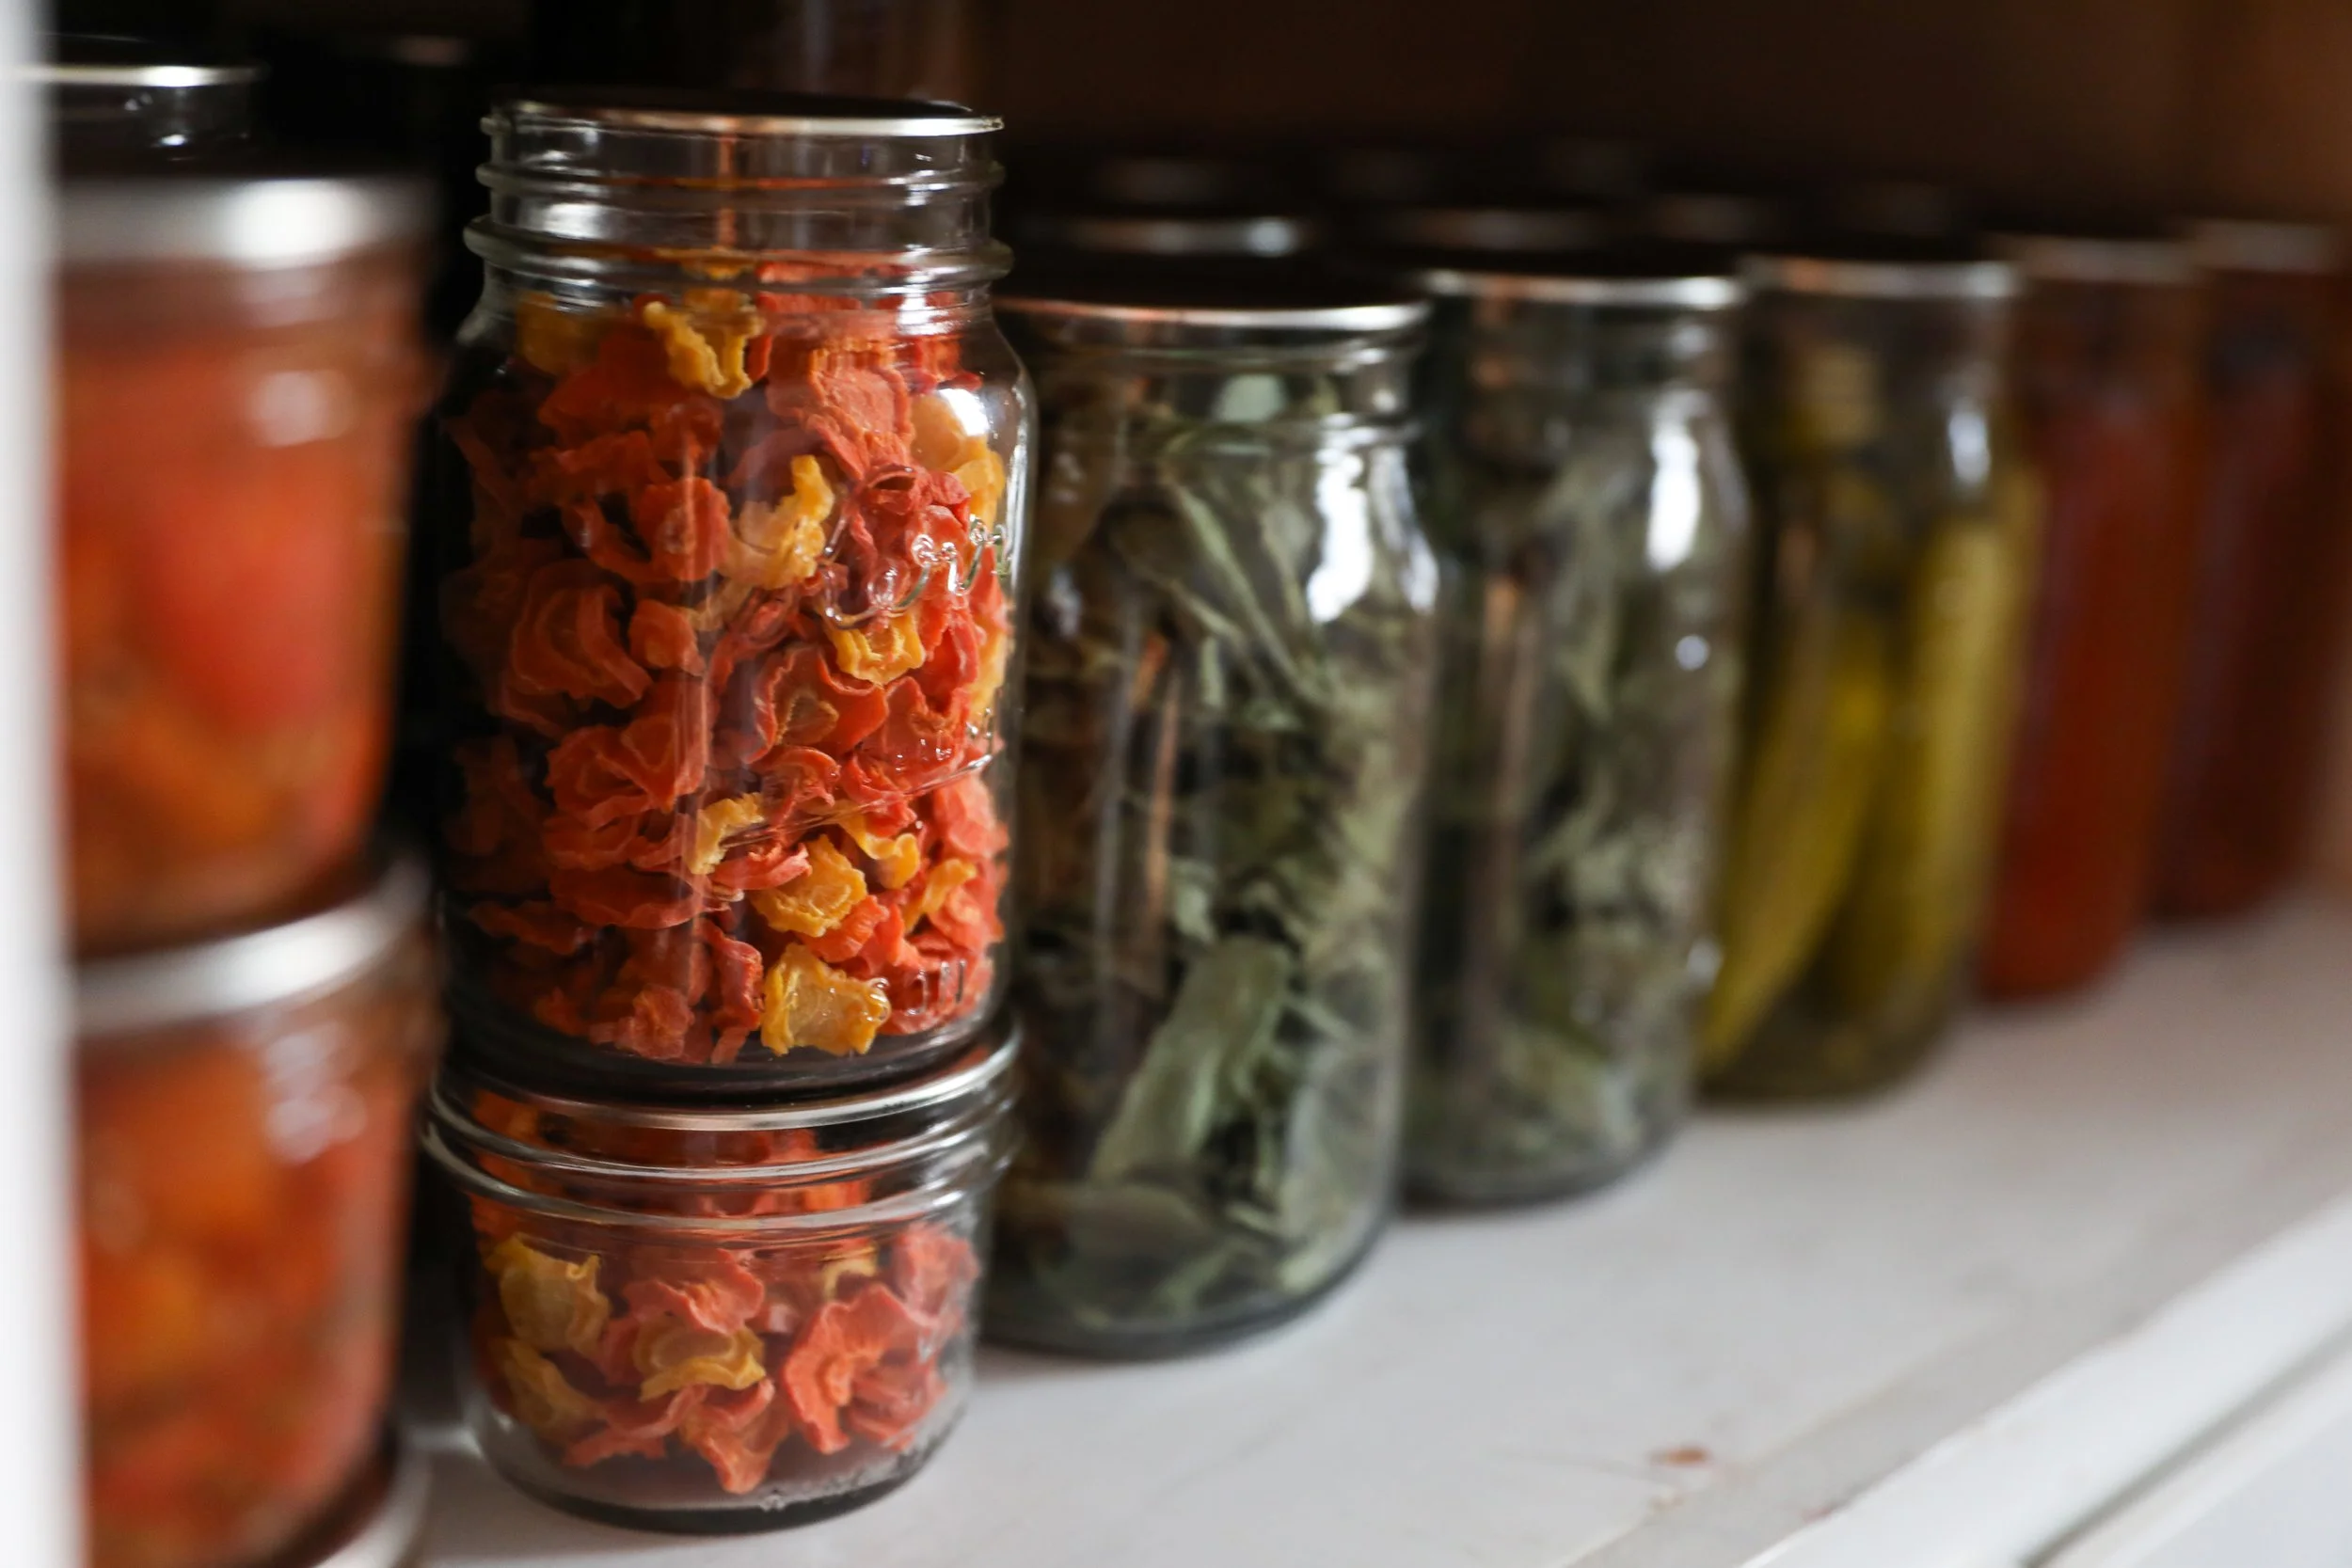
Storage & Use
Place cooled carrots in airtight containers — glass jars, mylar bags, vacuum seal, etc.
Use oxygen absorbers if you want to maximize shelf life (especially helpful for long winter storage).
Store in a cool, dark location. Avoid sunlight and heat, which degrade nutrients over time.
Properly dried and stored, they can last up to a year (maybe even longer in ideal conditions).
When you’re ready to use them:
Soups & Stews: Add directly to the pot. They’ll soak up broth and rehydrate as the dish cooks.
Other dishes: Pre-rehydrate by covering with hot water for 30–45 minutes, then drain before using in casseroles, stir-fries, or baking.
As a rule of thumb: 1 cup fresh carrots ≈ ¼ cup dehydrated after shrinking. Adjust as needed in your recipes.


Why This Method Works for Me
The blanching step improves color retention and slows enzymatic breakdown over storage.
Uniform slicing ensures nothing is overdone or underdone.
Using a proper dehydrator (versus just using an oven) gives more consistent, lower heat drying, which helps preserve flavor.
Storage techniques (airtight containers, oxygen absorbers) safeguard against moisture and spoilage.