
How to Dry Basil in a Food Dehydrator: Step-by-Step Guide for Garden Abundance
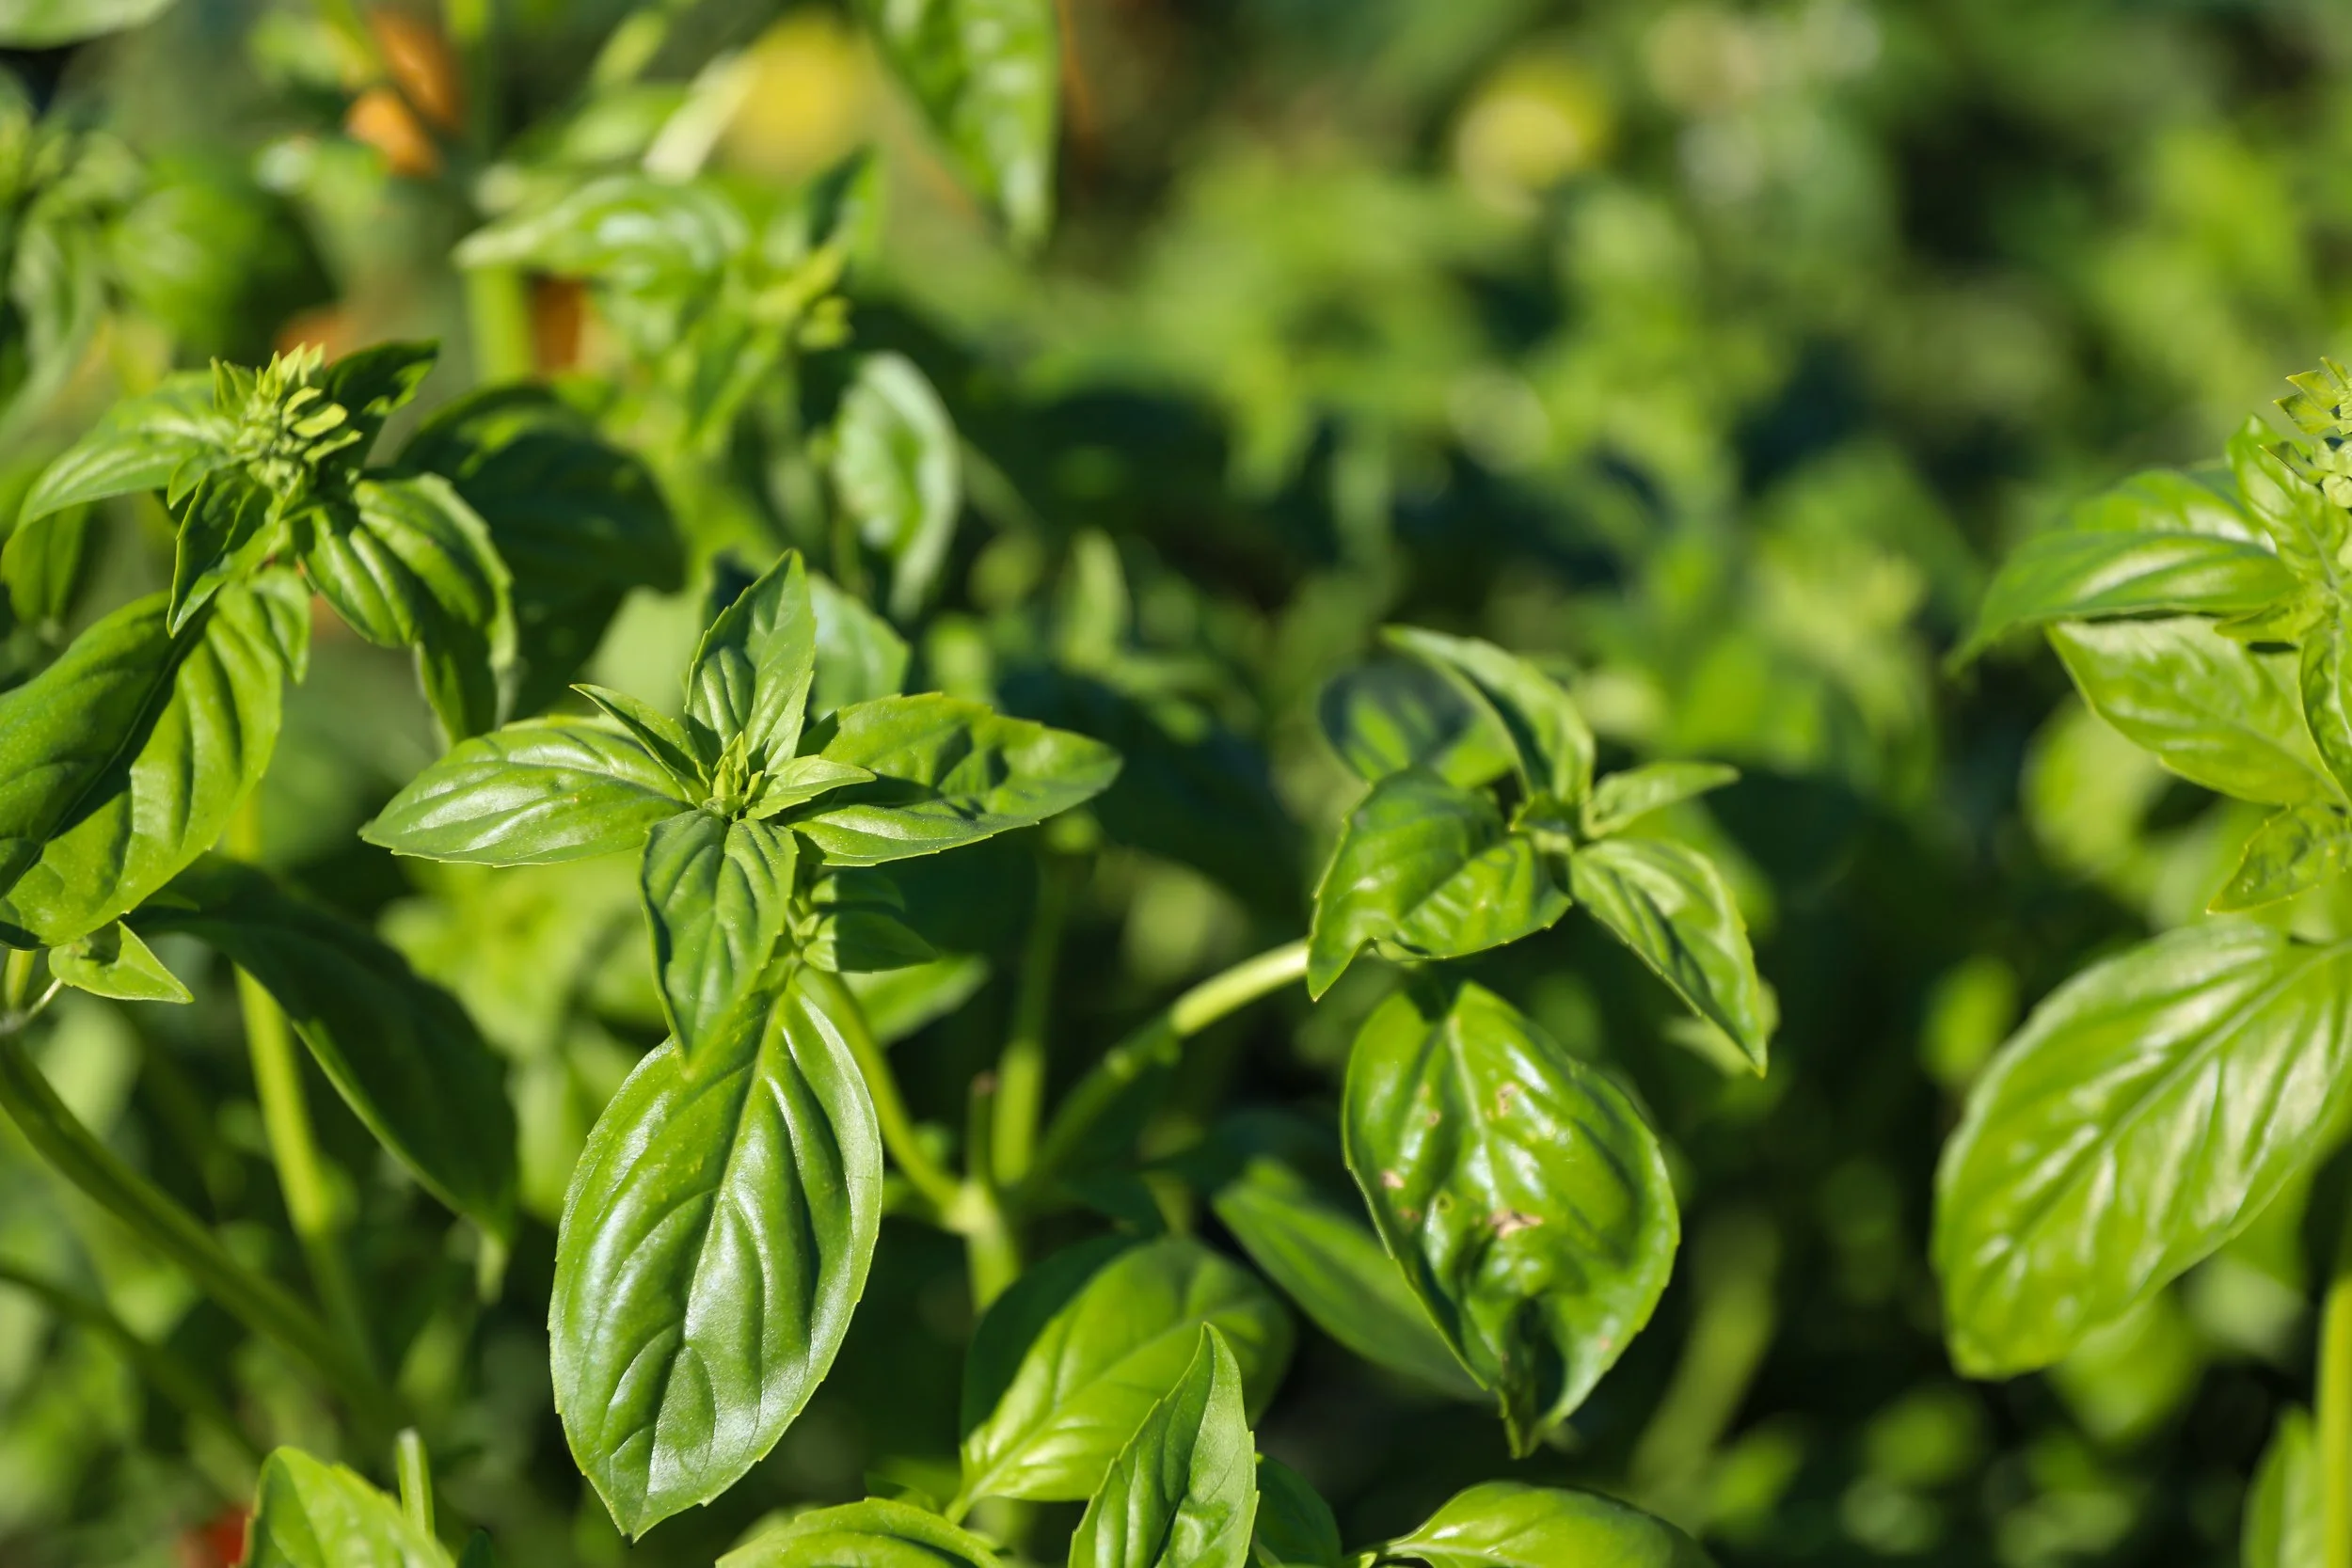
If your garden basil is overflowing, there’s no better way to preserve that fresh, fragrant flavor than by drying it. This year my basil thrived, and I ended up with a huge harvest, more than enough for pesto, caprese salads, and pizza nights. To save that beautiful summer taste for winter soups and sauces, I turned to my trusty food dehydrator. Here’s exactly how I did it and tips to keep your basil vibrant and flavorful.
1. Harvest and Prep Your Basil
Start by harvesting basil in the morning after the dew has dried but before the sun gets too hot. This is when the essential oils are strongest.
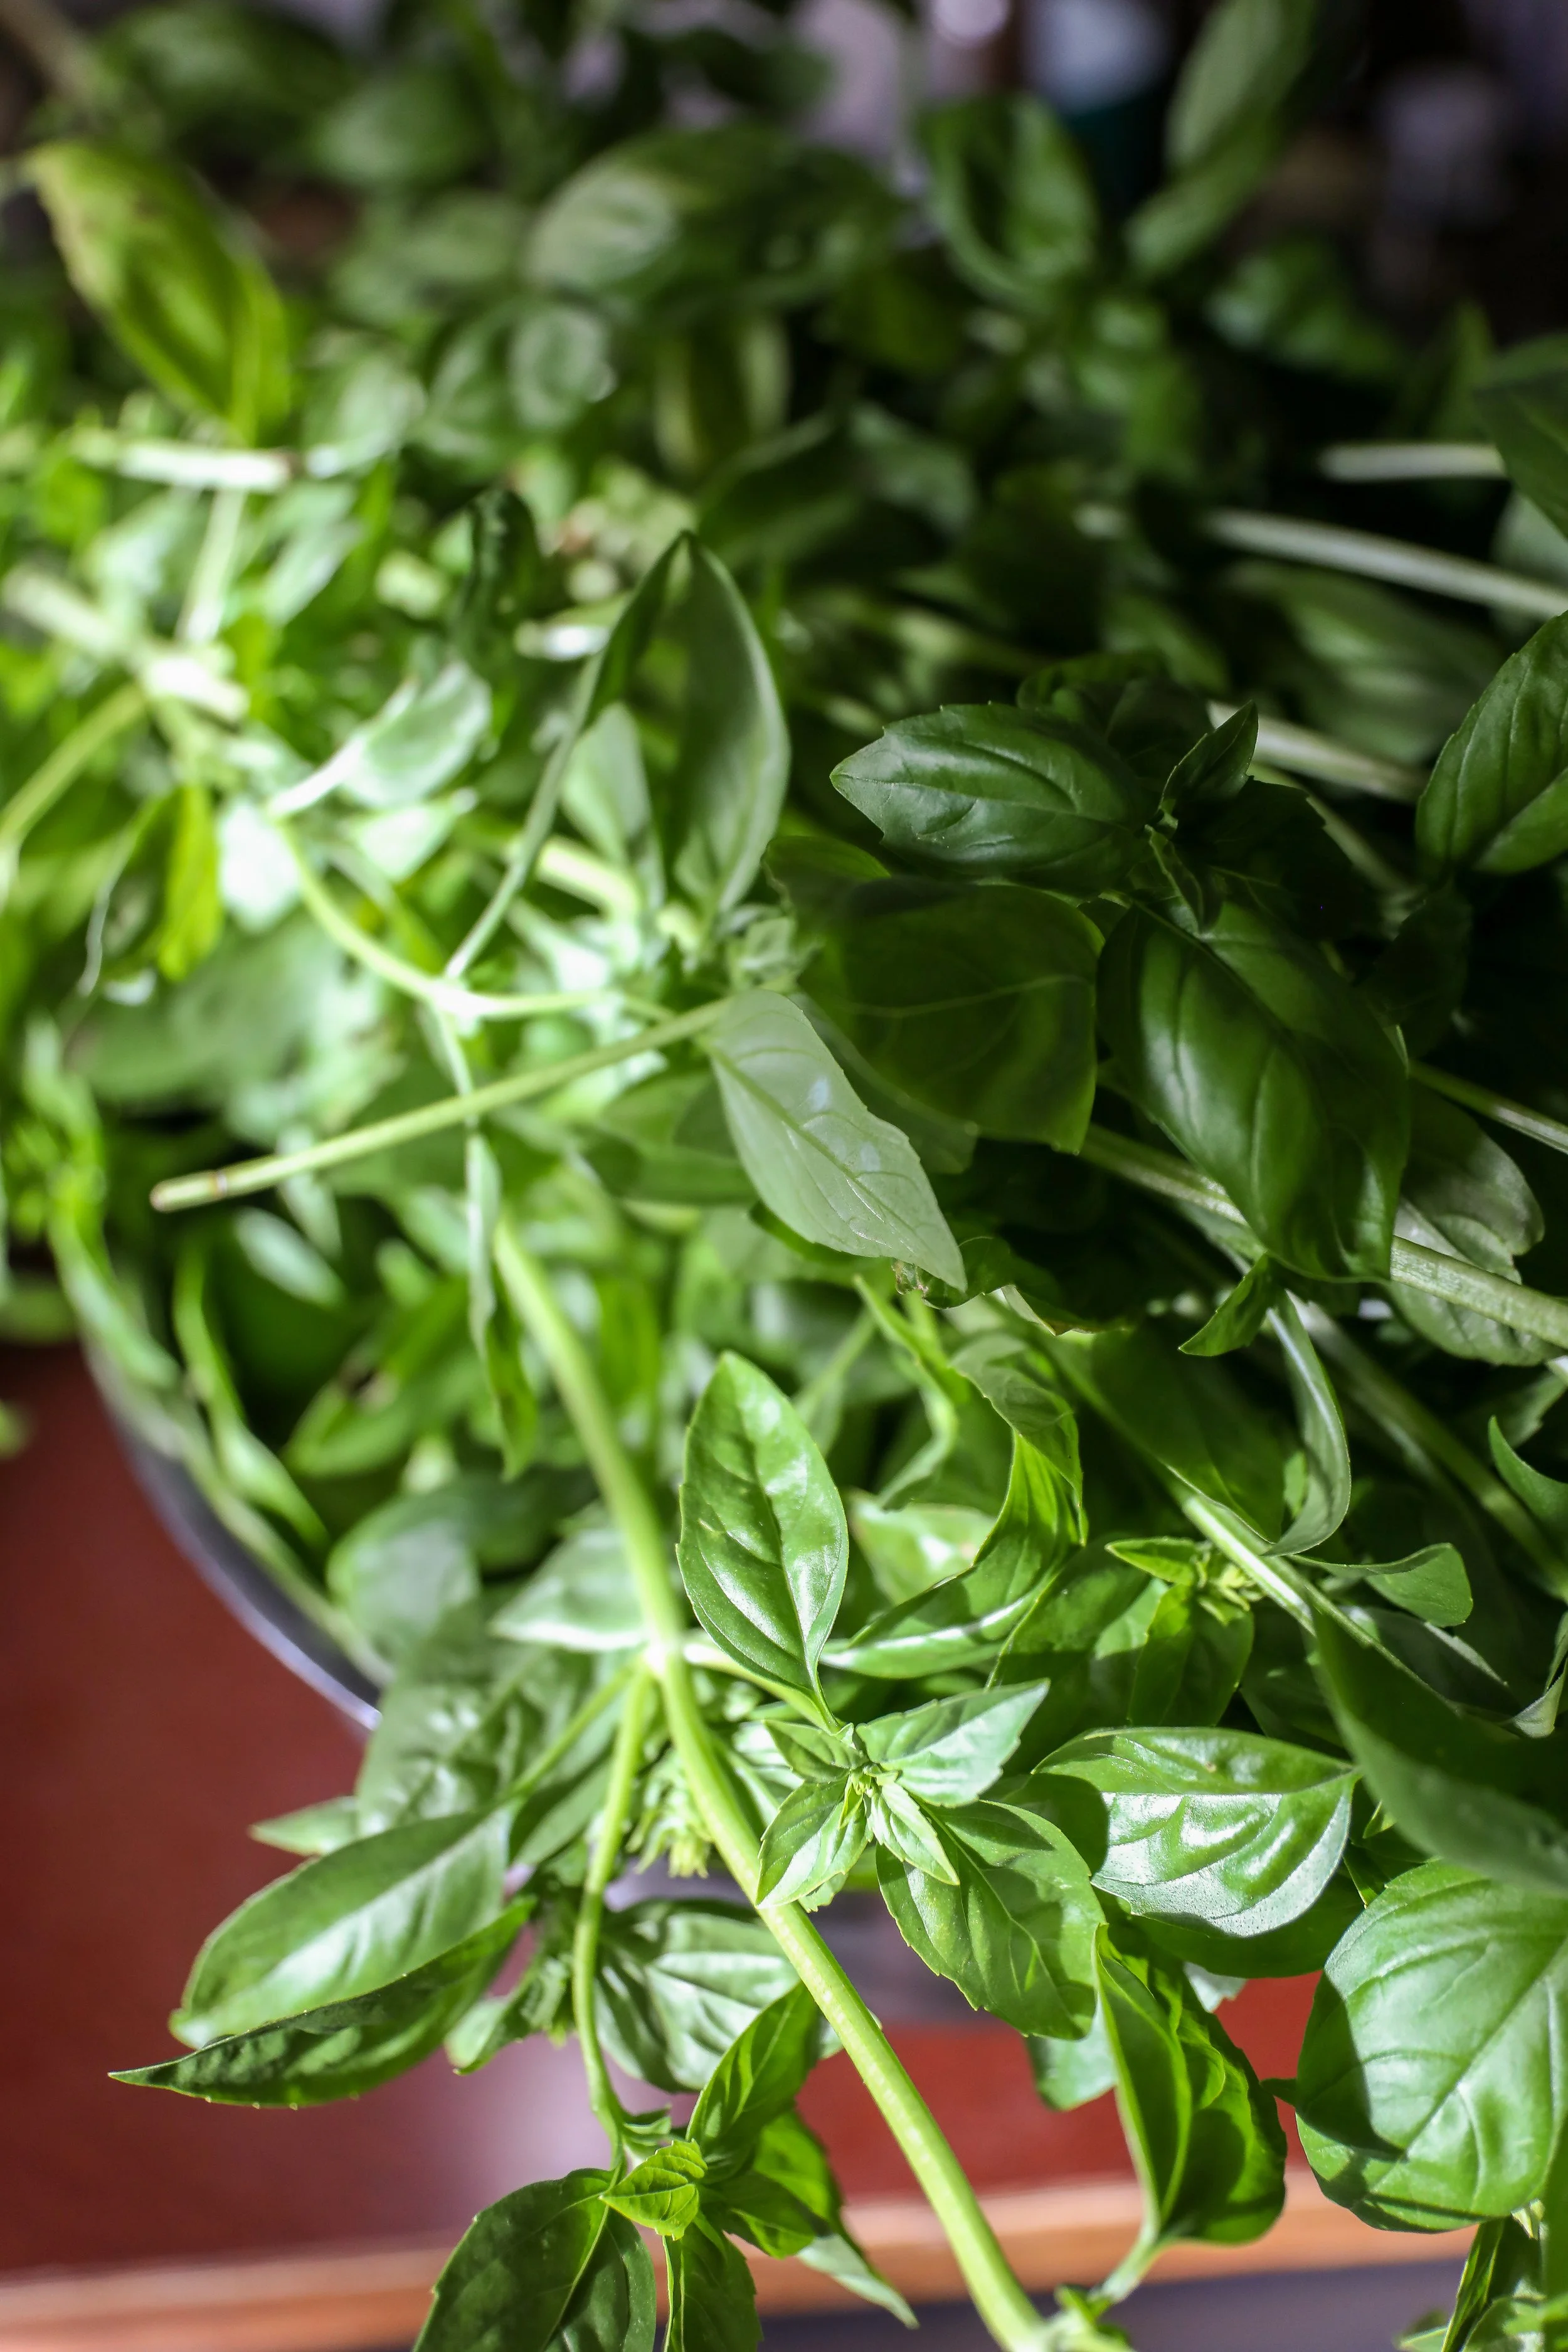
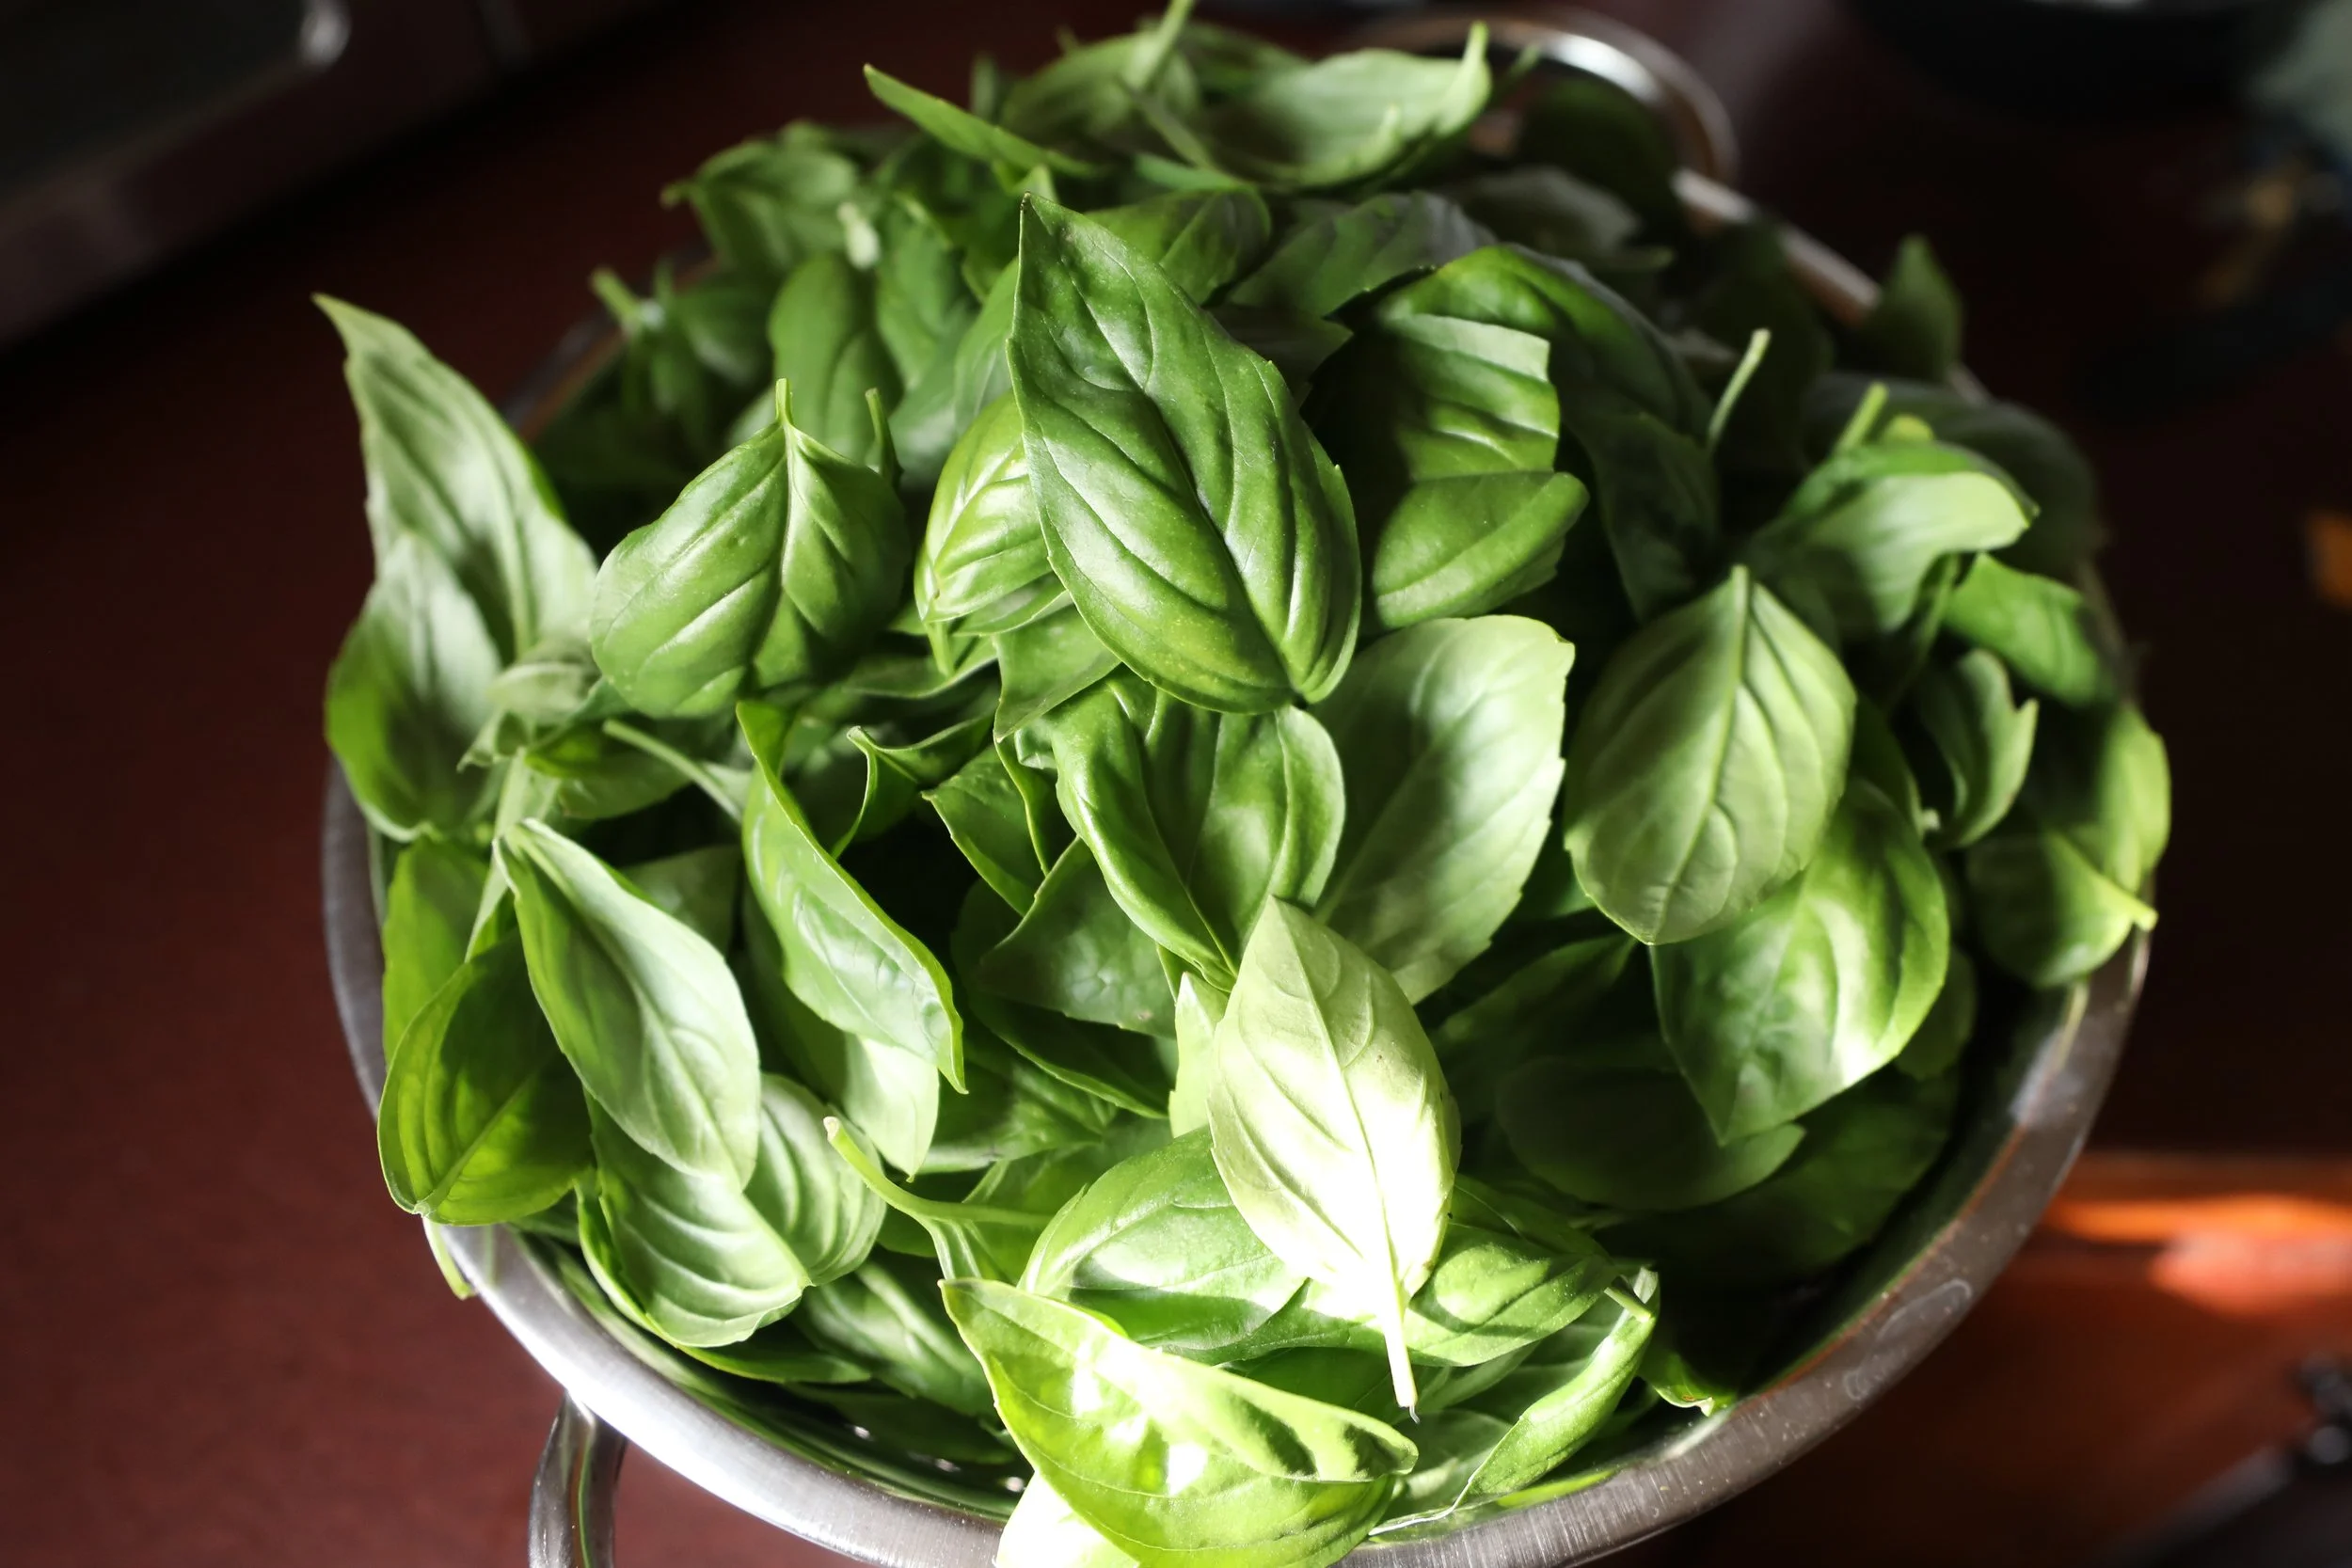
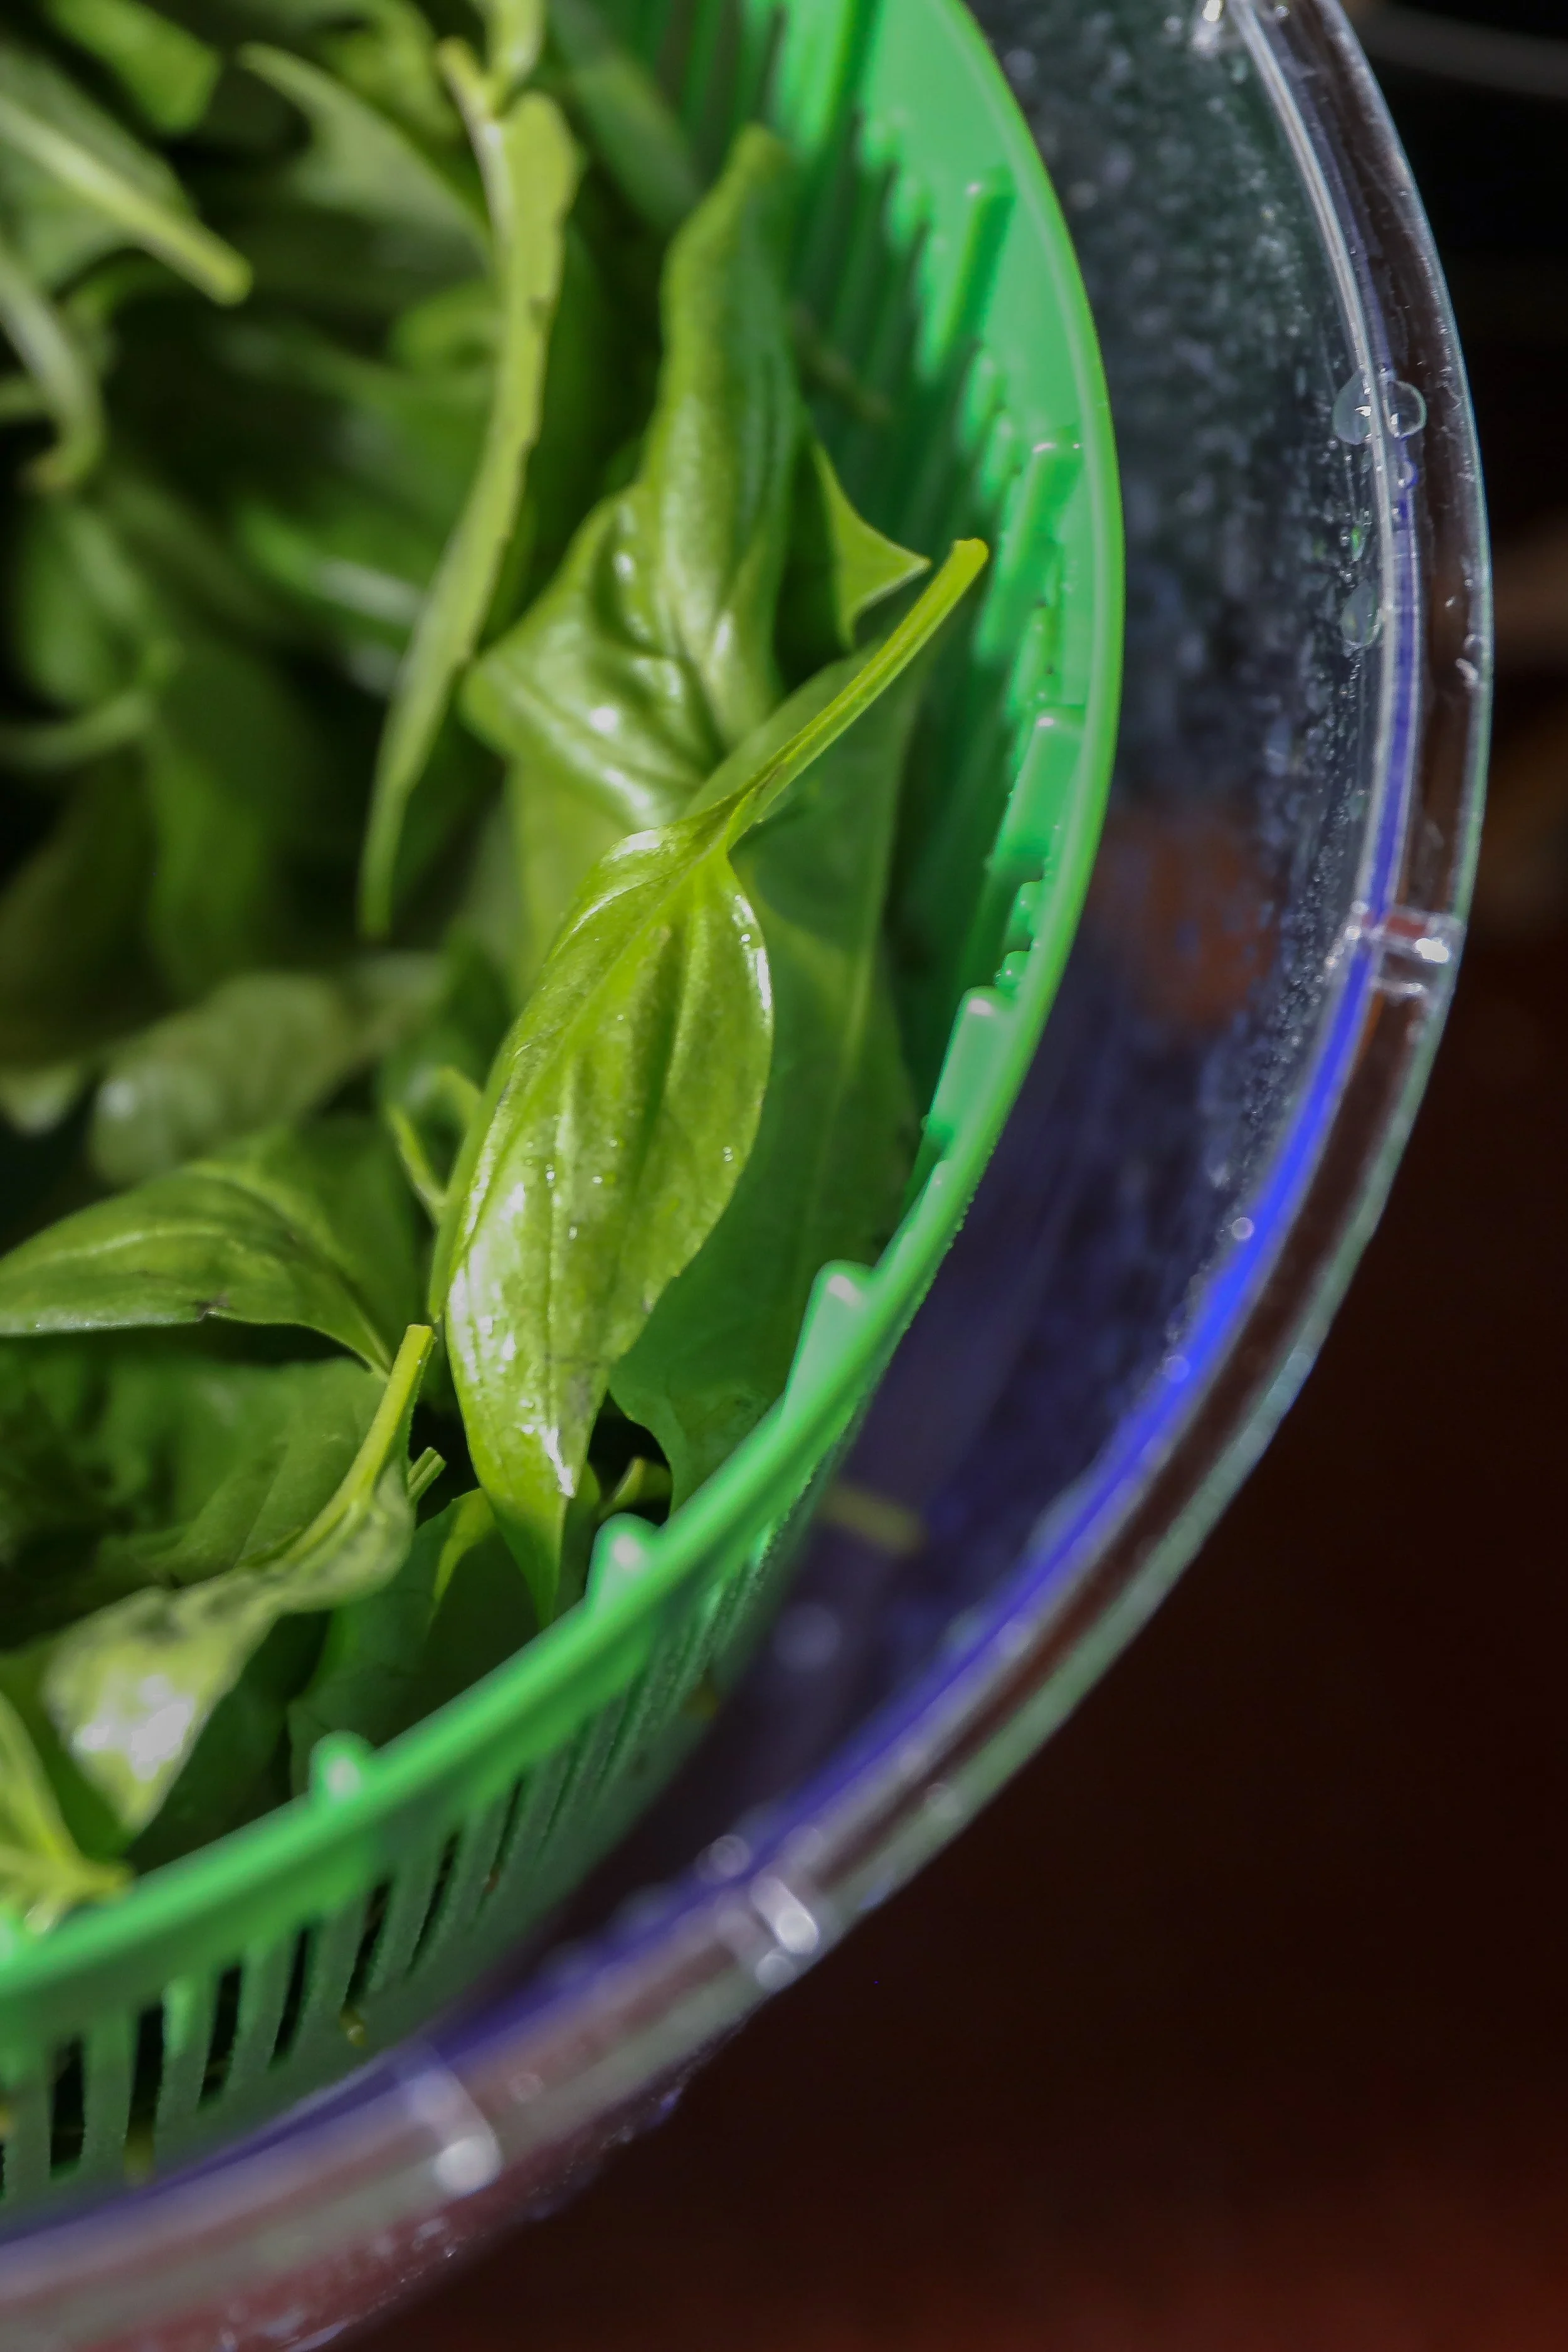
Strip the leaves: Pull each leaf from the stems. Whole leaves dry more evenly and hold their flavor better than chopped ones.
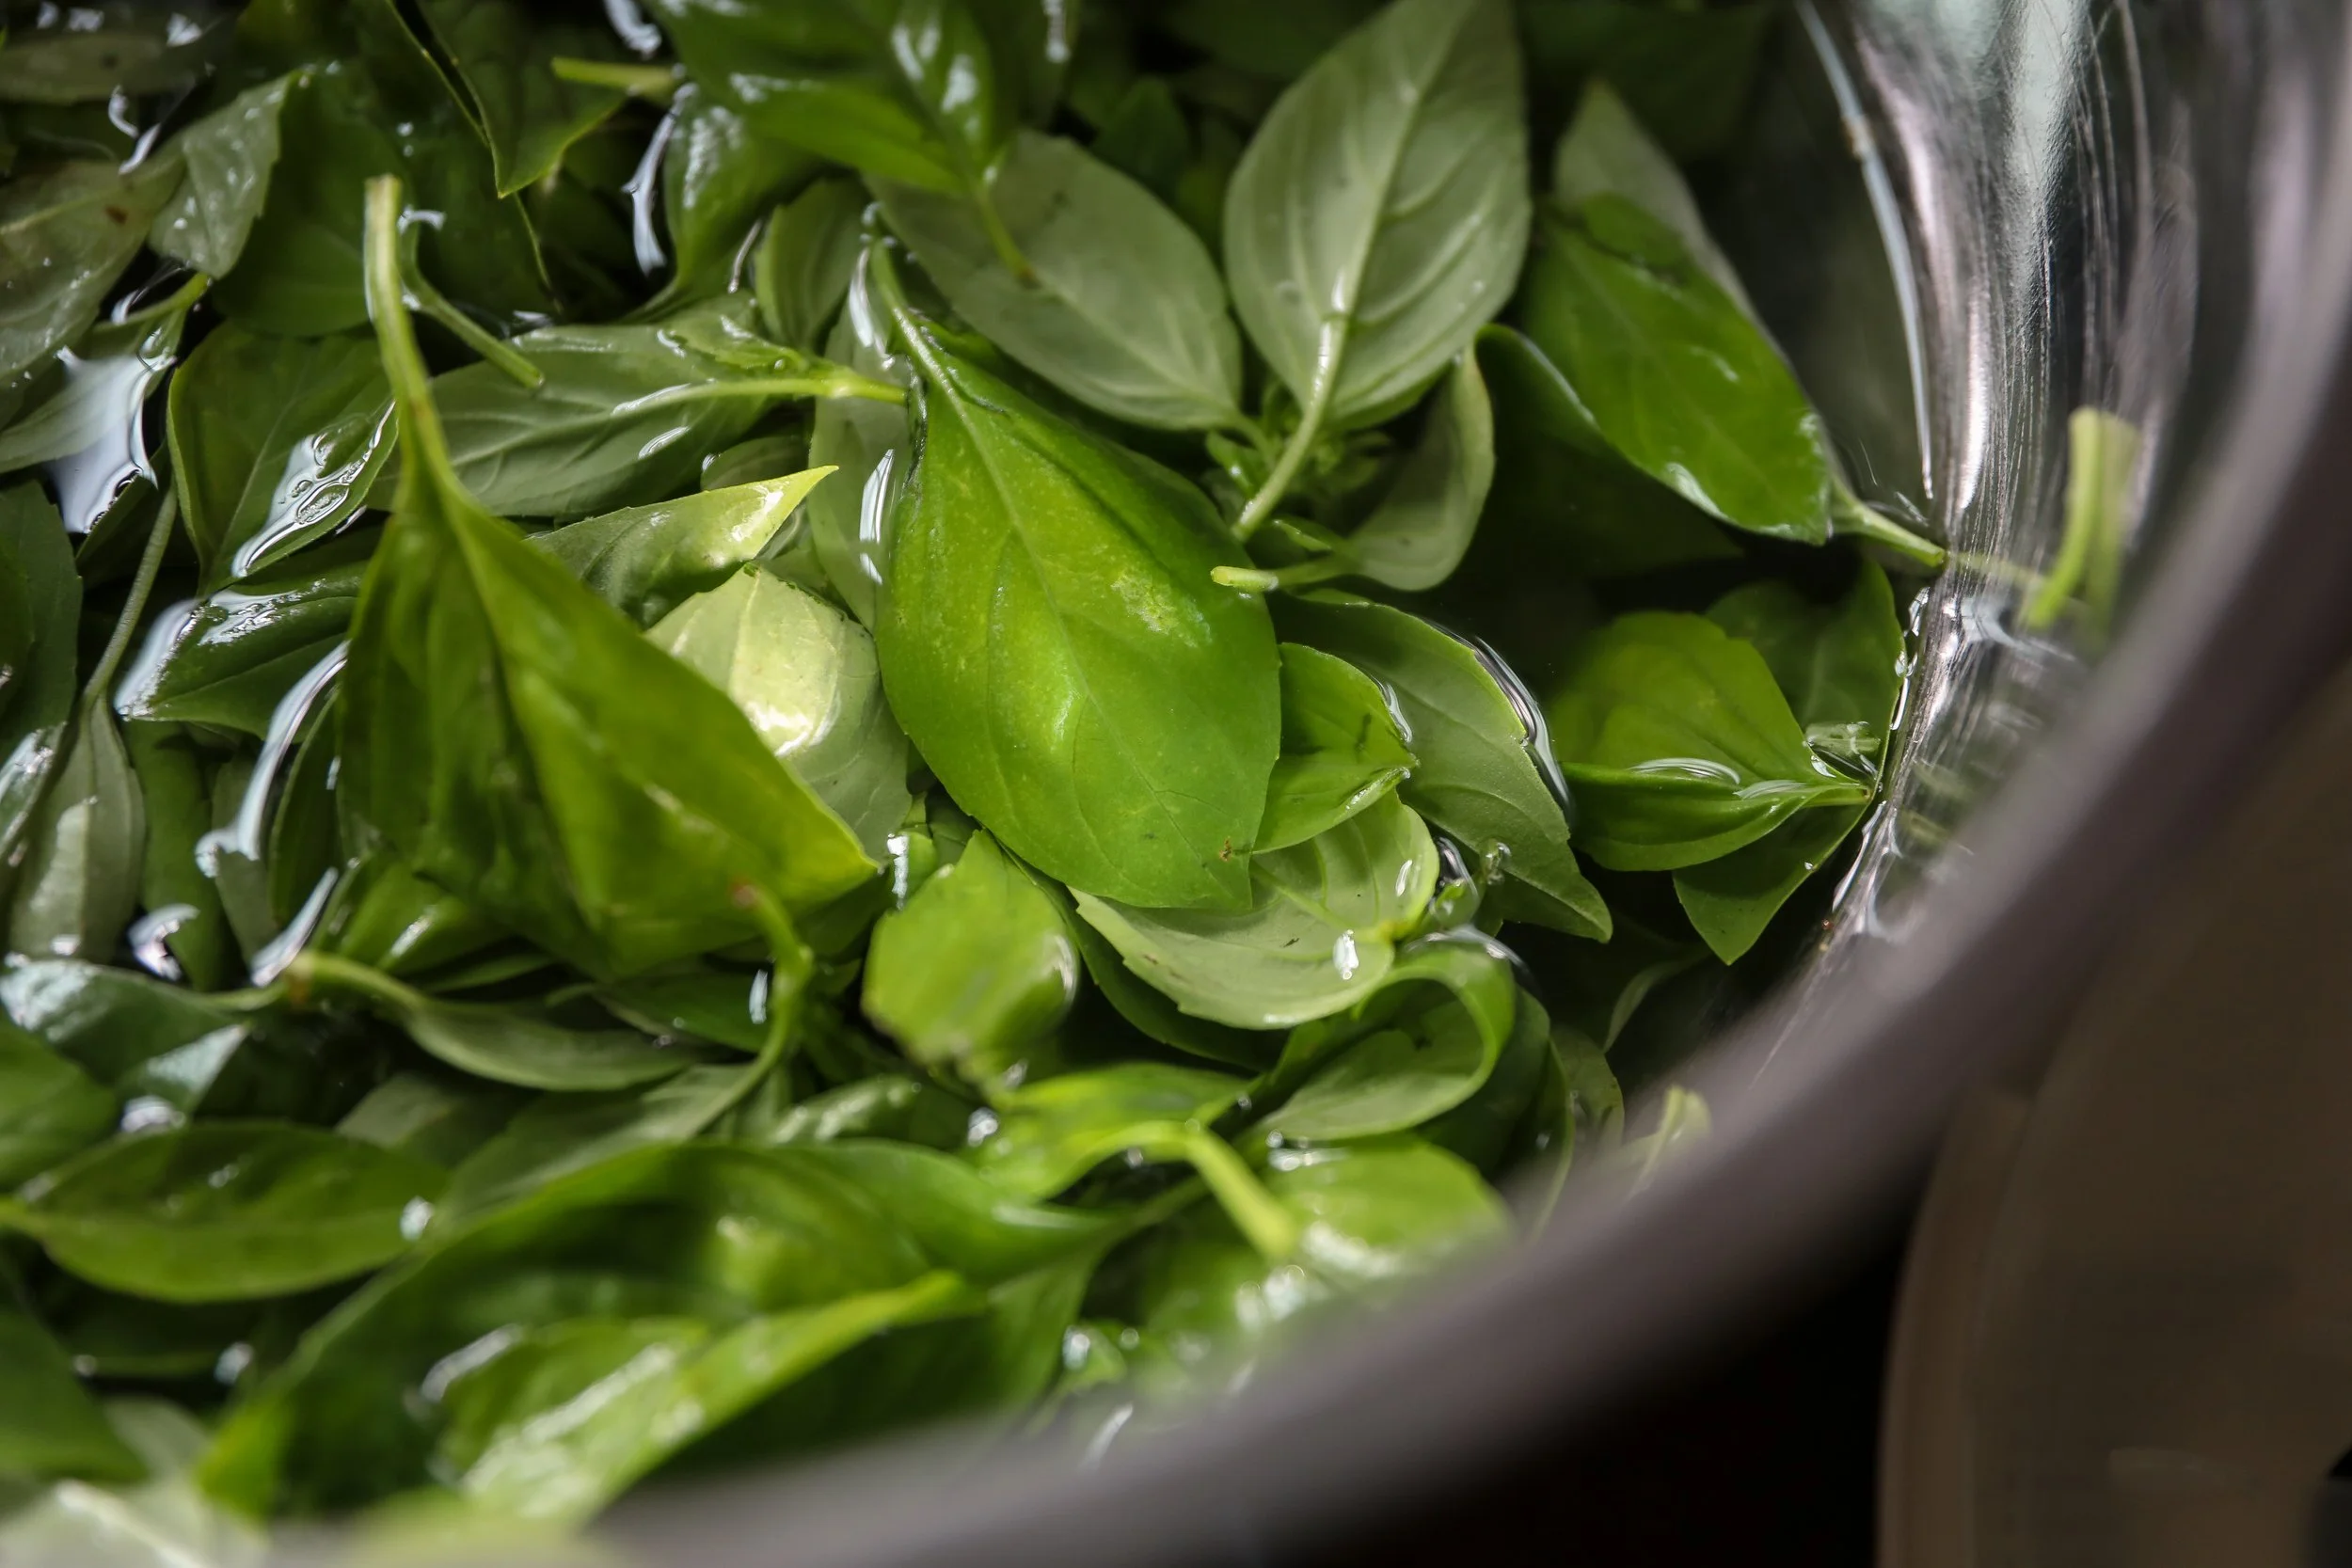
Wash gently: I filled a large metal bowl with water and added a splash of vinegar to help remove garden dust and tiny pests. Swirl the leaves around, then rinse in a colander with clean water.
Spin dry: Excess moisture will slow drying and can cause dark spots. I used a salad spinner to remove as much water as possible—a simple but key step.
Tip: If you don’t have a spinner, lay the leaves on a clean towel and pat them dry carefully.
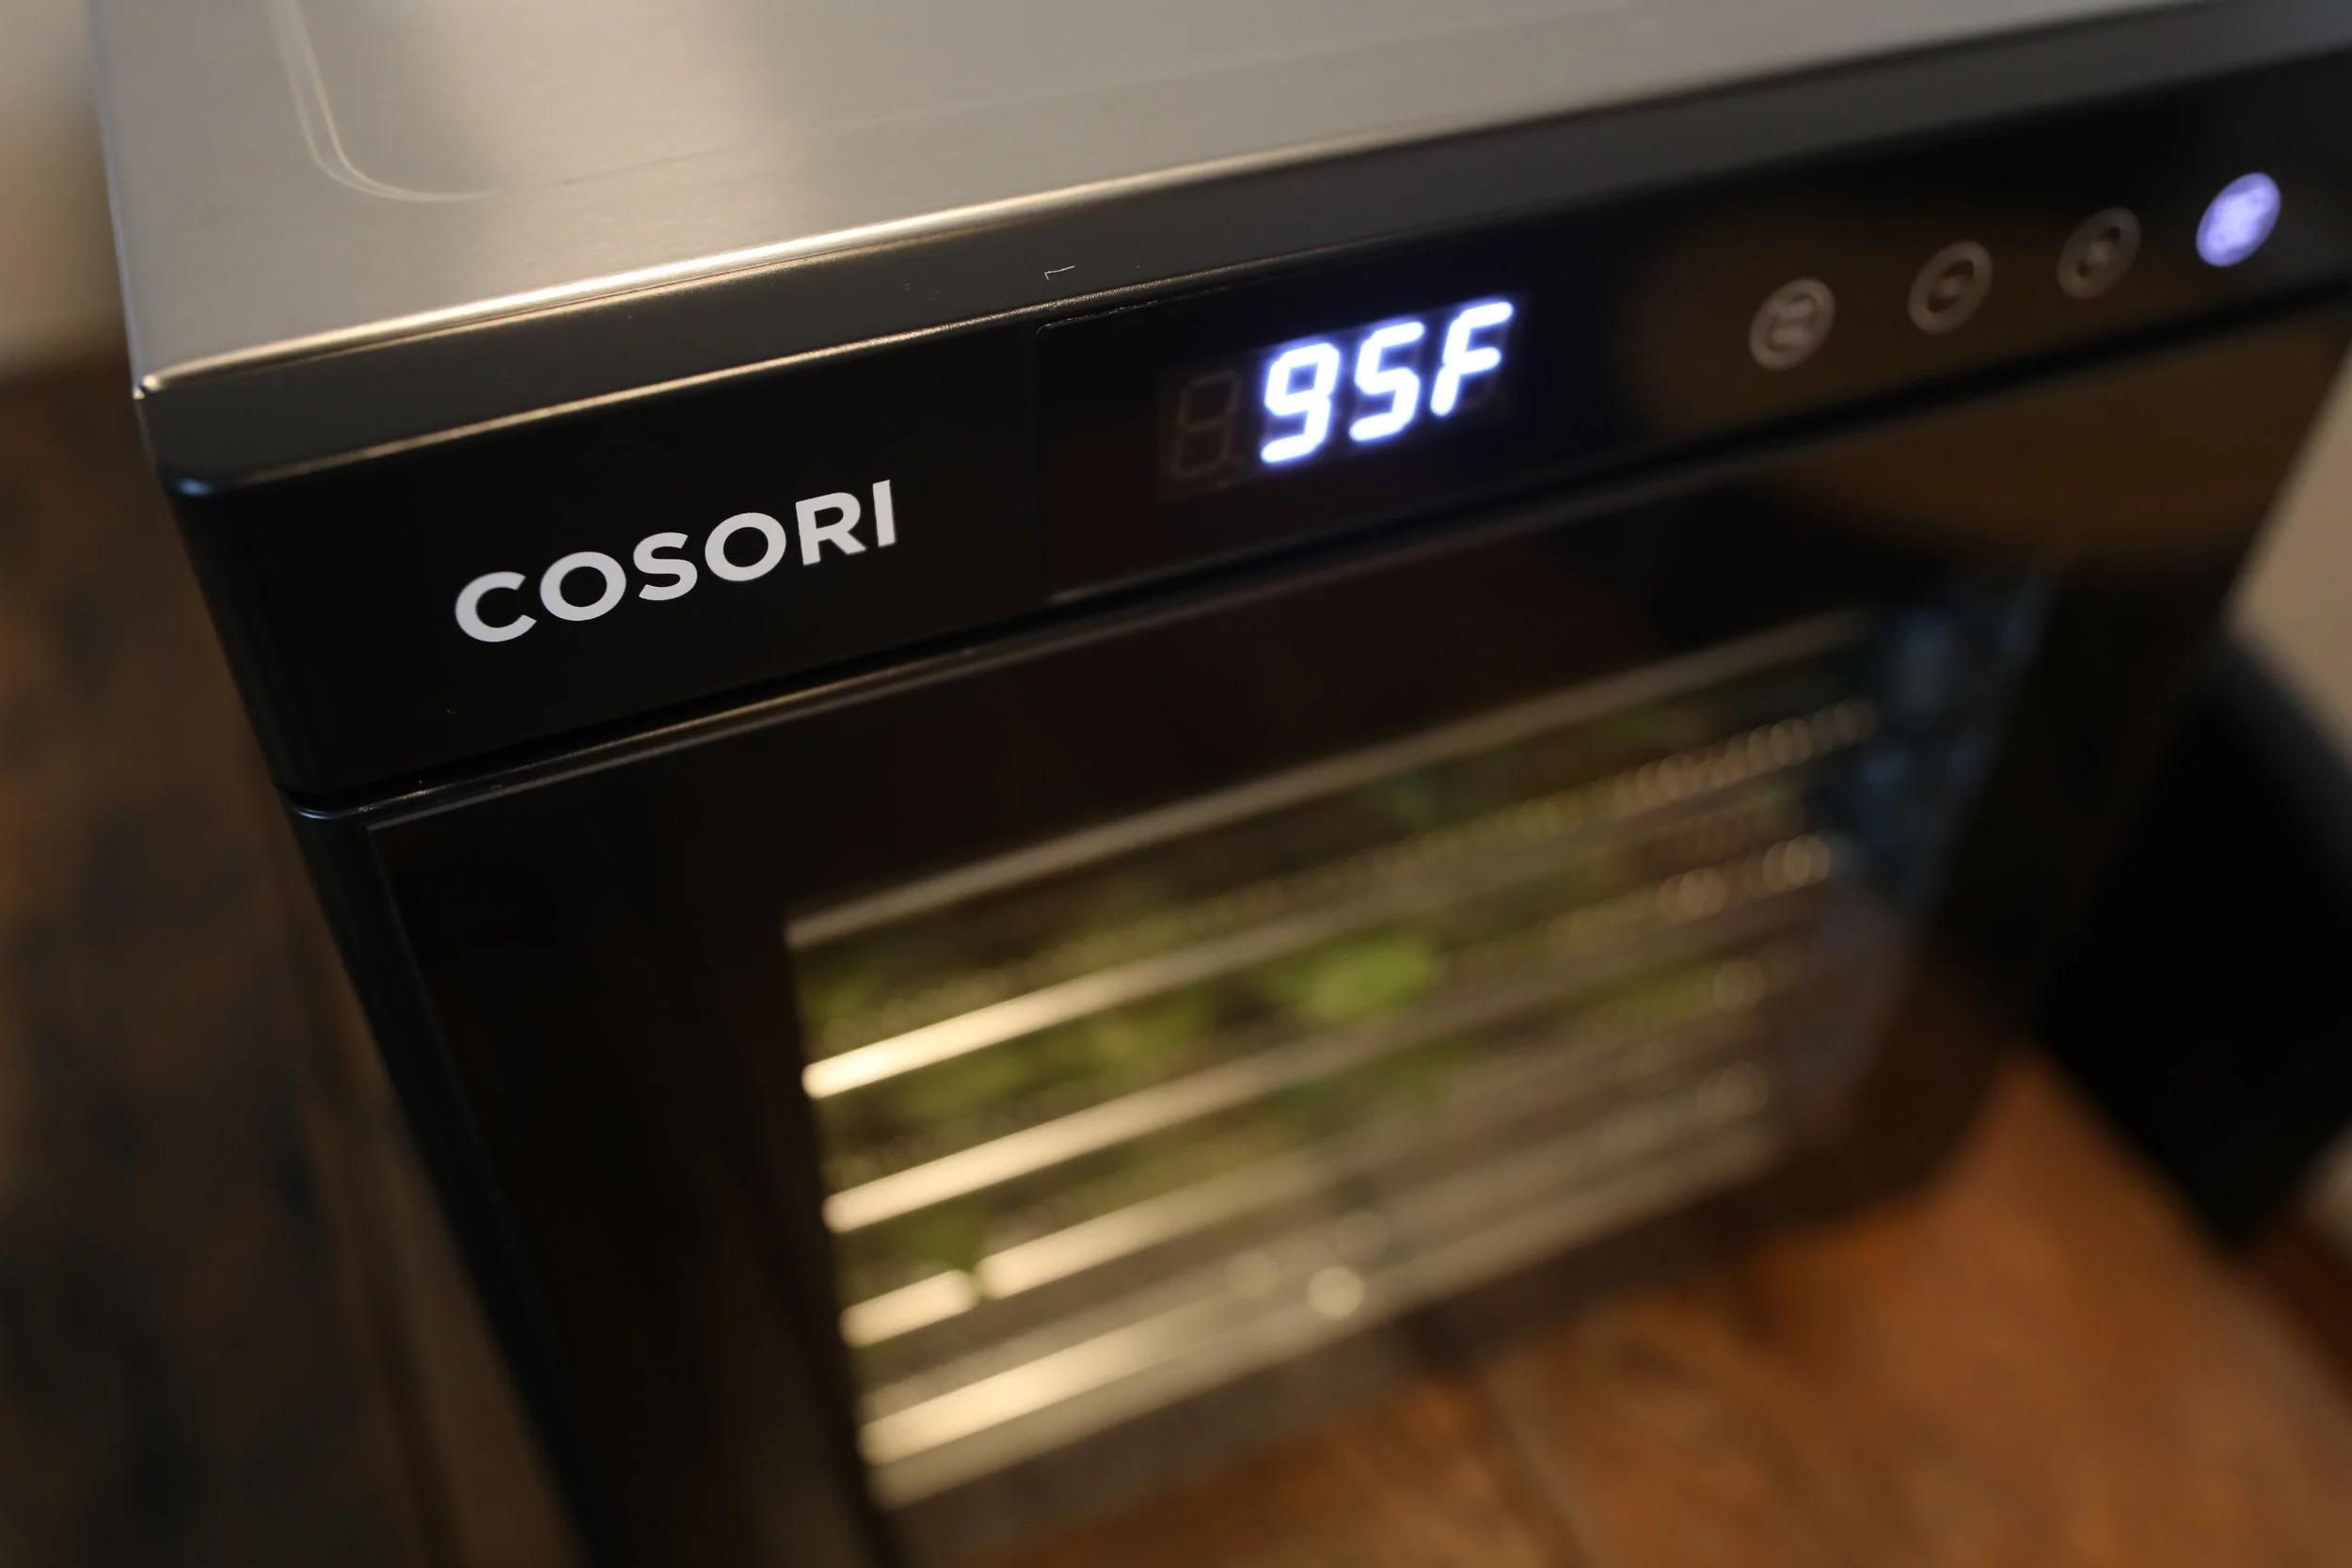
2. Dehydrate at a Low Temperature
For herbs like basil, low and slow is best to preserve color and flavor.
Arrange the basil leaves in a single layer on your dehydrator trays. Overlapping can trap moisture and lead to uneven drying.
Set your dehydrator to 95°F (35°C)—the perfect temperature to gently remove moisture without cooking the leaves.
Drying time varies depending on leaf size and humidity, but plan for 12–24 hours. Check periodically; the leaves should crumble easily between your fingers when ready.
Tip: If your dehydrator doesn’t go as low as 95°F, choose its lowest setting and crack the door slightly to release heat and humidity.
3. Store for Long-Lasting Flavor
Once completely dry, it’s time to pack and protect that garden-fresh taste.
Jar it up: I used mason jars, which are perfect for herbs.
Vacuum seal: To keep air and moisture out, I used a jar vacuum sealer attachment. This step really extends shelf life and keeps the basil fragrant for months.
If you don’t have a vacuum sealer, tightly sealed jars stored in a cool, dark place will also work.
Additional Tips for the Best Dried Basil
Keep the leaves whole until you’re ready to use them. Crushing now will release oils and dull the flavor.
Label and date your jars so you know when you dried them. Properly sealed basil can stay flavorful for a year or more.
Consider companion herbs. Oregano, thyme, and mint dry beautifully the same way.


Why Dry Basil Instead of Freezing?
Freezing basil works for pesto or sauces, but drying offers convenience and versatility. Dried basil sprinkles easily into soups, roasted vegetables, pasta, or homemade spice blends without thawing—and it frees up valuable freezer space.
Drying basil is one of the simplest ways to capture the essence of summer and enjoy it all year long. Whether you’re sprinkling it over winter soups or adding it to homemade pizza dough, those fragrant green leaves will transport you straight back to your garden.