
I Stripped Decades of Paint Off My 1930s Front Door — and Found Something Better Underneath
My house was built in the 1930s, so I’ve learned to expect a little bit of mystery every time I start a project.
Sometimes that mystery is charming original craftsmanship.
Sometimes it is several generations of questionable DIY decisions.
And sometimes, thankfully, it’s both.
My front door was a perfect example. From the inside, it had been painted white and looked tired, heavily layered and generally like something that had been “fixed” many times over the decades. I would later discover it resembled more of a jaw breaker with seven different colors of paint. The outside of the door was still in good condition, so I knew I didn’t want to replace it. I wanted to see if I could restore what was already there.
Once I started stripping it, I discovered layers of pea green, peach, tan, white, a wonderfully strange cream-orange color, and eventually the original stained wood underneath.
But the best surprise wasn’t the wood.
It was the hardware.
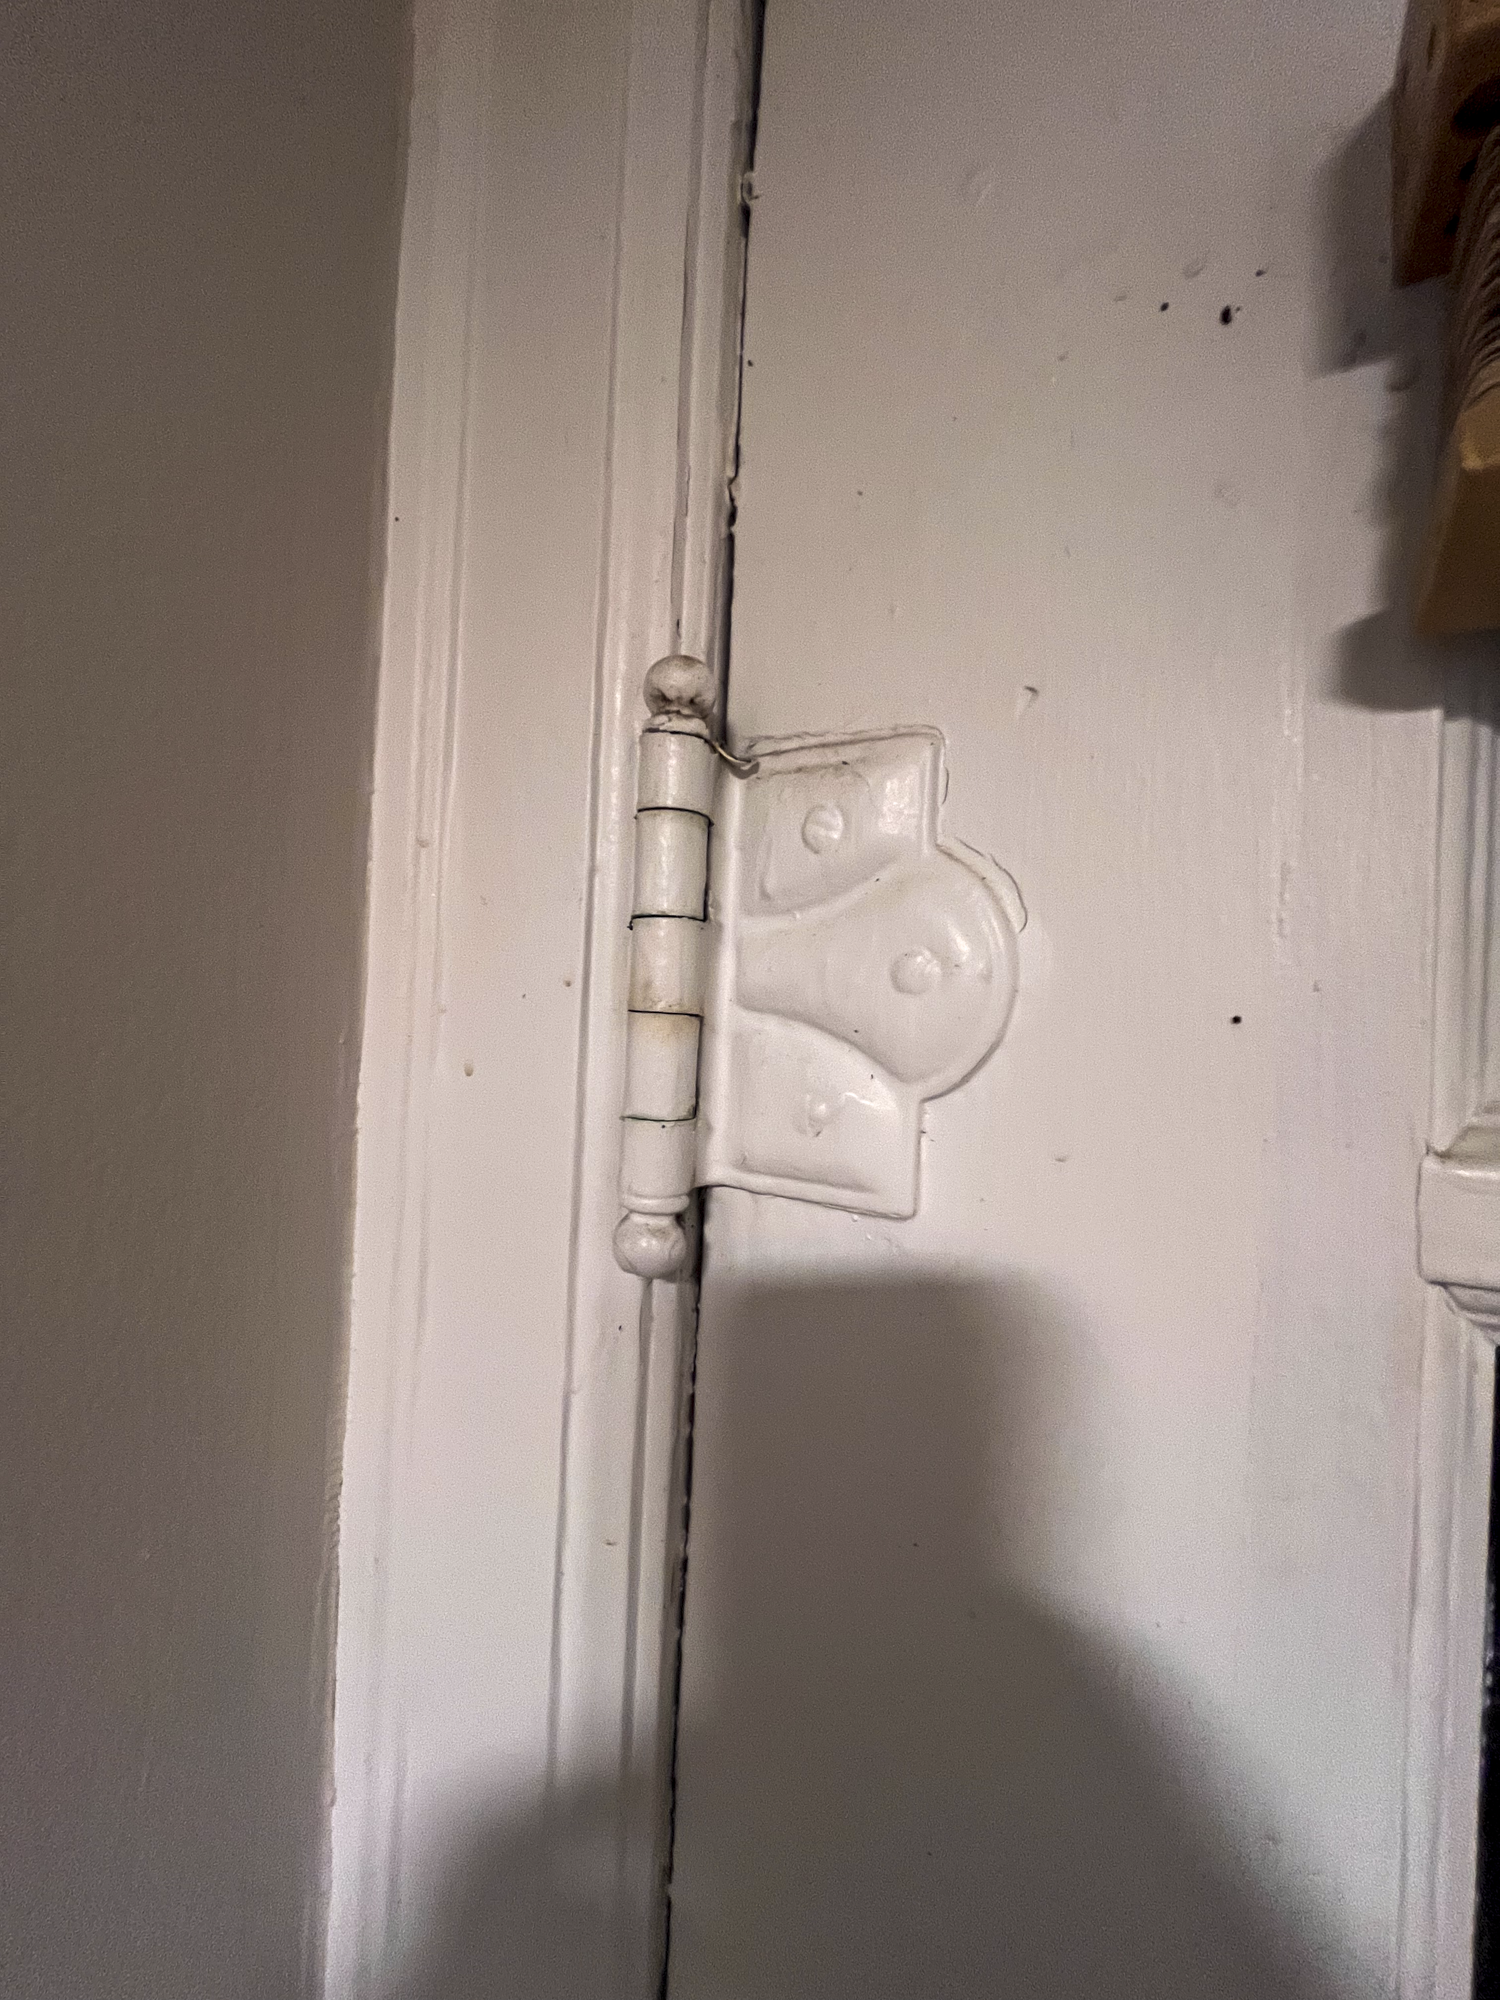
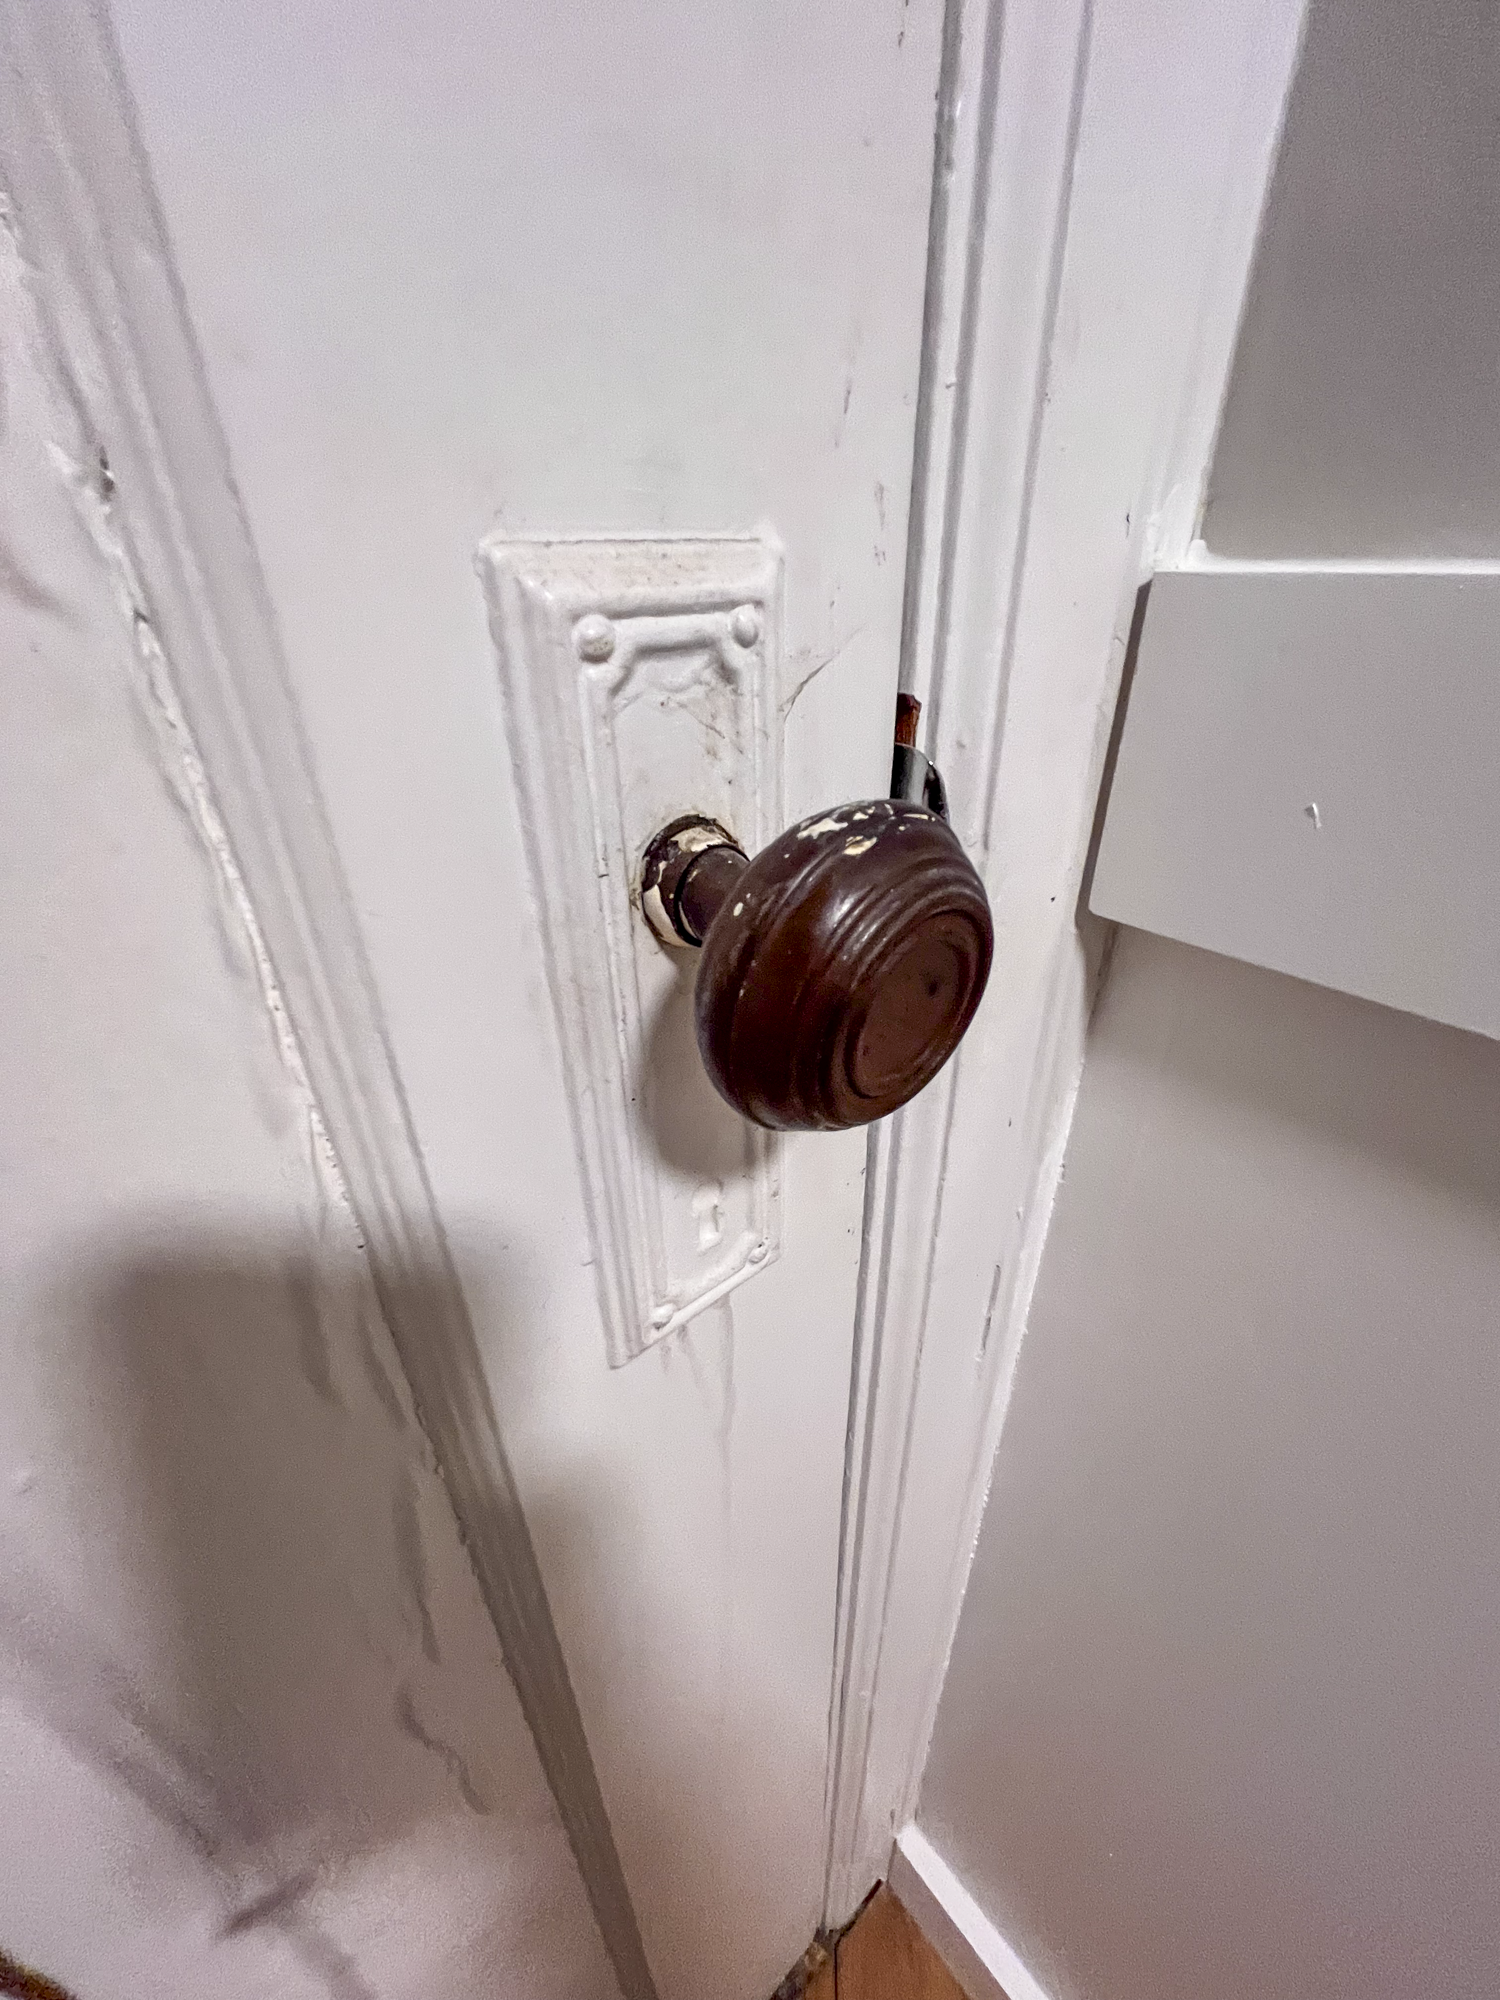
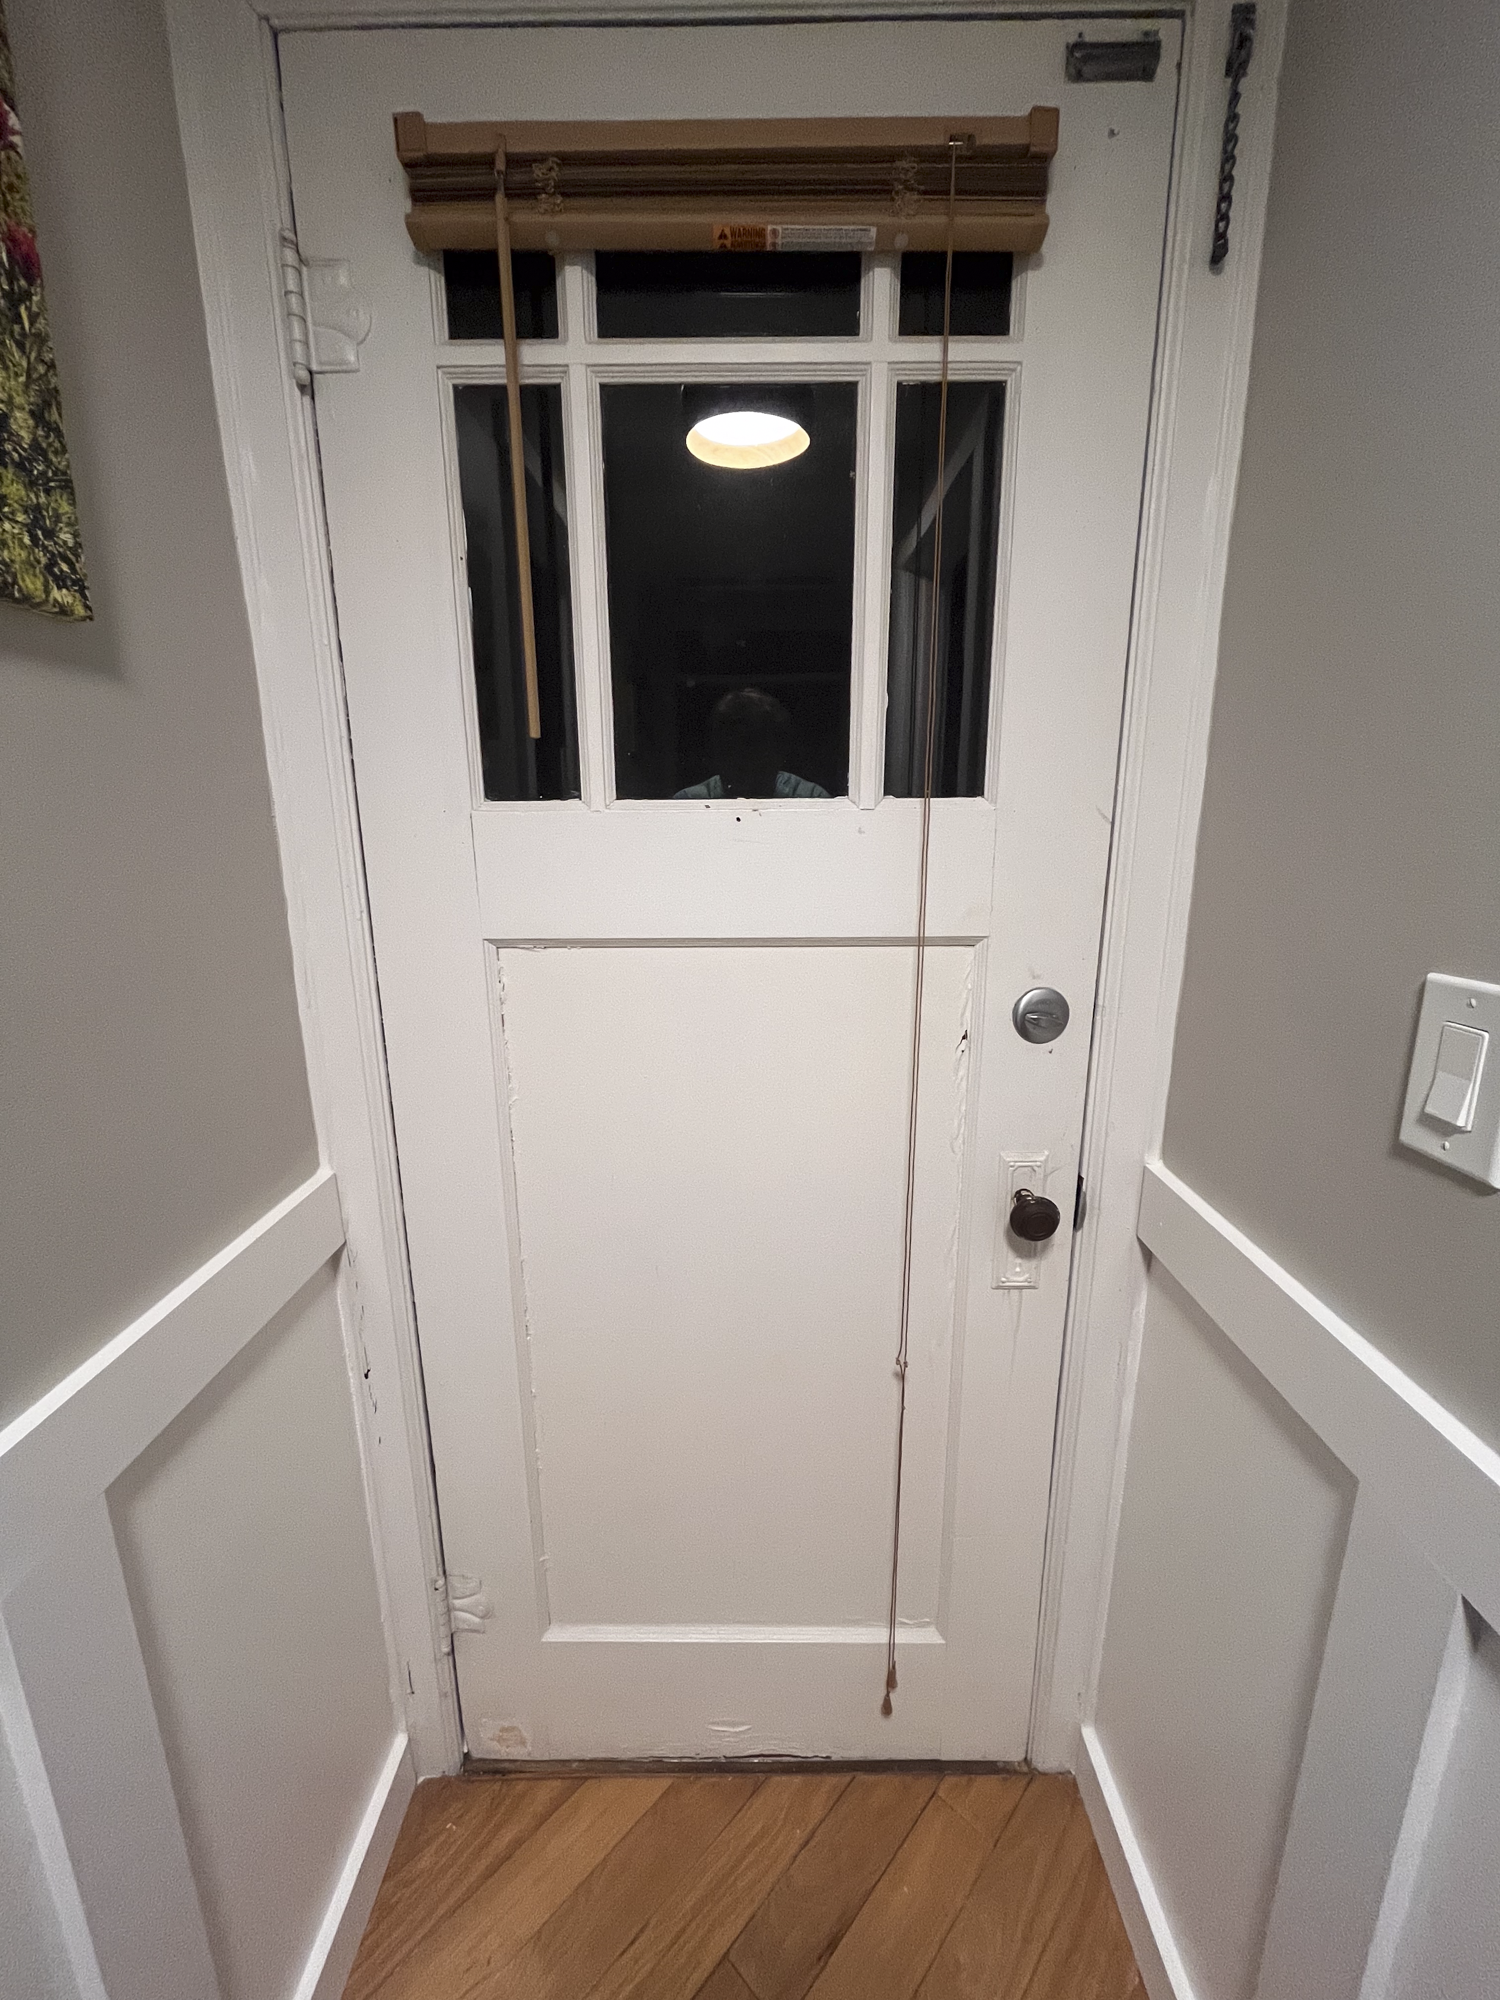
Before: an old door hiding under a lot of paint
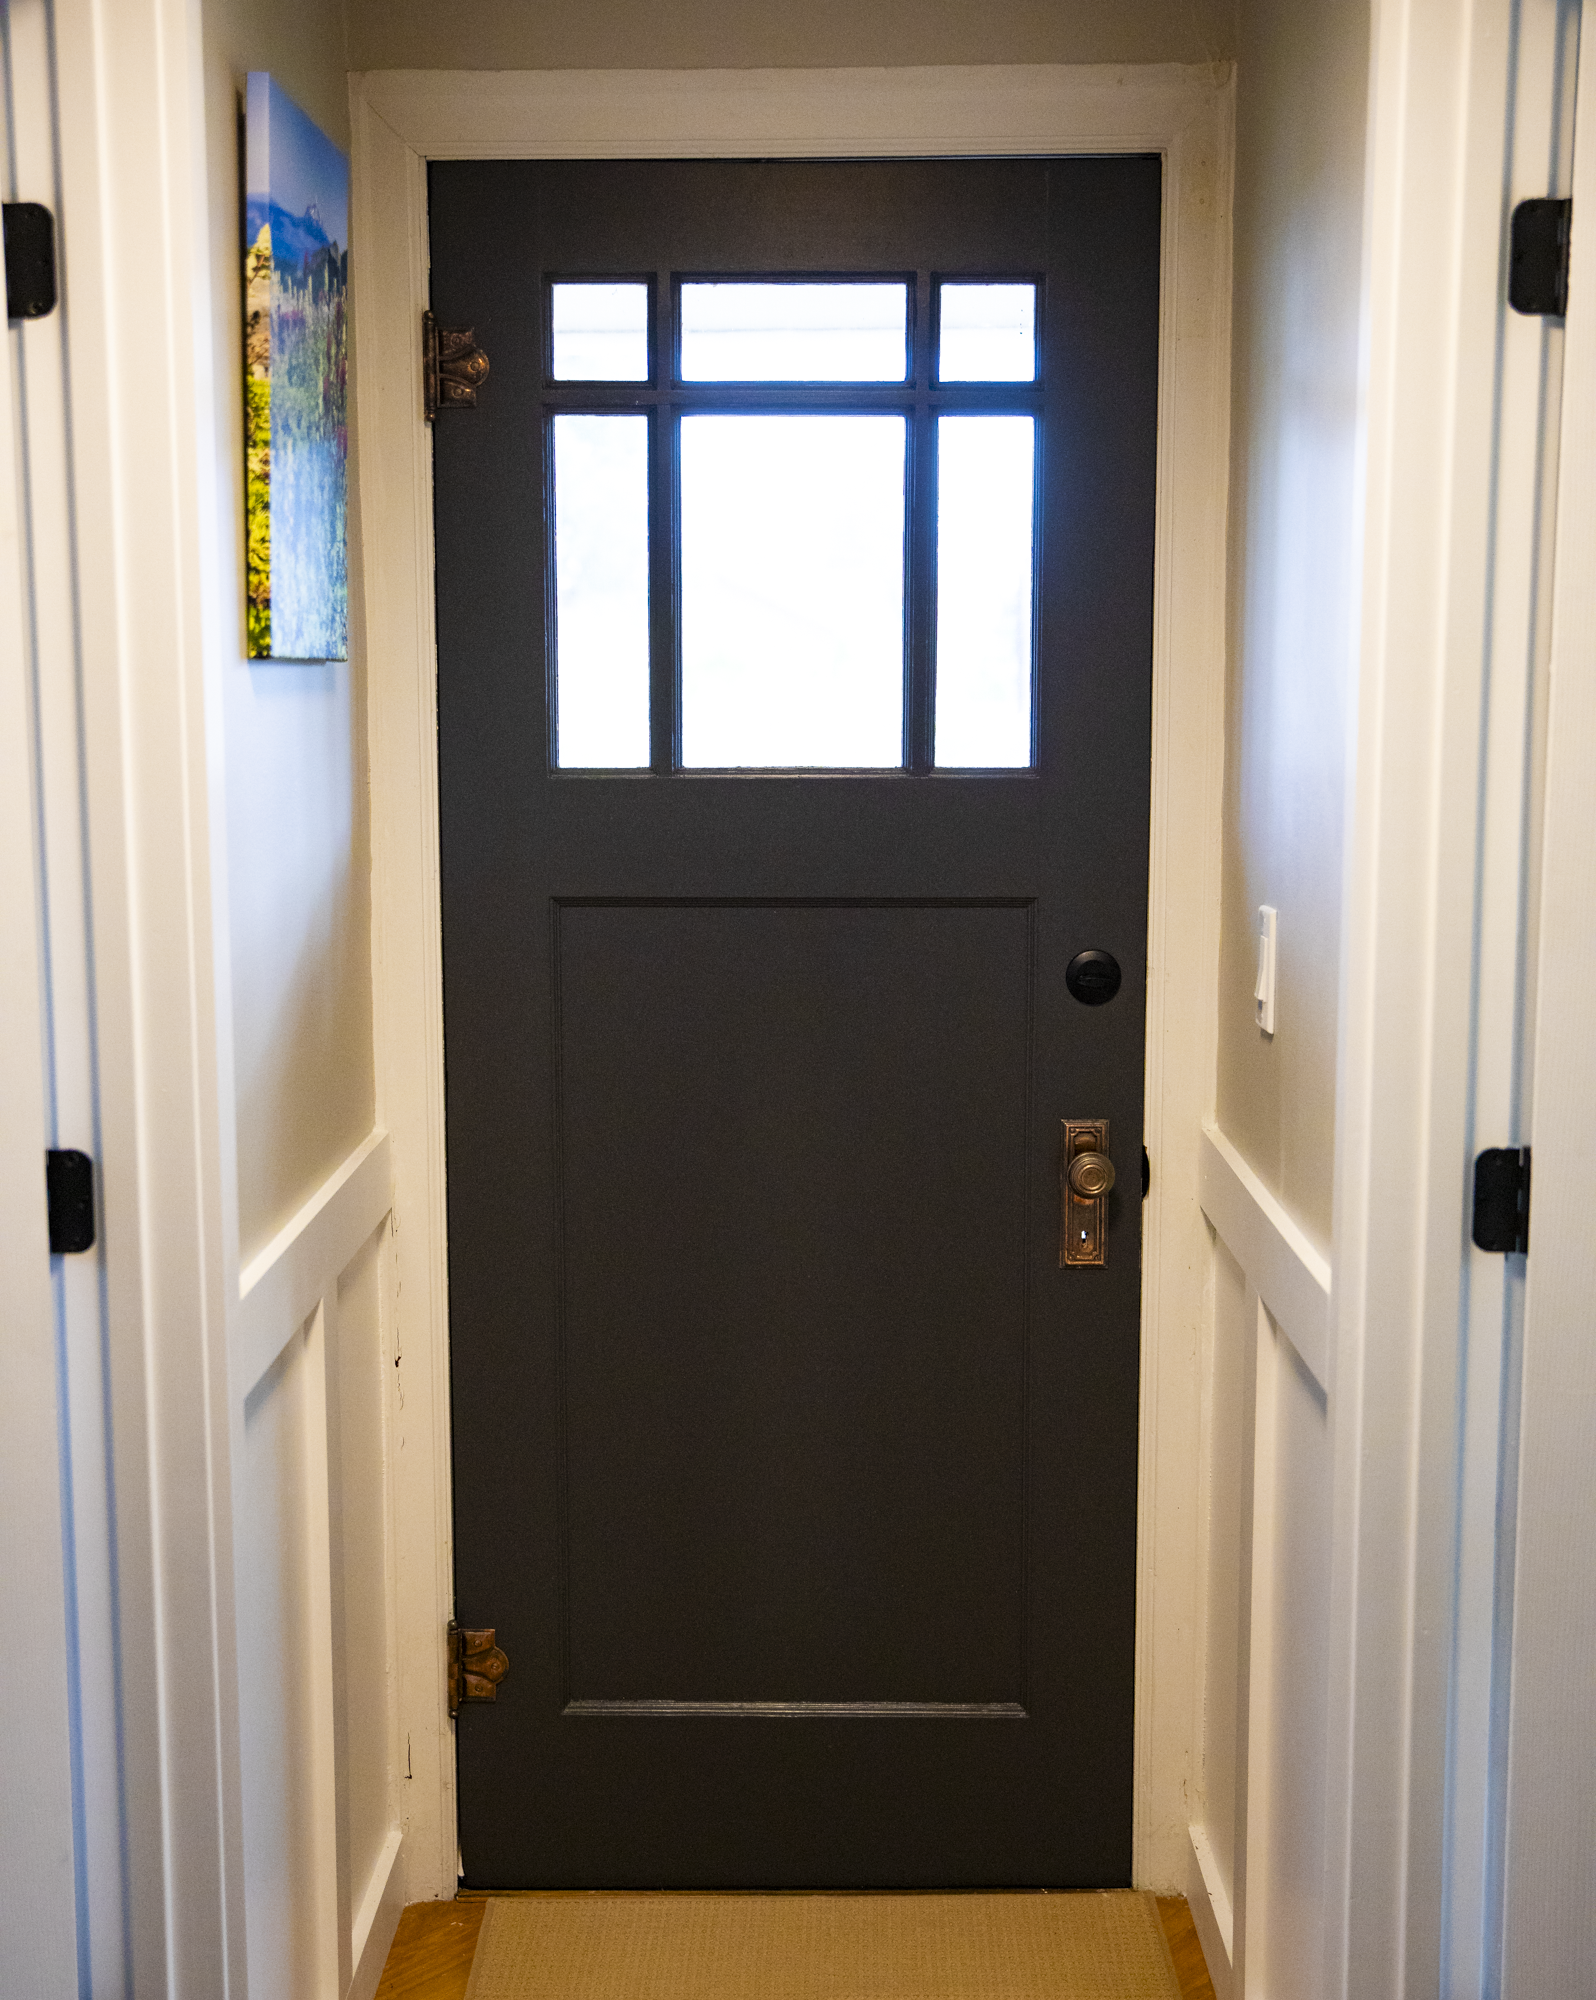
The door itself has great proportions: a large recessed lower panel and a collection of small glass panes across the top. But years of paint had softened almost every detail.
The molding had thick paint buildup. The original hardware had been painted over. Even the decorative hinges had disappeared beneath white paint.
I knew there had to be something better underneath all of it. Boy, was I in for a big surprise.
And because the door was otherwise solid, replacing it with a new door felt almost criminal.
So I took it down and started stripping.
The part where I questioned all of my life choices
I’m not going to pretend stripping an old door is one of those magical DIY projects where you brush on stripper, dramatically pull off one perfect sheet of paint, and reveal flawless wood underneath.
Mine fought back.
There were multiple layers of paint over the original stained finish, and some layers were much more cooperative than others.
I used this paint stripper and hoped for the best.
A thick application worked much better than trying to stretch a thin coat too far. Once the paint softened, I used a plastic scraper to remove it.
The plastic scraper was important. This door is old, and I wanted to remove paint, not carve new gouges into the wood.
For anyone tackling a similarly old painted surface, this is also where I’d strongly recommend proper respiratory protection. I used a protective mask while working.
And with any older house, it’s smart to consider the possibility of lead paint before sanding or disturbing old coatings.
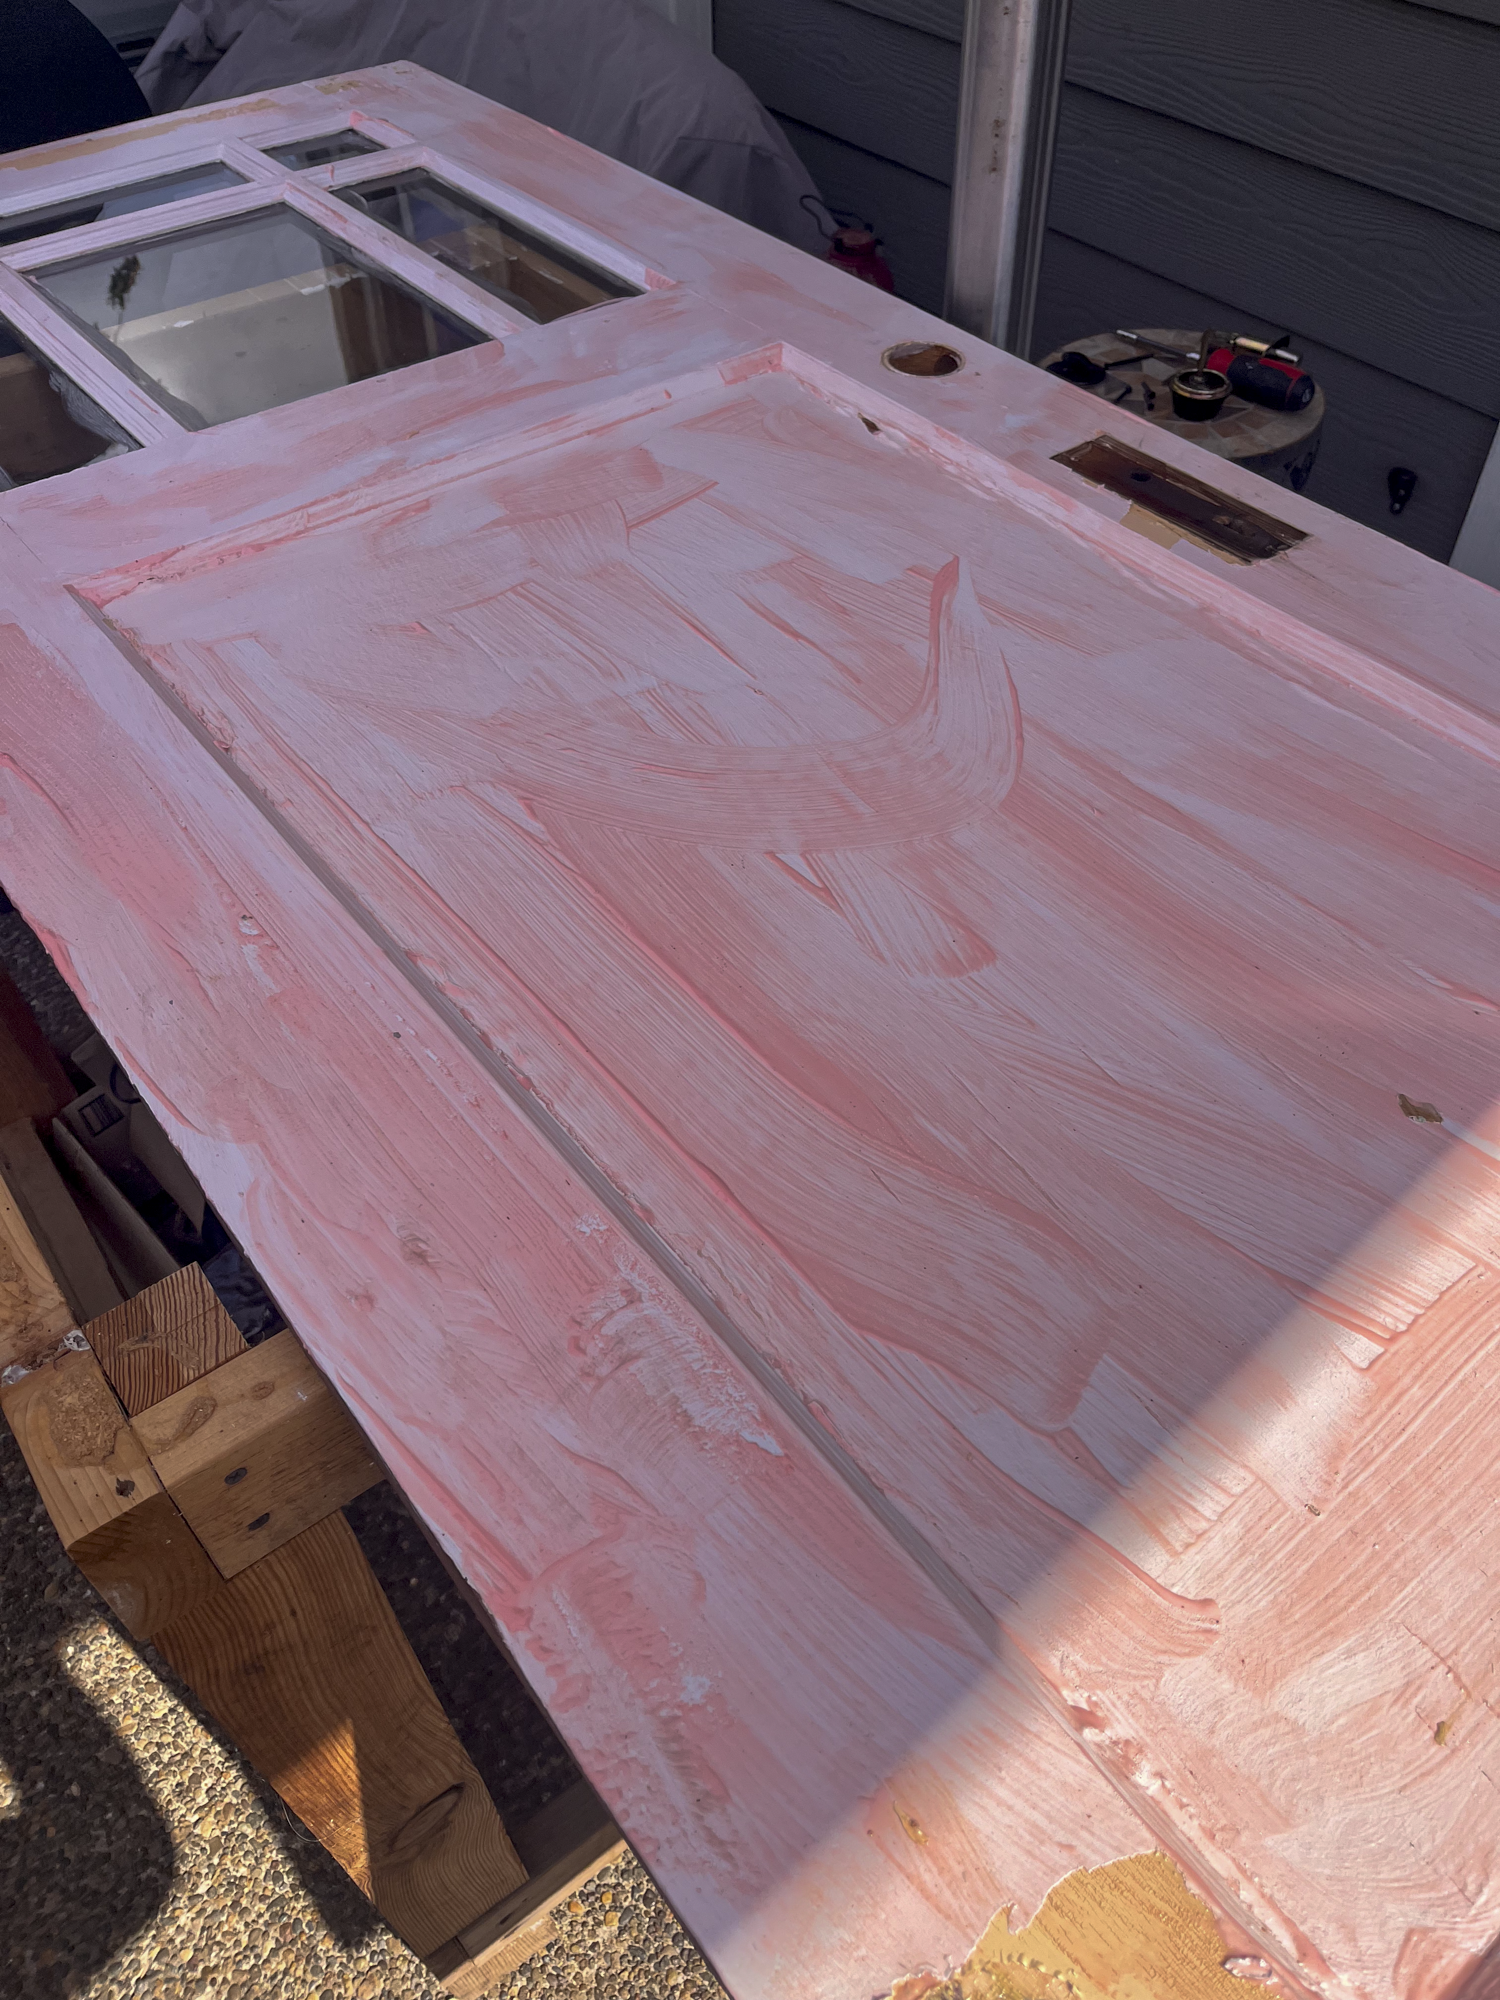
Removing the Layers
This process took quite a bit of time and because of so many layers of paint it took a few applications of paint stripper. Be sure to follow the instructions for the stripper you use and have proper ventilation.
You do not need to remove every microscopic speck of paint
This was probably the biggest lesson from the project.
At first I was determined to get everything off.
Every line.
Every corner.
Every tiny bit inside the molding.
Eventually I realized I was restoring a door that I planned to repaint, not preparing it for a museum exhibit.
Once I had removed the loose paint, thick buildup and anything that would interfere with the new finish, I stopped fighting the stubborn traces buried deep in the molding.
That was absolutely the right call.
The goal became a sound, smooth surface, not perfectly bare wood.
I used mineral spirits to help clean remaining residue and grime from the surfaces, then let everything dry thoroughly before moving on to sanding.
After filling old holes and imperfections, I sanded the repairs smooth and used 320-grit sandpaper for the finer sanding between finish coats.
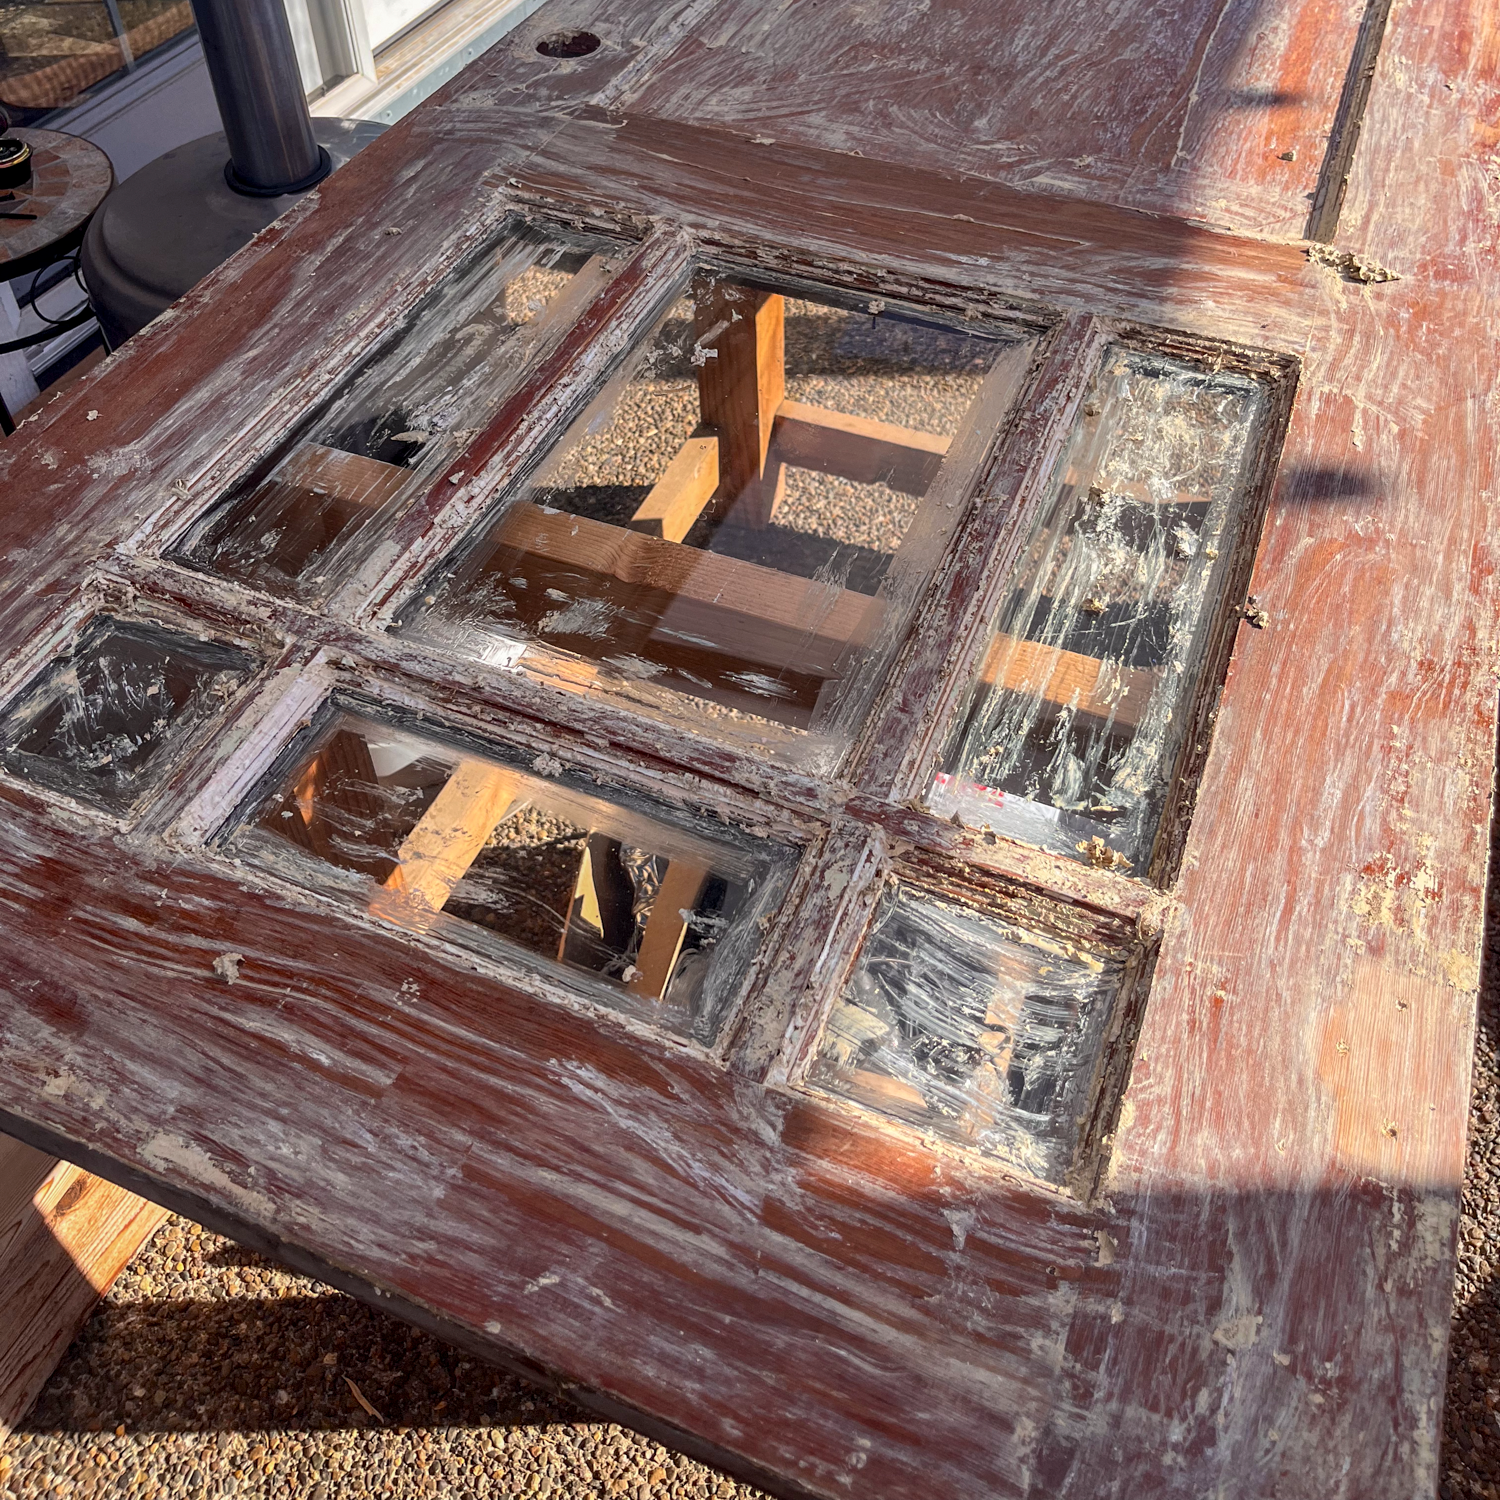
Perfection, no
I was really worried about getting every detail perfect. I did the best I could to help preserve the door before painting it.
Then I discovered the hinges
This may have been my favorite part of the entire project.
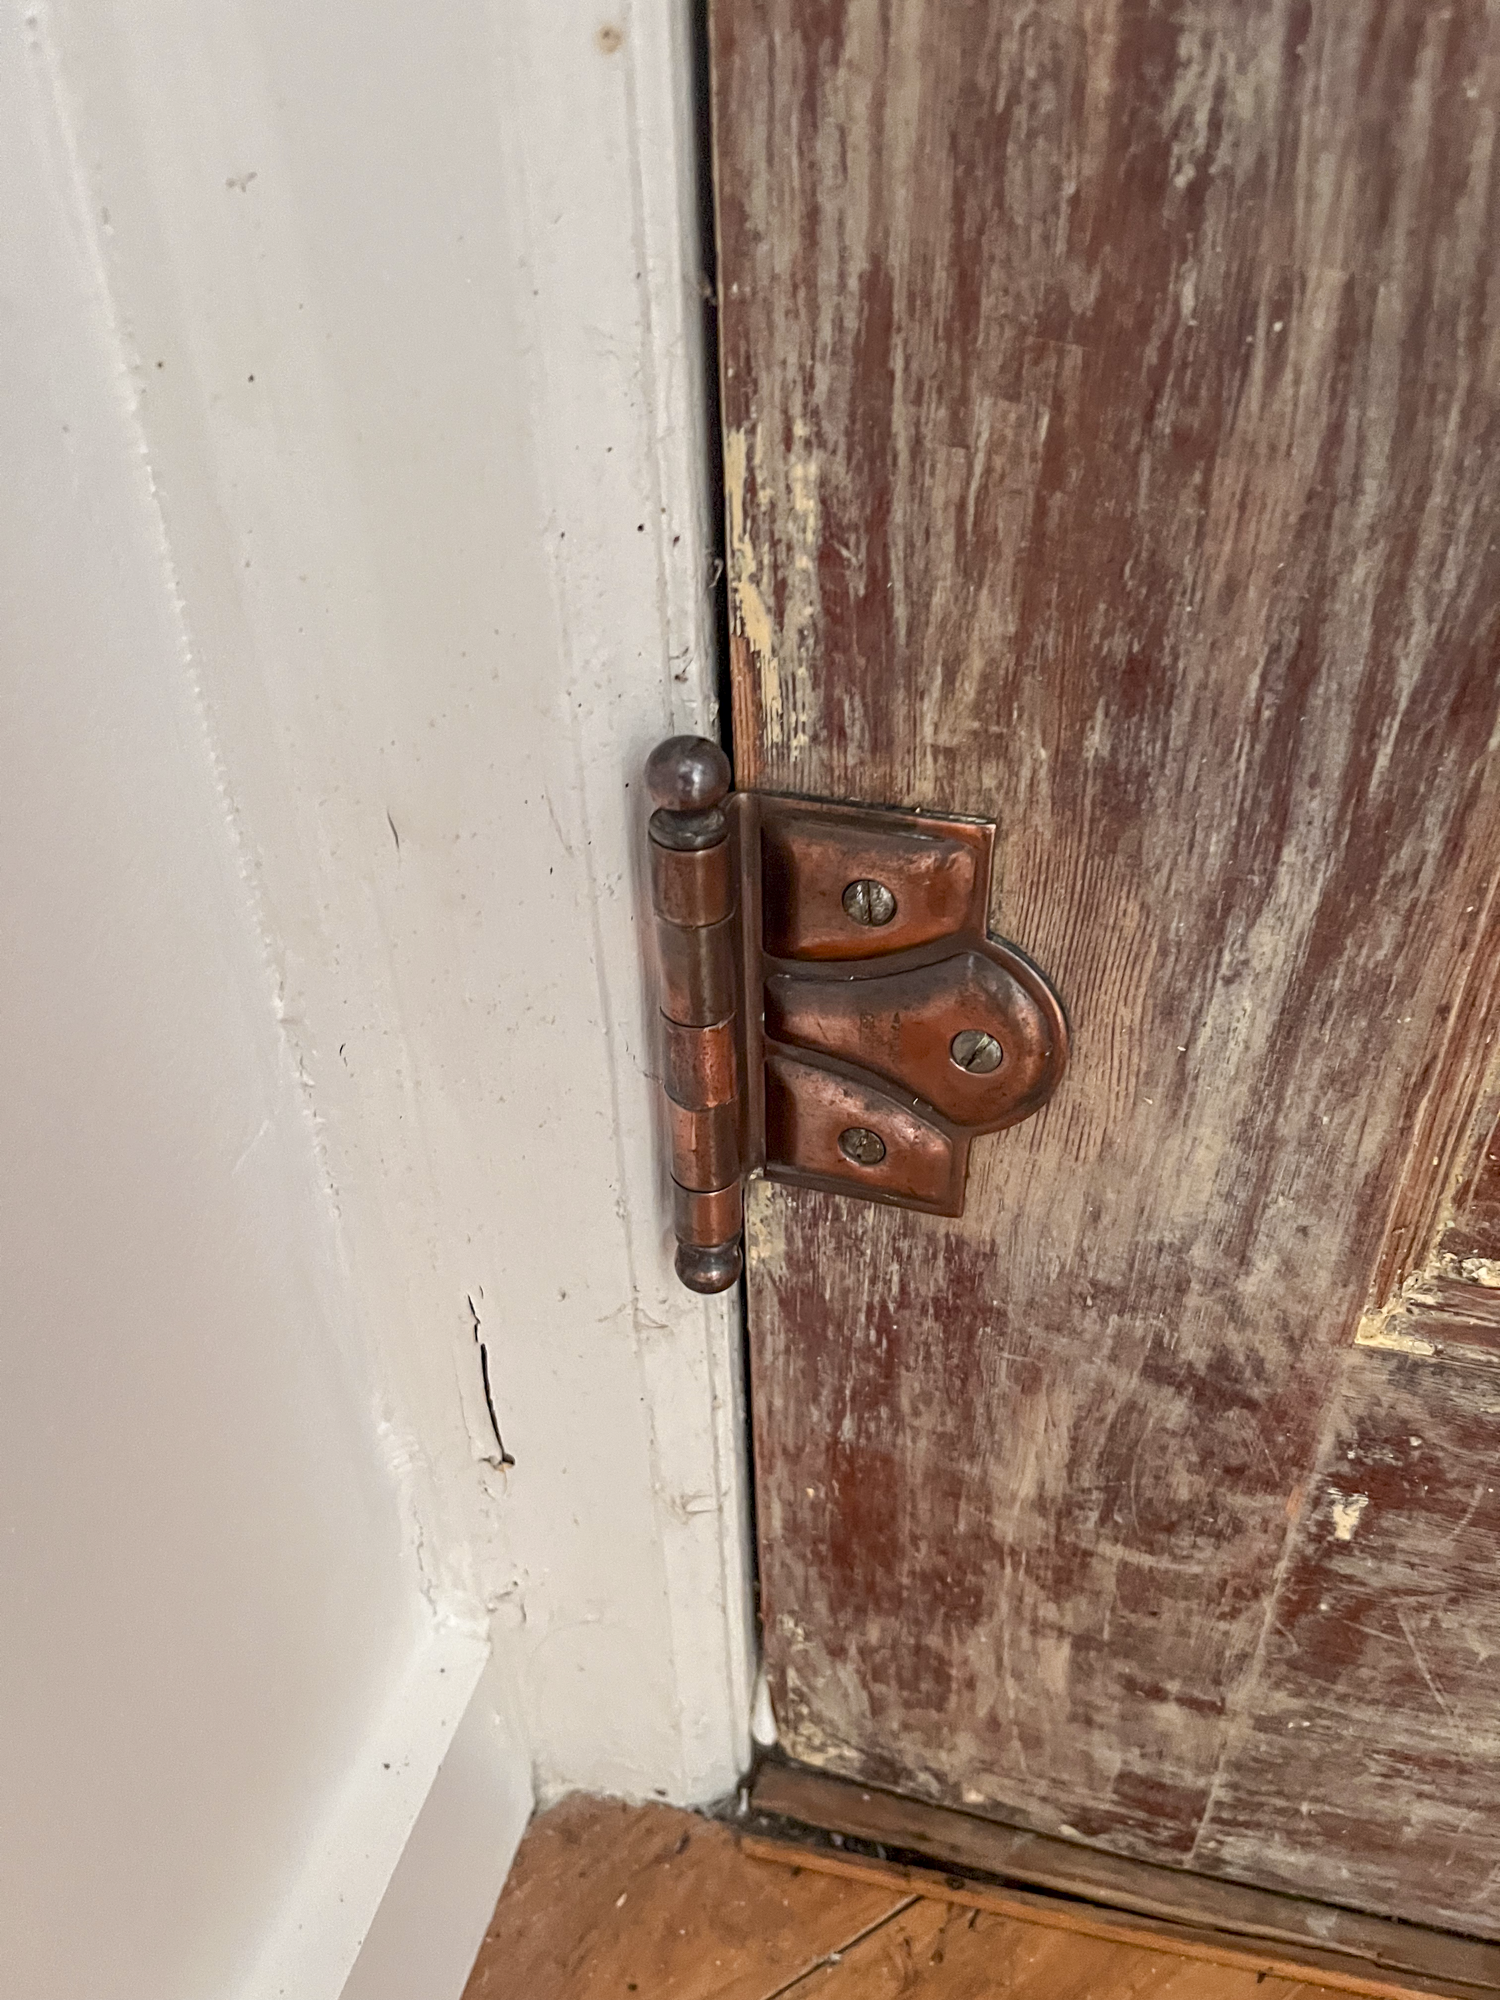
Once I removed the paint from the hinges, I realized they weren’t generic old hardware at all.
They were beautiful decorative brass hinges.
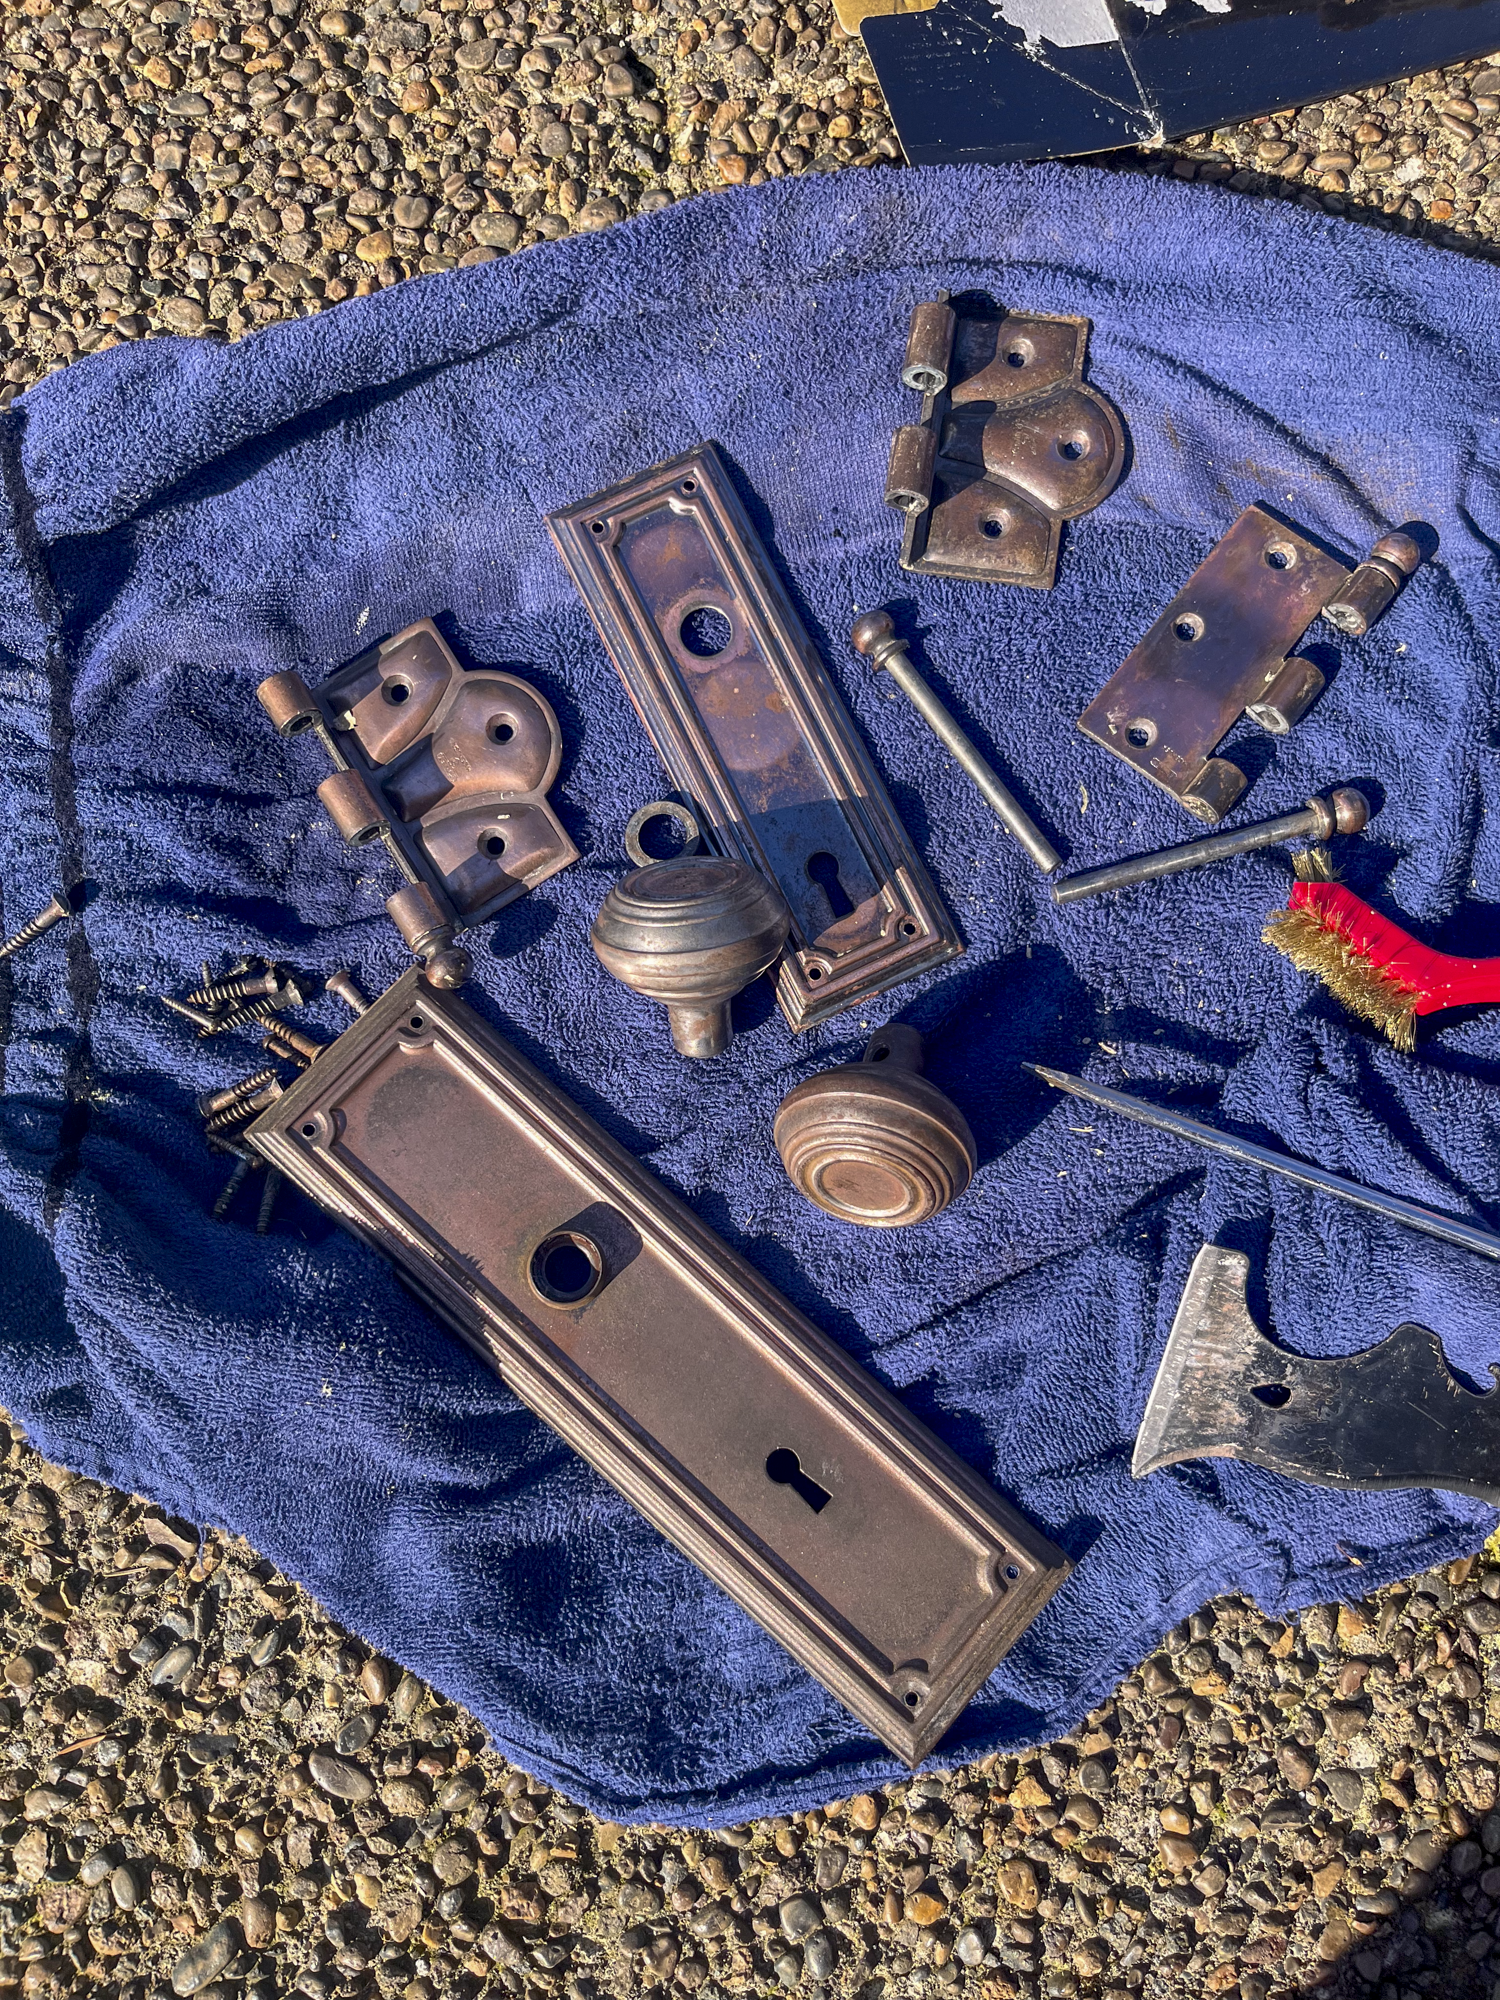
They had little ball finials, an unusual sculpted shape and decades of character hiding beneath layers of white paint.
That was the moment the project changed for me.
Instead of trying to make the door look brand new, I wanted the finished door to highlight the pieces that had survived with the house.
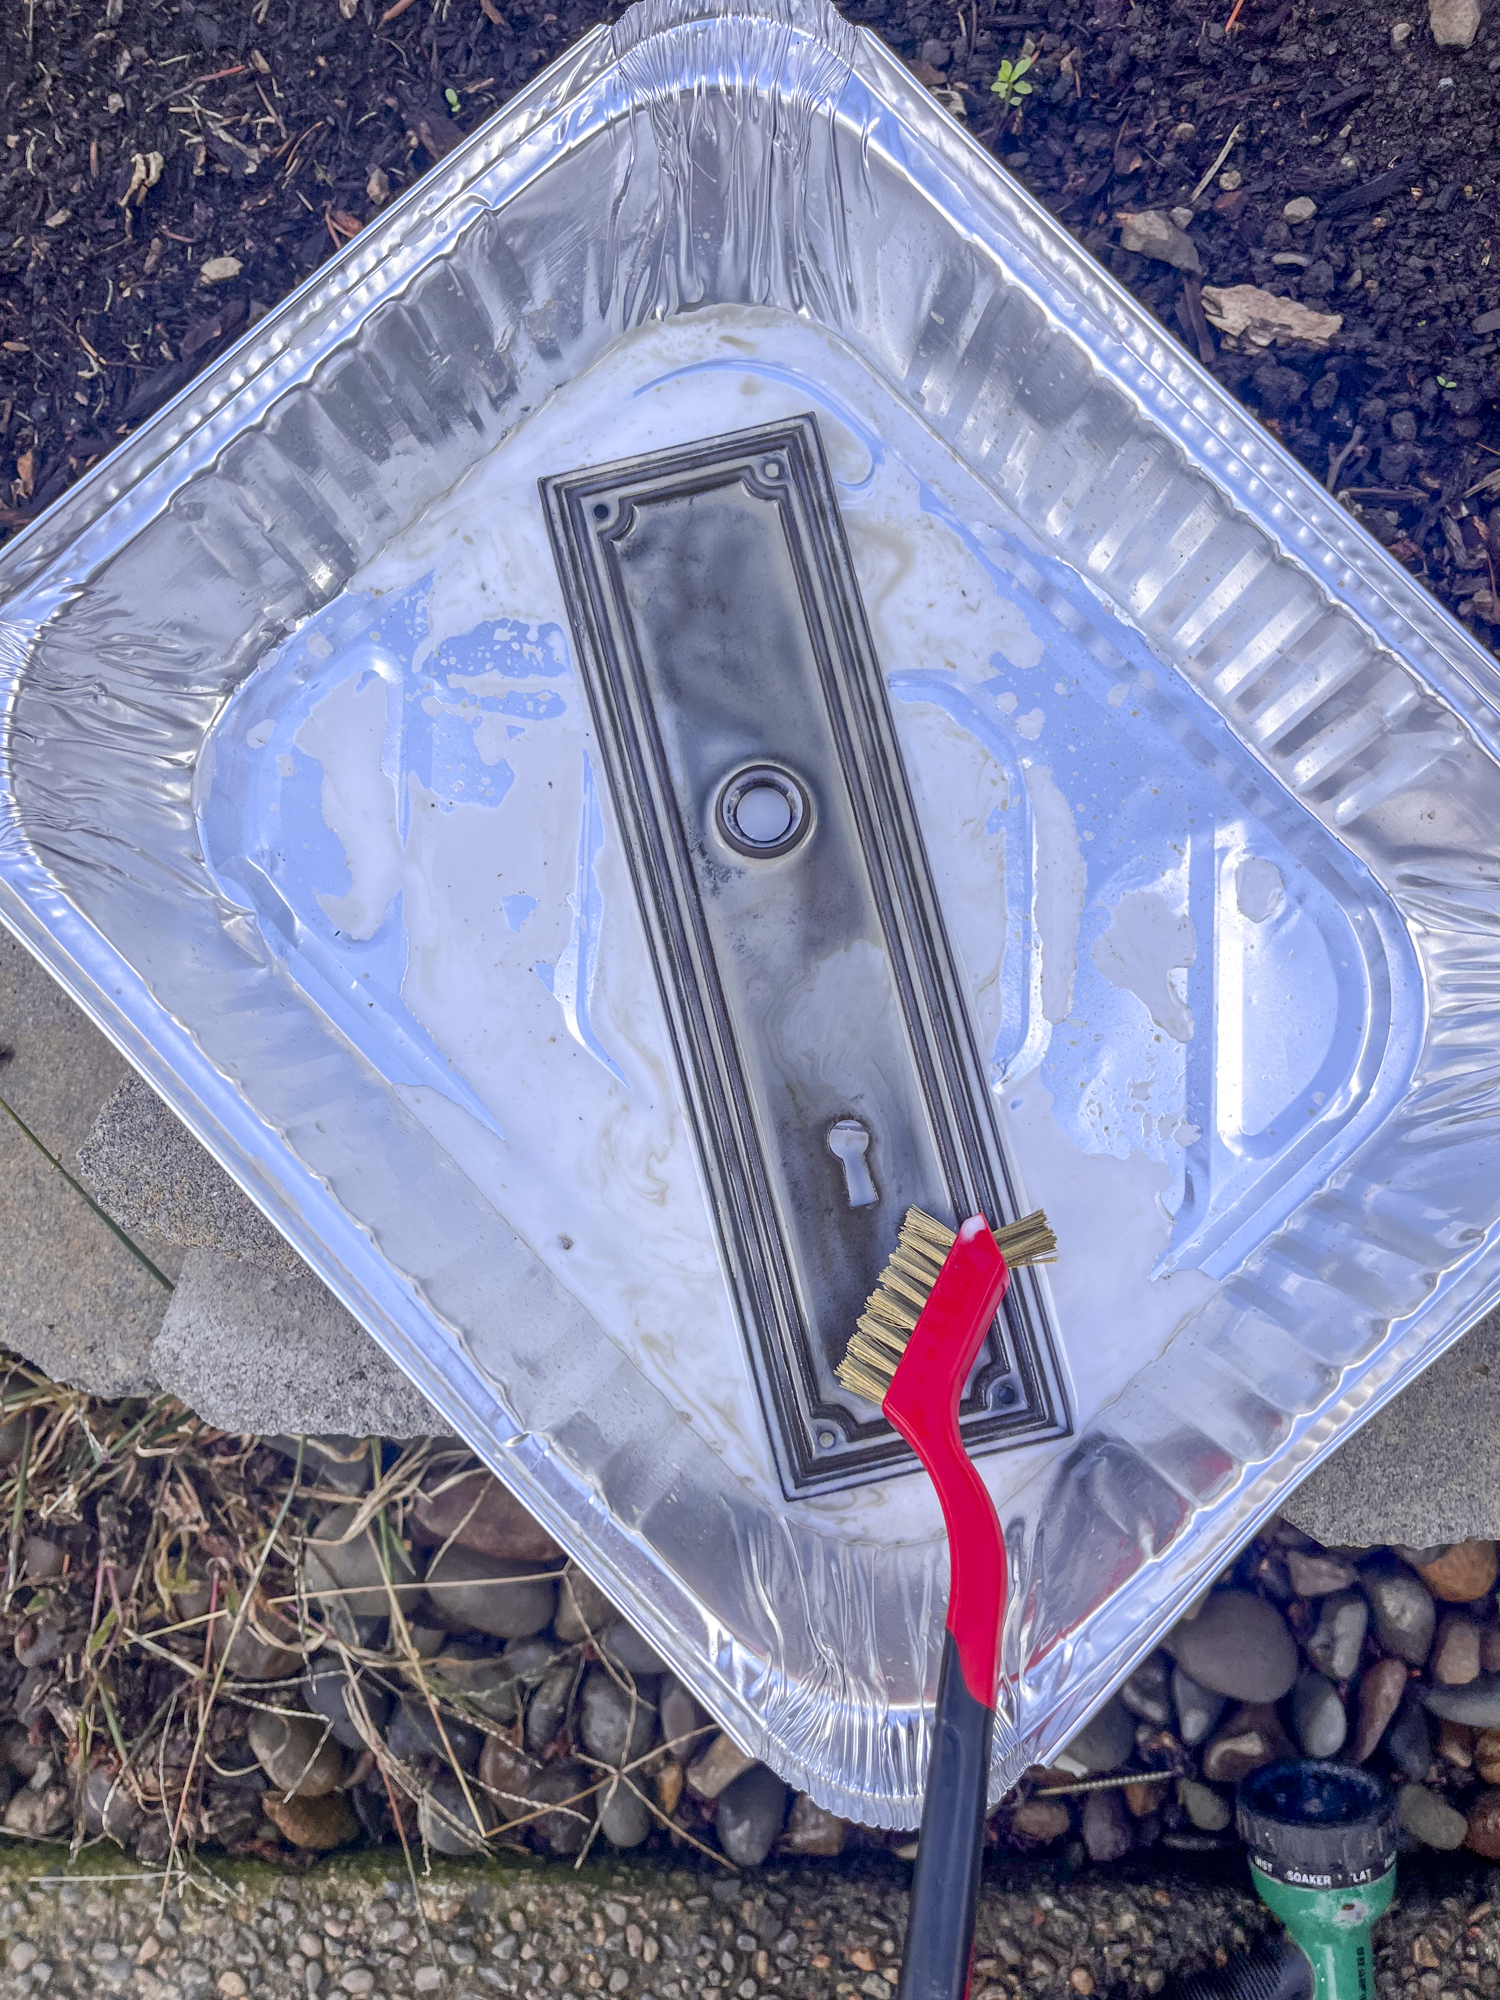
I stripped the paint from the hinges, knob and original backplates, then cleaned the metal carefully rather than aggressively polishing everything until it looked new.
The darker areas and uneven patina are part of what make old brass beautiful.
Once I was happy with the finish, I protected the hardware with a light coat of wood and finishing wax and buffed it gently.
I kept the original mortise lock and knobs
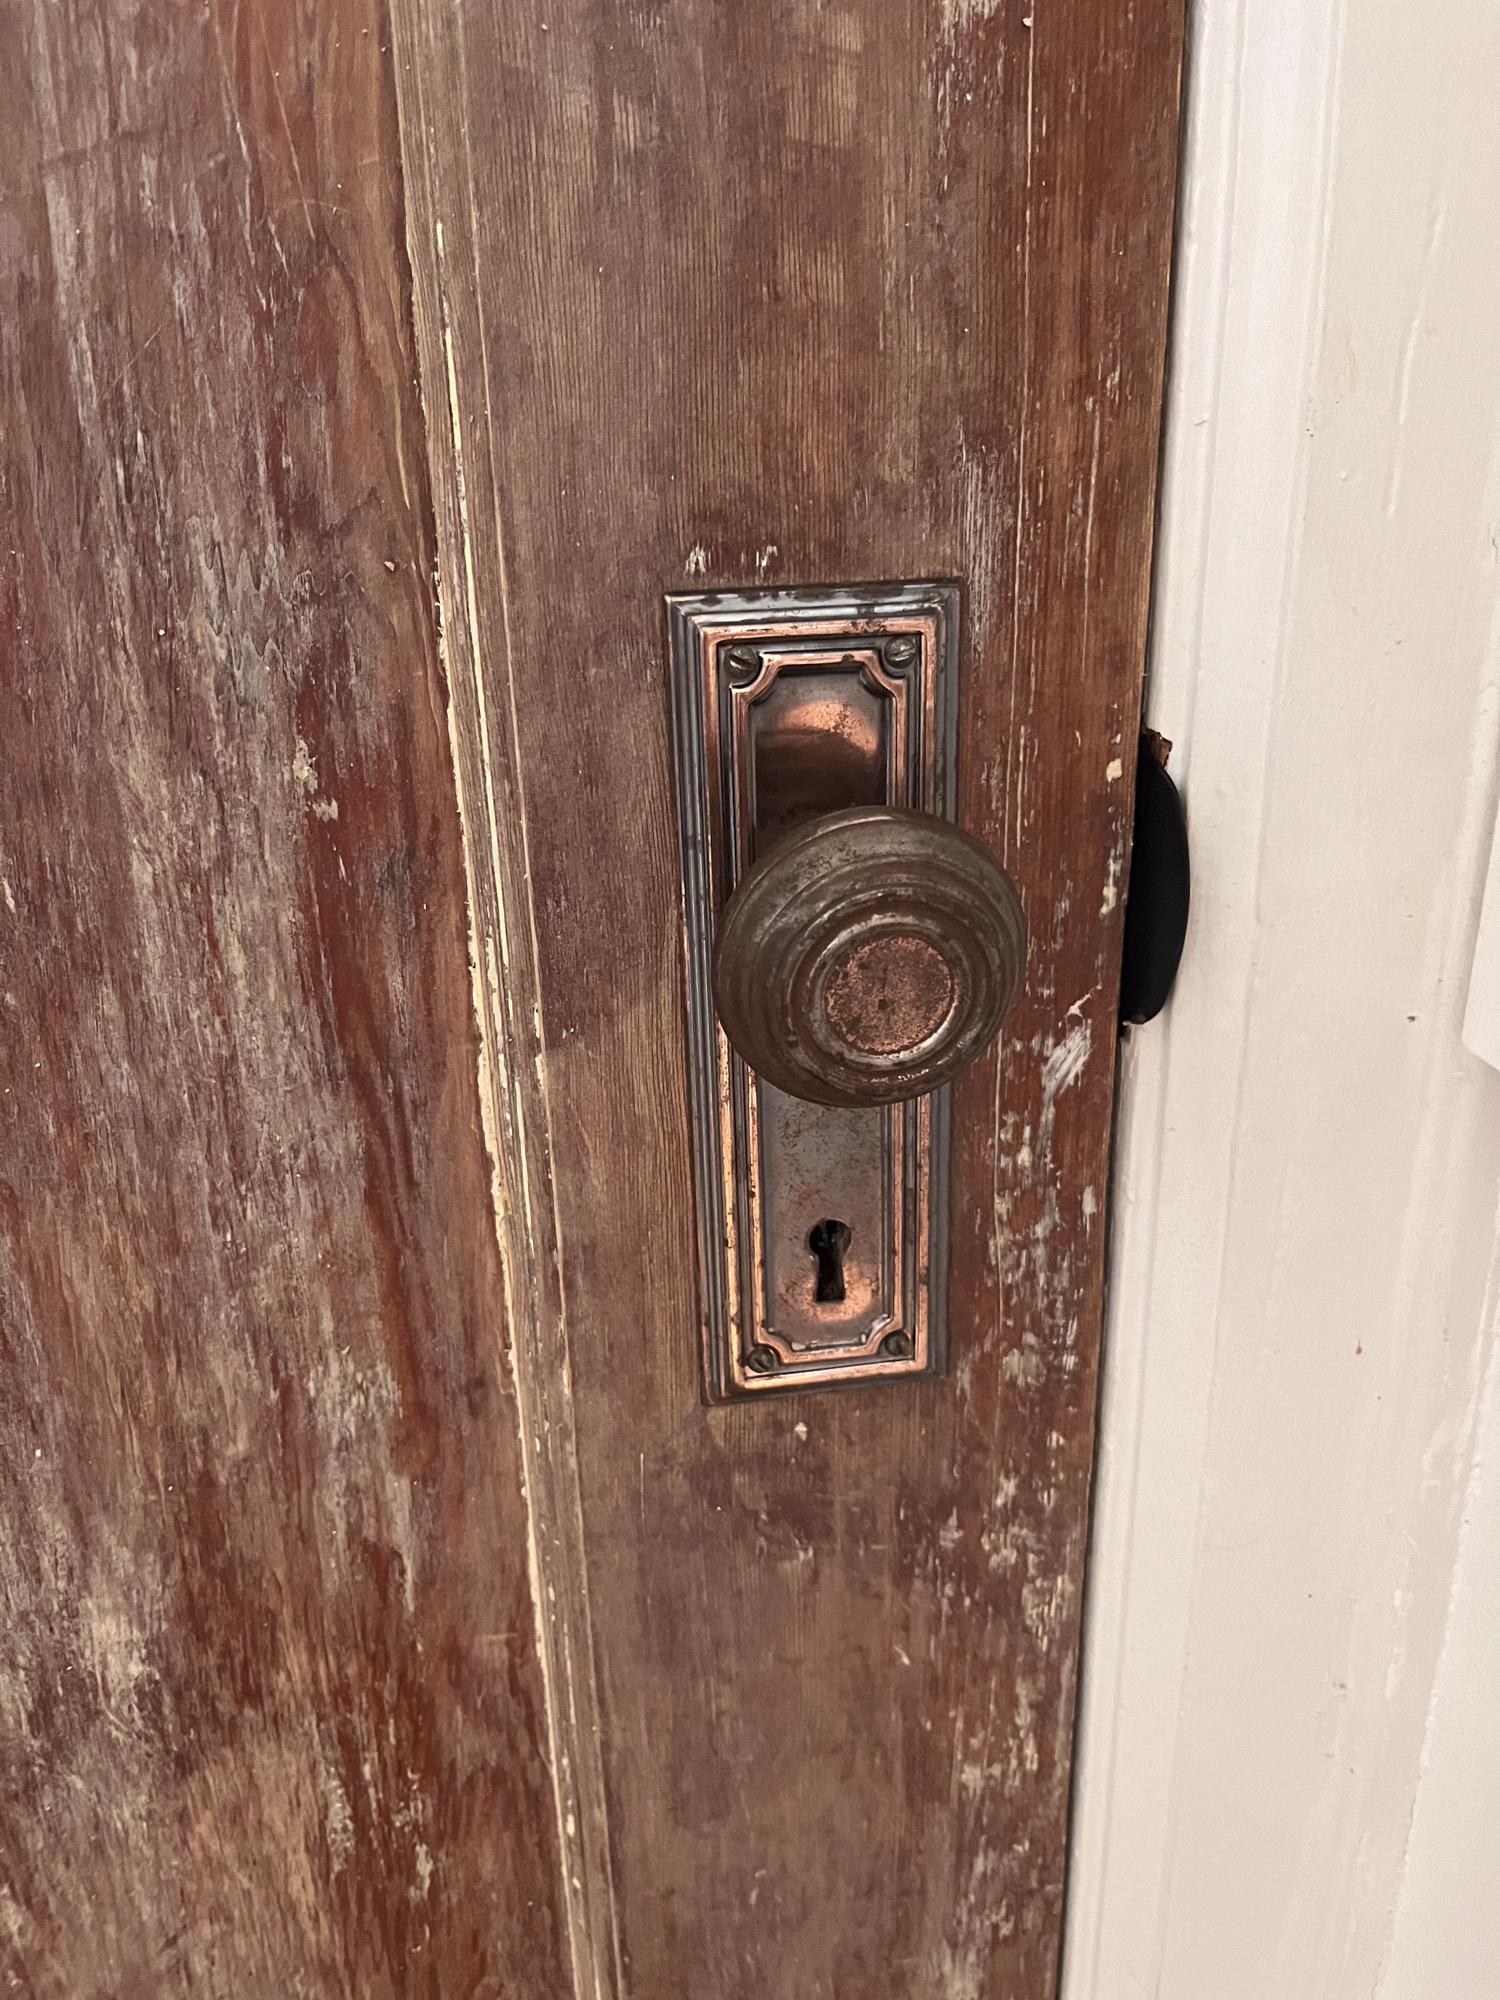
The door still had its old mortise lock, the large rectangular lock mechanism recessed into the edge of the door.
Initially I wondered whether I should replace the entire knob assembly.
I’m very glad I didn’t. I hope one day to find a key and really bring it back to life. Right now it just looks cool.
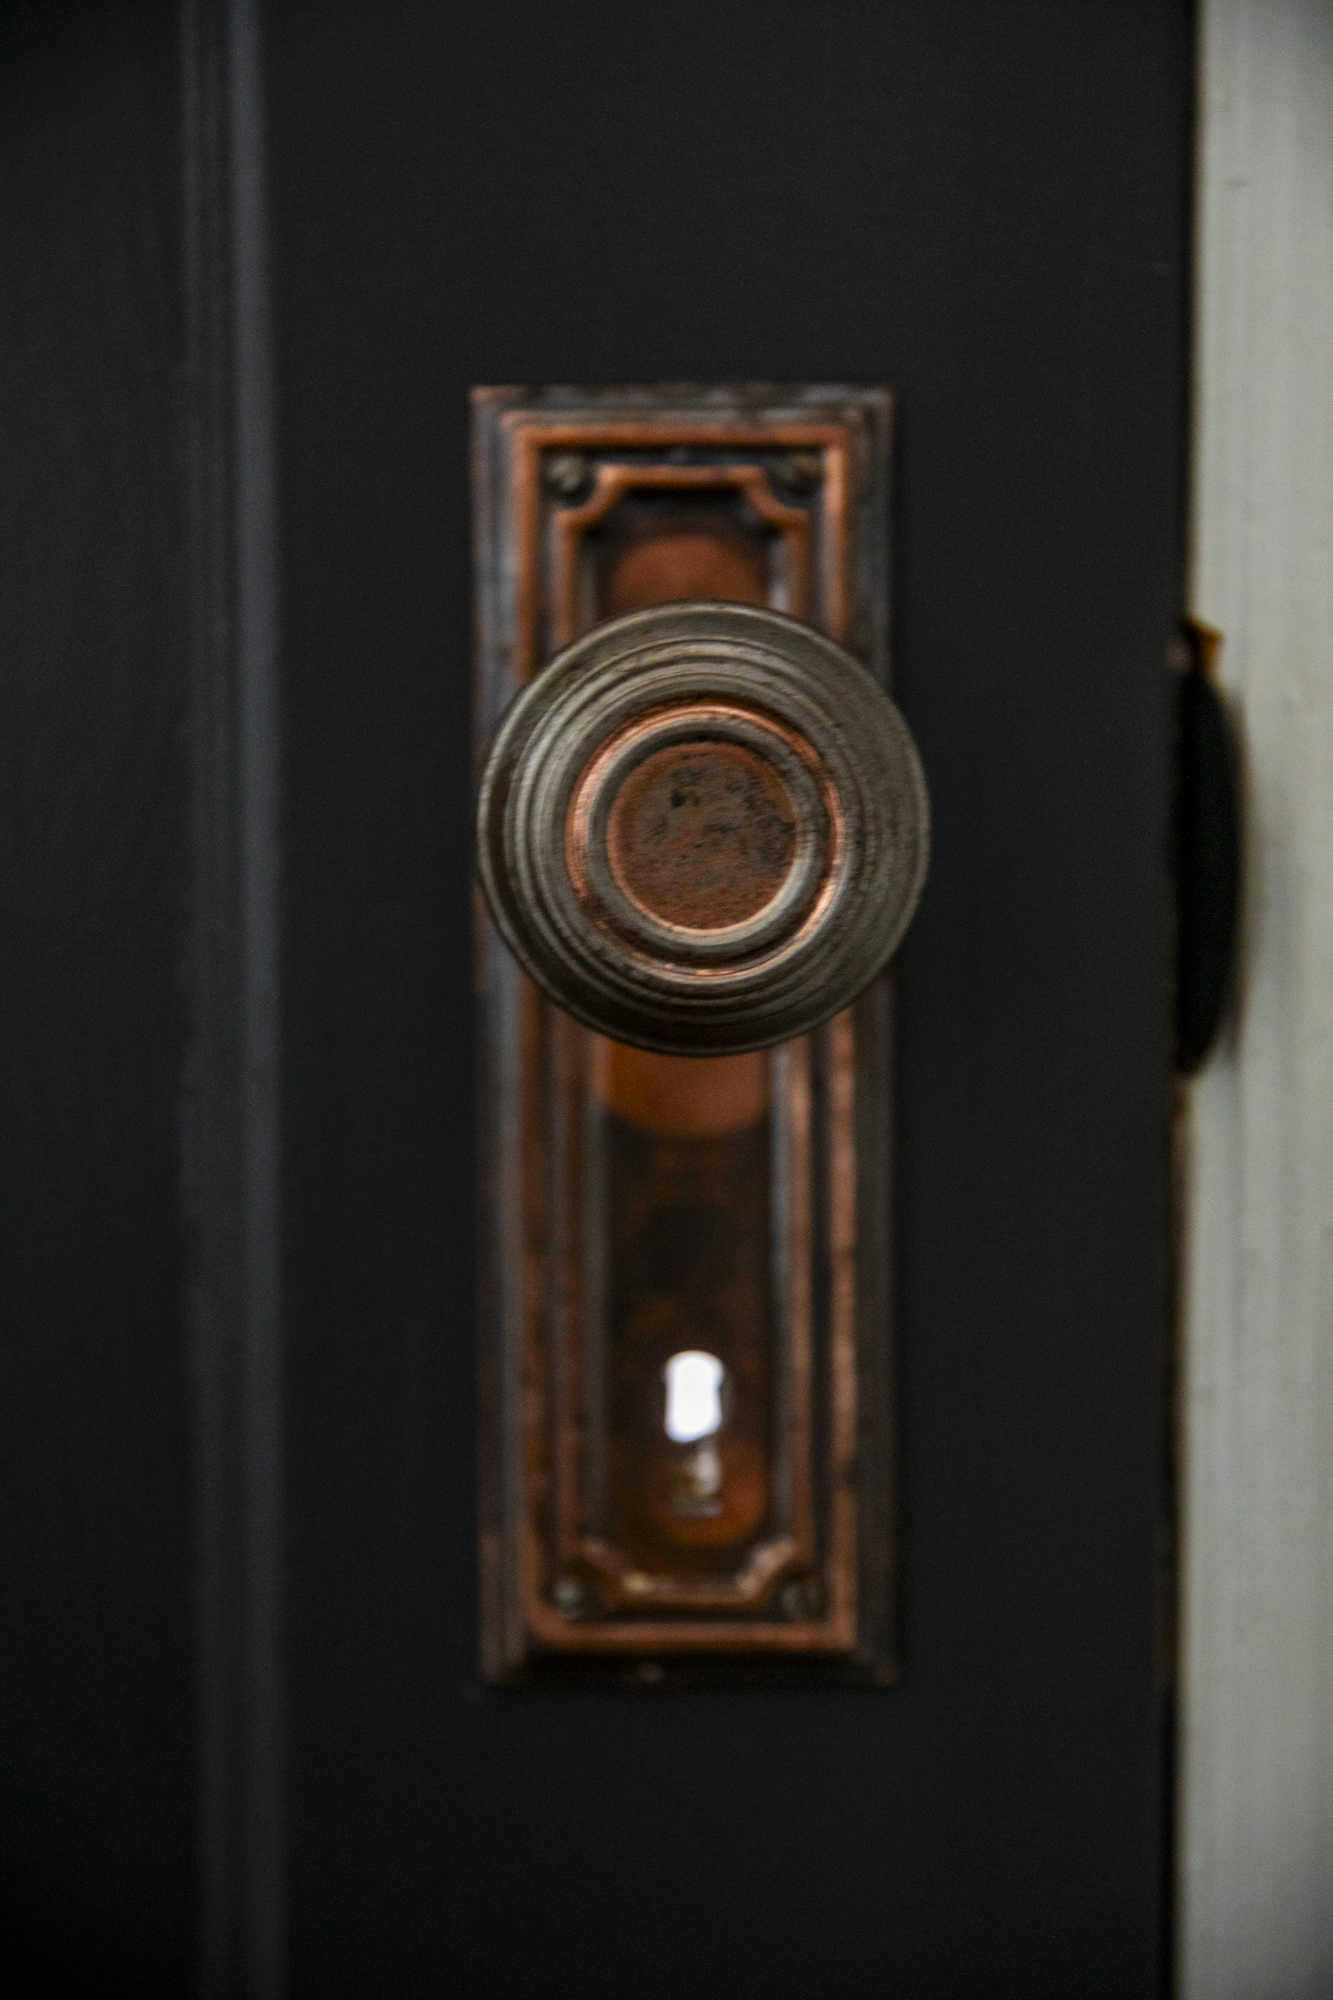
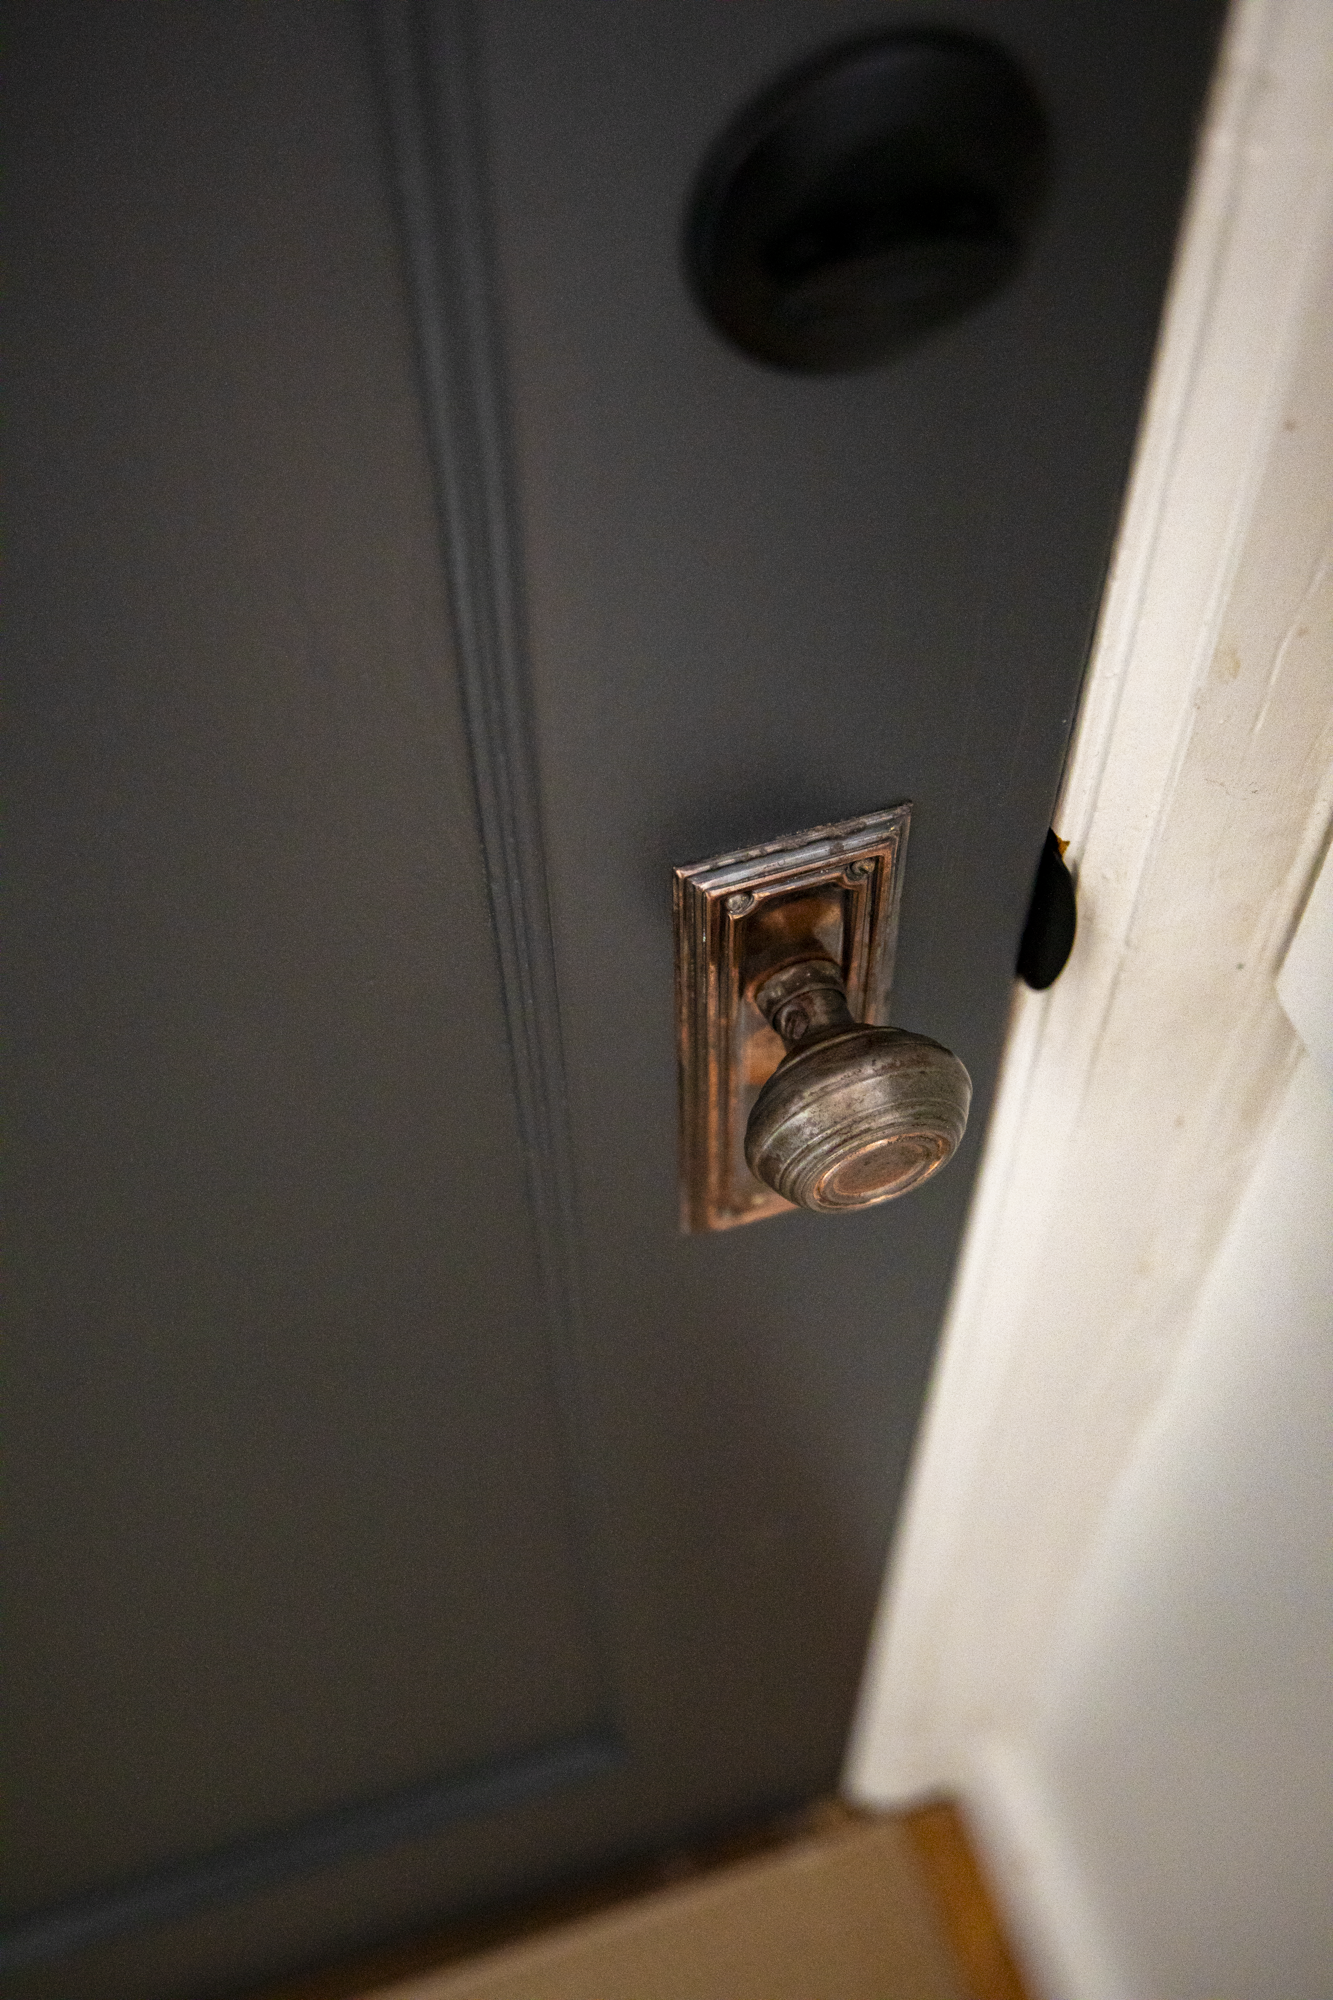
Once everything was removed and cleaned, the original hardware looked completely different. The aged brass knob and long decorative backplate suddenly felt like features rather than things that needed to be updated.
I did add a simple matte black deadbolt above it for a clean, modern contrast.
That combination ended up being exactly what I wanted: modern where it made sense, original where it mattered.
Primer made a huge difference
After stripping, cleaning, filling and sanding, I primed the door.
Because I had exposed old stained wood, I used a stain-blocking shellac primer. Old wood and old stain can bleed through water-based paint, and after doing this much work, I absolutely did not want discoloration coming through the finished surface.
The primer also made all of those different surfaces, bare wood, old paint remnants and filled repairs, look like one door again.
From there I lightly sanded the primer, removed the dust and finally got to the fun part.
Painting.
I used basic paint supplies for the finish work and applied two thin coats, lightly sanding between them.
The color: Benjamin Moore Wrought Iron
After considering blue, green and several charcoal colors, I landed on Benjamin Moore Wrought Iron.
It was exactly right.
It’s dark enough to feel dramatic, but it isn’t a harsh jet black. Depending on the light, it reads somewhere between charcoal and an extremely deep blue-black.
Against the white trim, warm wood floors and restored brass hardware, it feels both modern and completely appropriate for an old house.
And that was ultimately what I wanted.
I wasn’t trying to make a 1930s door look like it came from a brand-new house.
I wanted it to look like a beautiful 1930s door that someone finally paid attention to again.
Was stripping the door worth it?
Absolutely.
Was it more work than painting directly over the existing white paint?
Absolutely.
But had I simply sanded the surface and painted over everything, I never would have discovered those hinges. I probably wouldn’t have appreciated the original mortise hardware. And another layer of paint would have buried the door’s details even further.
That is one of my favorite things about working on an older house.
You never really know what somebody covered up 30, 50 or 80 years ago. Sometimes the most satisfying renovation decision isn’t figuring out what new thing to buy. It’s figuring out what was already there. The bonus for me, I took a look at other hinges in my house and found a similar set caked in paint, but that project is for another day.