
Planting Garlic in the Fall: A Little Less Garlic, a Lot More Common Sense
There's something satisfying about planting a crop in the fall, knowing that while the rest of the garden winds down for winter, something is quietly getting ready for next year.
This week, I planted my garlic. And unlike last year, I showed a little restraint.
You see, last fall, for some reason I convinced myself that I needed to dedicate an entire garden bed to garlic. An entire bed. I'm not exactly sure what I was planning to do with all that garlic, but apparently I had big dreams.
Don't get me wrong. I love garlic. It's one of those ingredients that finds its way into just about everything I cook. But there's a difference between growing enough garlic for your kitchen and accidentally preparing to supply a small Italian restaurant.
So this year, I scaled things back.
Even better, I didn't have to buy any seed garlic. I saved some from last season's harvest, which means this year's crop is starting with garlic I already grew myself.
And that's one of my favorite things about gardening. Once you get a good crop going, you can often keep it going year after year.
Why Fall Is the Perfect Time to Plant Garlic
Here in Oregon's Willamette Valley, fall is an ideal time to get garlic in the ground.
According to Oregon State University Extension, September through November is the best time to plant garlic in Oregon.
Unlike tomatoes, peppers, and most other vegetables we grow during the warmer months, garlic actually benefits from spending the winter in the ground.
When planted in the fall, garlic starts developing roots before winter sets in. Aboveground growth may be slow, but beneath the soil, those cloves are getting established.
Then, as the weather warms and the days get longer in spring, the plants really take off.
By early summer, those individual cloves will have developed into full bulbs of garlic.
It's a pretty remarkable return on a small investment.
Fall is also a great opportunity to get the rest of the garden ready for winter. If you're looking for ways to make that process easier, I put together a guide to my favorite garden gadgets for fall cleanup and frost preparation.
Using Garlic From Last Year's Harvest
One of the things I was most excited about this year was planting garlic that came directly from my own garden.
Instead of ordering seed garlic, I simply set aside some healthy bulbs from last season's harvest.
If you've never grown garlic before, here's how it works: You don't plant the entire bulb. You break it apart into individual cloves, and each clove has the potential to grow into an entirely new bulb.
That's right. One clove becomes one bulb.
It's also why I probably didn't need to plant quite so many last year.
When selecting garlic to replant, there are a few things worth keeping in mind:
Choose your healthiest bulbs. Avoid garlic showing signs of mold, rot, damage, or disease.
Plant the larger cloves. Bigger cloves generally have a better chance of producing larger bulbs.
Keep the papery skins intact. They help protect the cloves once they're planted.
Separate the cloves when you're ready to plant. There's no reason to break apart your bulbs weeks in advance.
If you're planting garlic for the first time, buying certified disease-free seed garlic from a reputable grower is a good place to start. Once you have a healthy crop, you can save some for the following season.
Just remember that garlic can carry diseases from one season to the next, so saving your own planting stock means being selective about what goes back into the garden.
How to Plant Garlic in the Fall
One of the best things about garlic is how uncomplicated the actual planting process is.
You don't need fancy equipment, elaborate supports, or an entire garden bed. Trust me on that last one.
Here's the basic process.
1. Pick a sunny spot
Garlic grows best in an area that receives plenty of sunlight and has well-draining soil.
That's especially important here in western Oregon, where our winters can be wet.
Garlic doesn't appreciate sitting in soggy soil for months, so raised beds can be a great option if your garden has heavy clay or drainage problems.
If you're considering adding raised beds to your garden, I've also reviewed five garden beds and planters worth considering.
2. Prepare the soil
Garlic prefers loose, fertile soil with plenty of organic matter.
Before planting, loosen the soil and incorporate some finished compost if needed. You want the developing roots to have room to grow and the bulbs to expand.
3. Separate your garlic bulbs
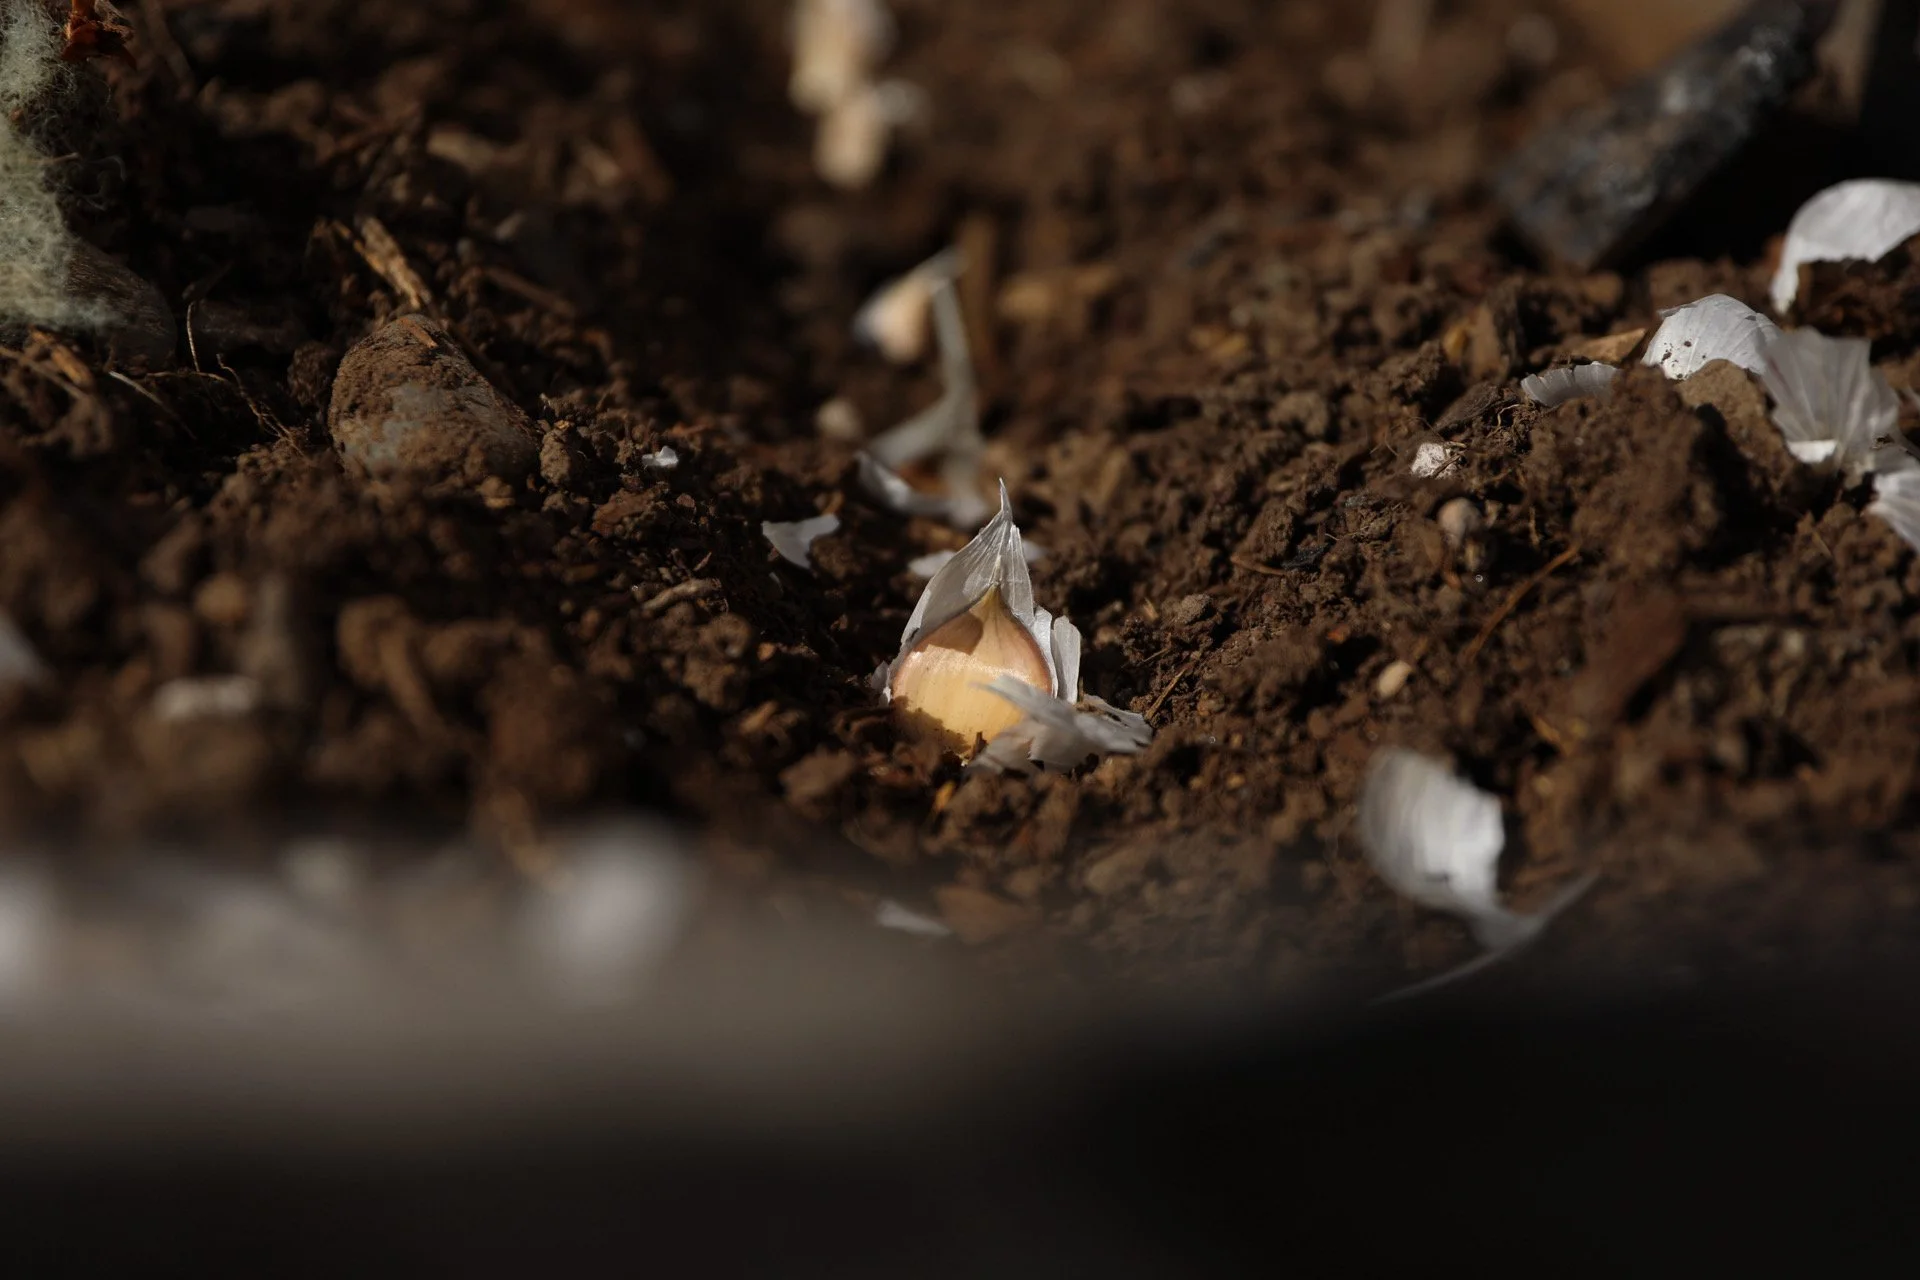
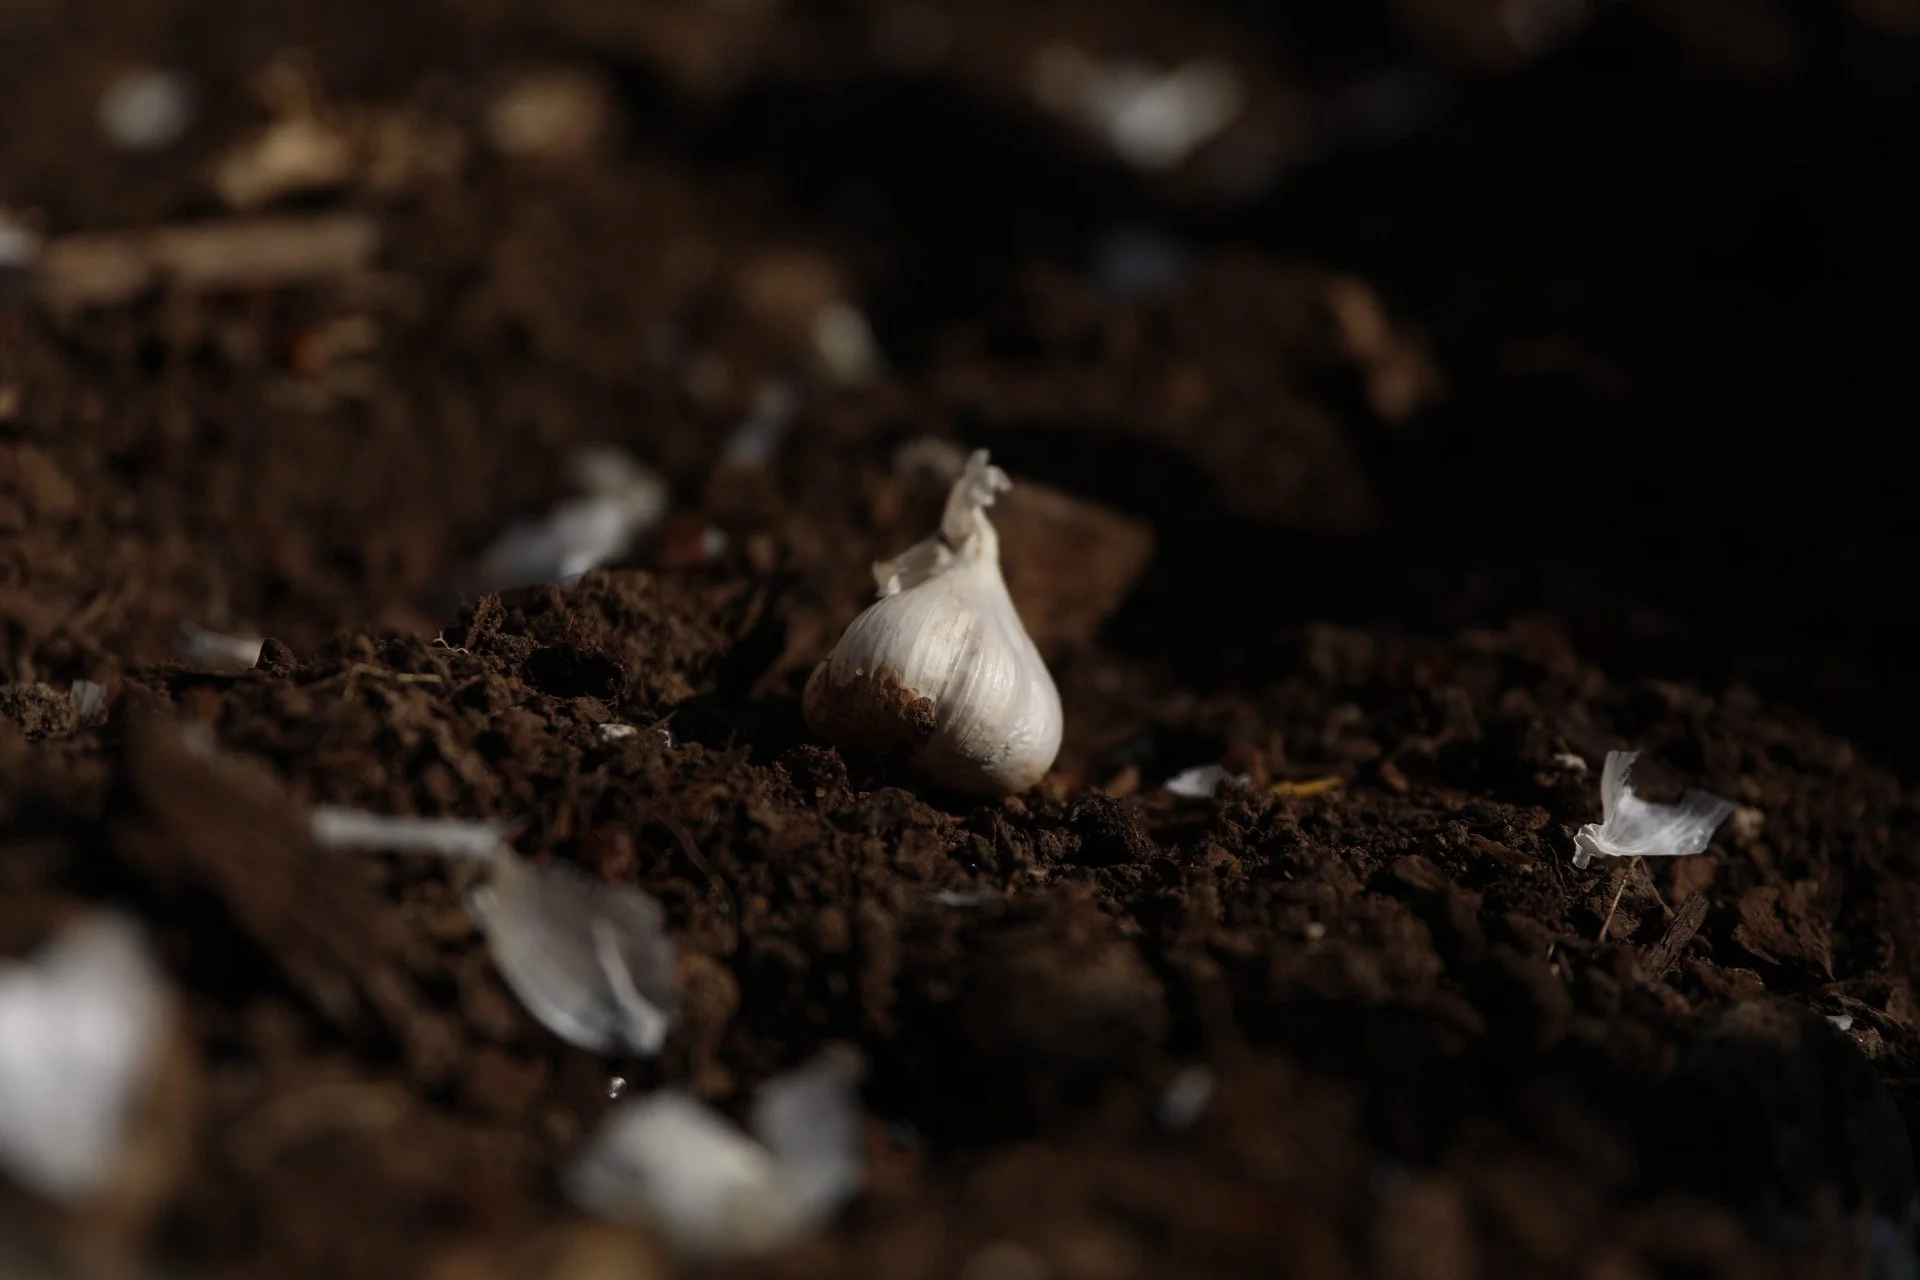
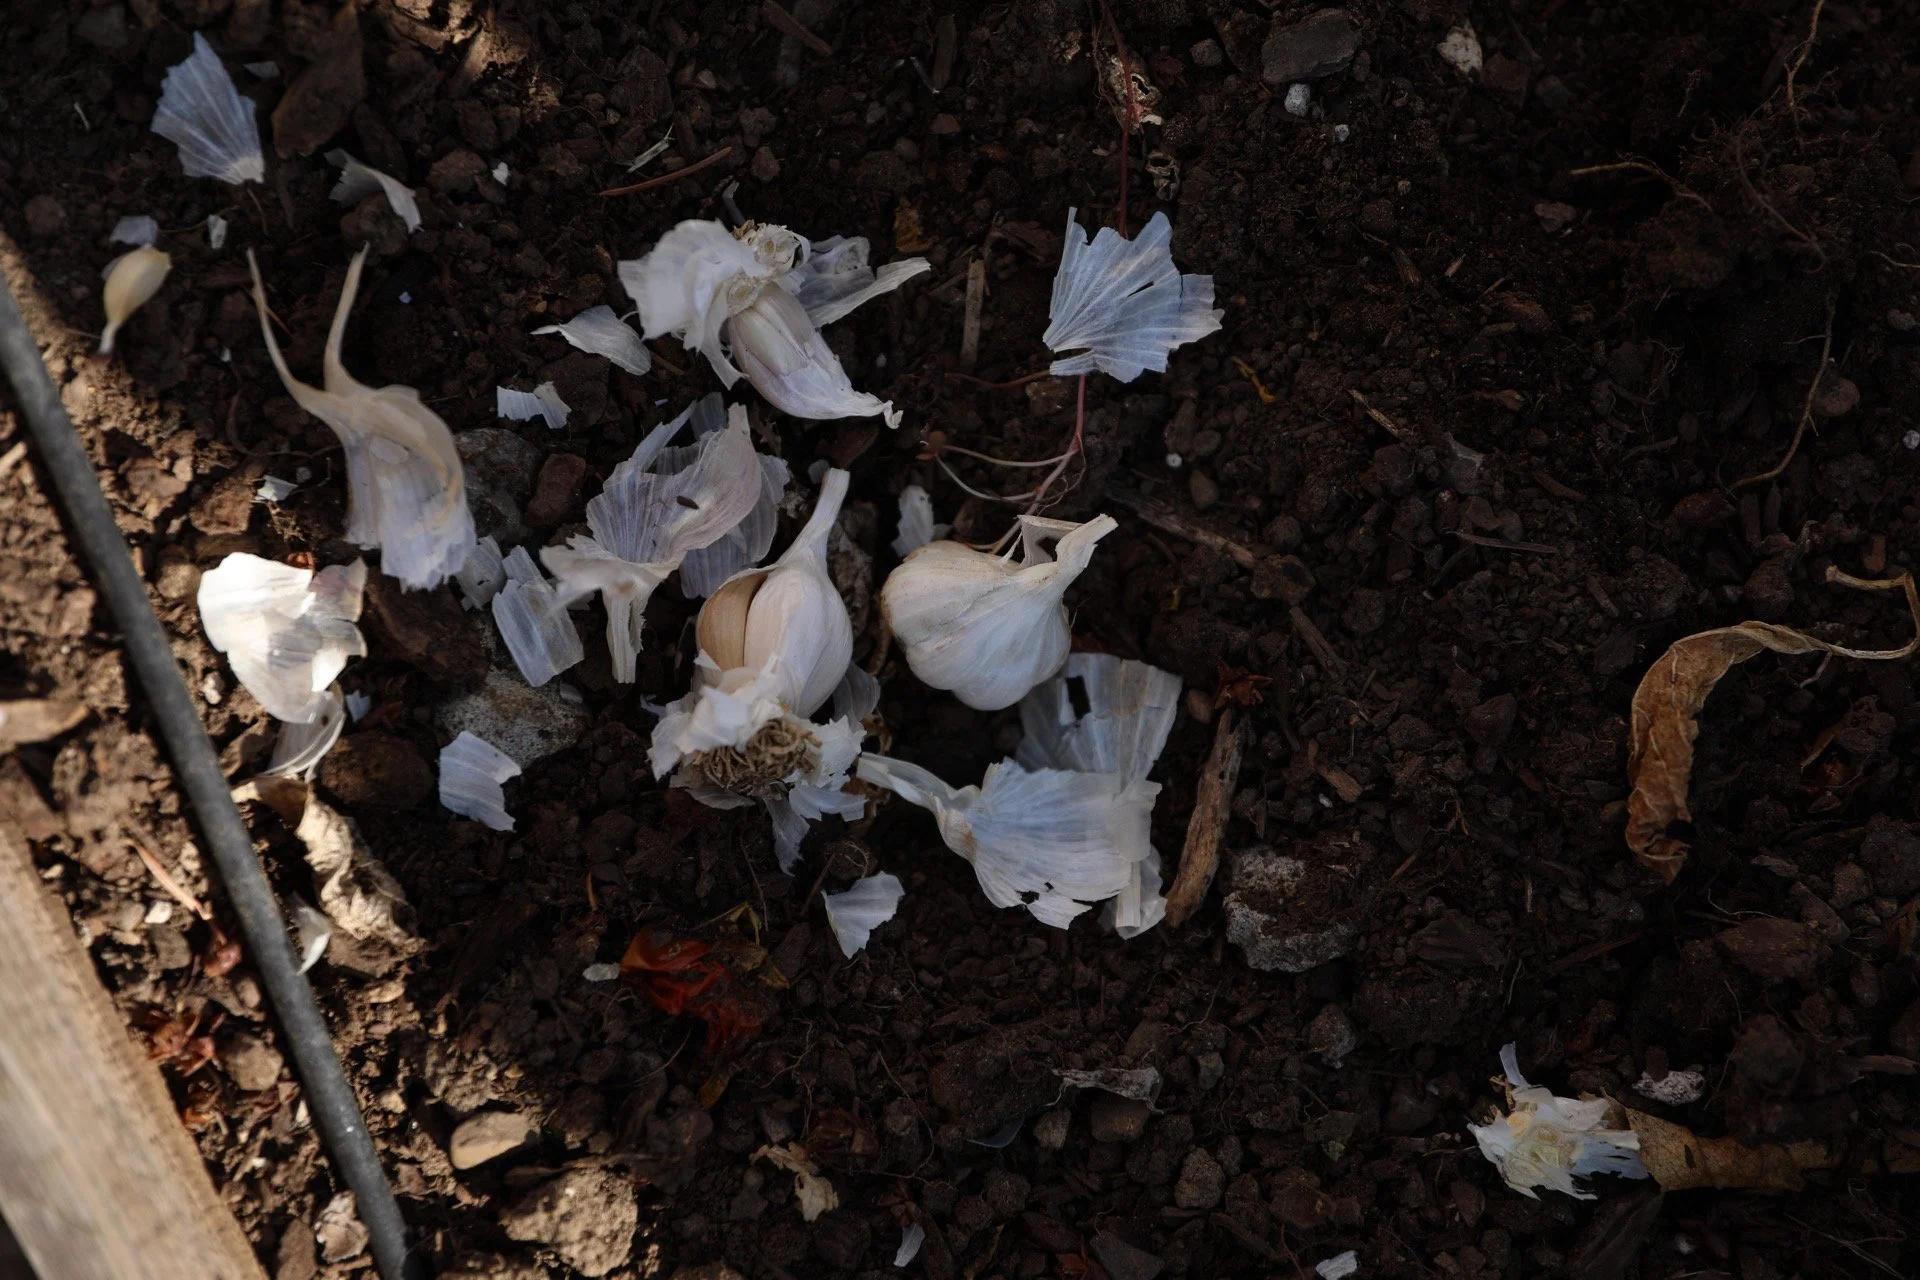
Carefully break your garlic bulbs into individual cloves.
There's no need to peel them. Leave the papery covering in place.
Set aside the largest, healthiest cloves for planting and keep the smaller ones for cooking.
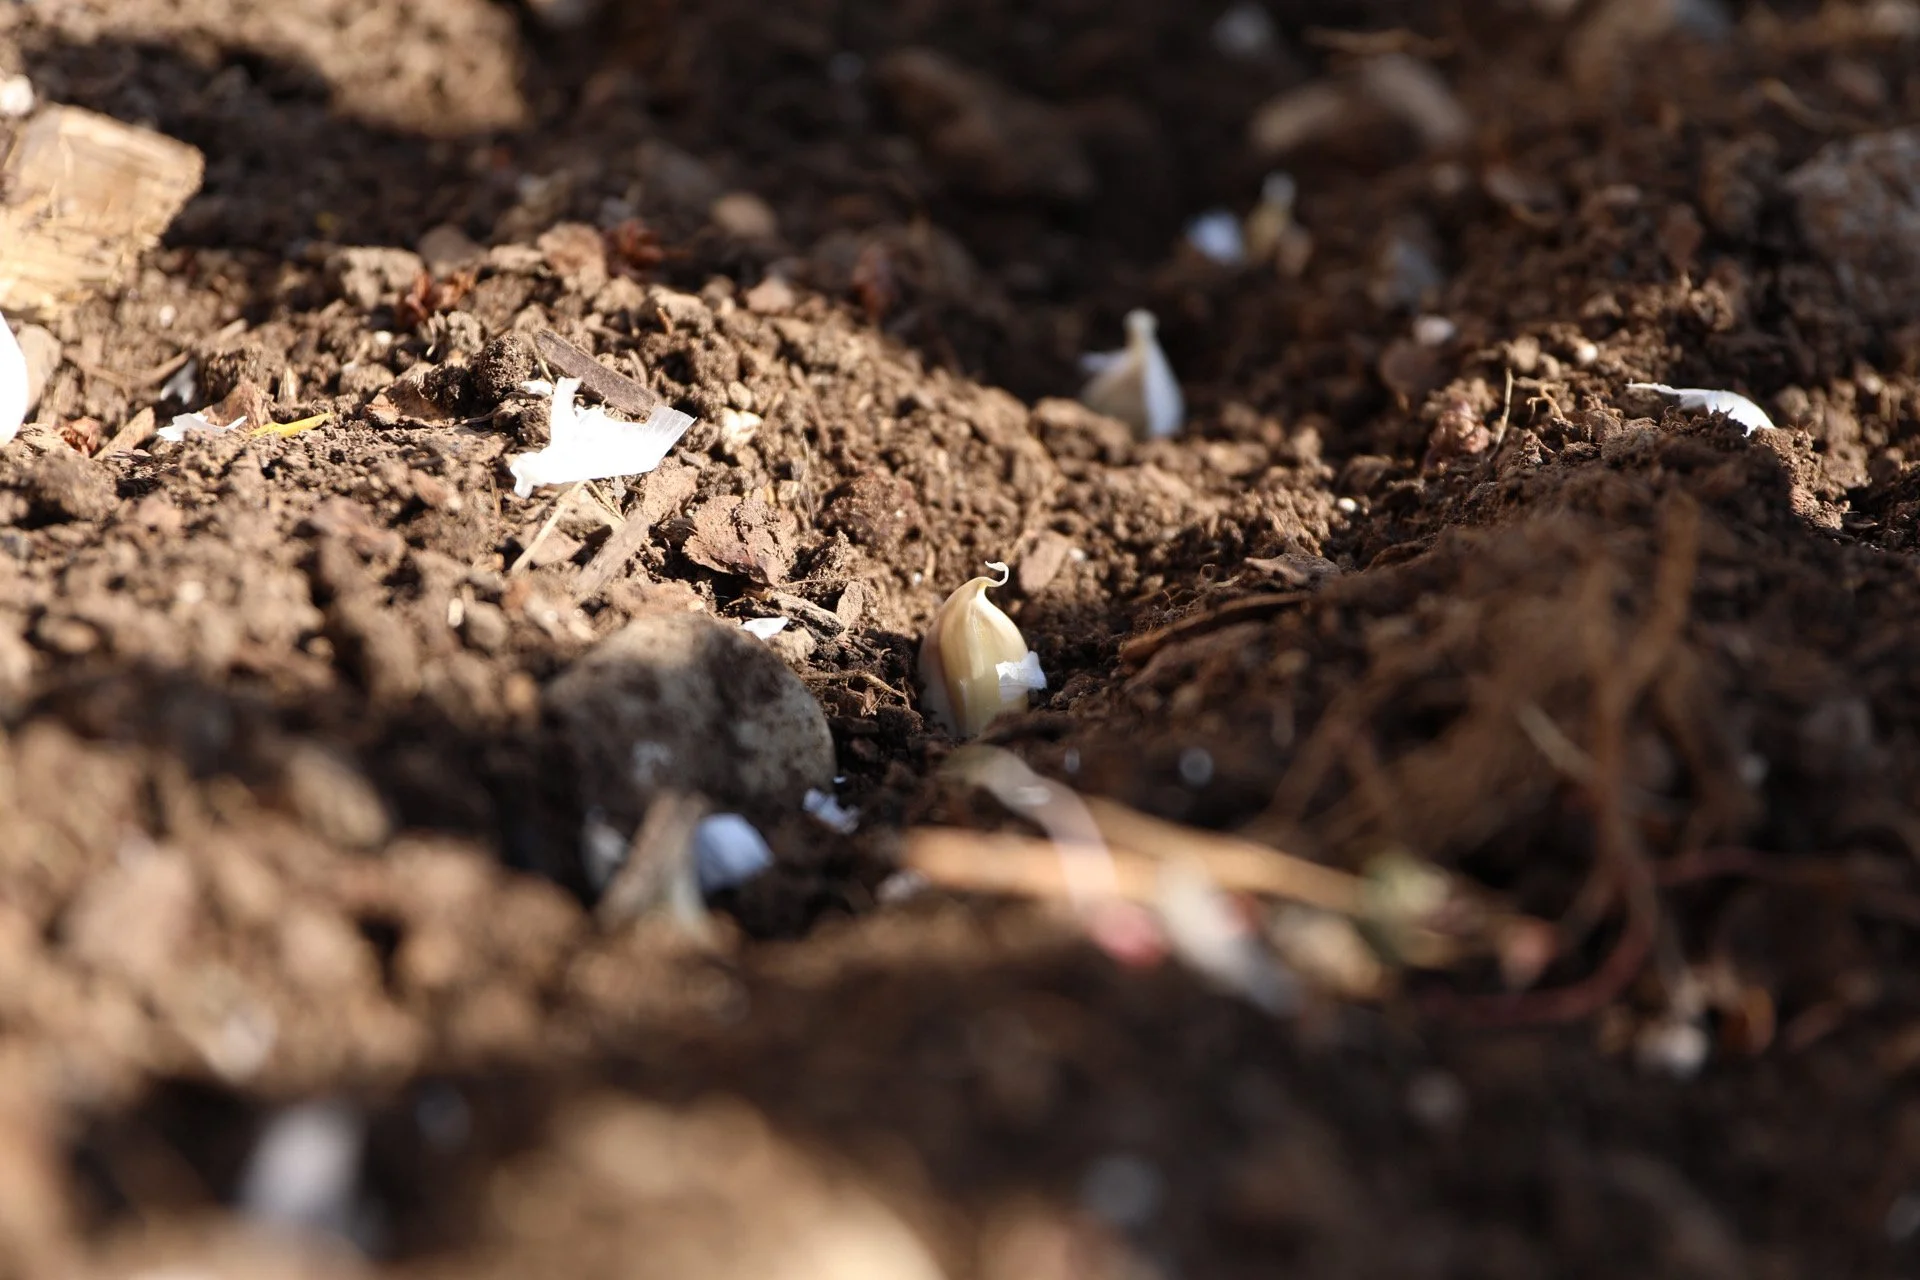
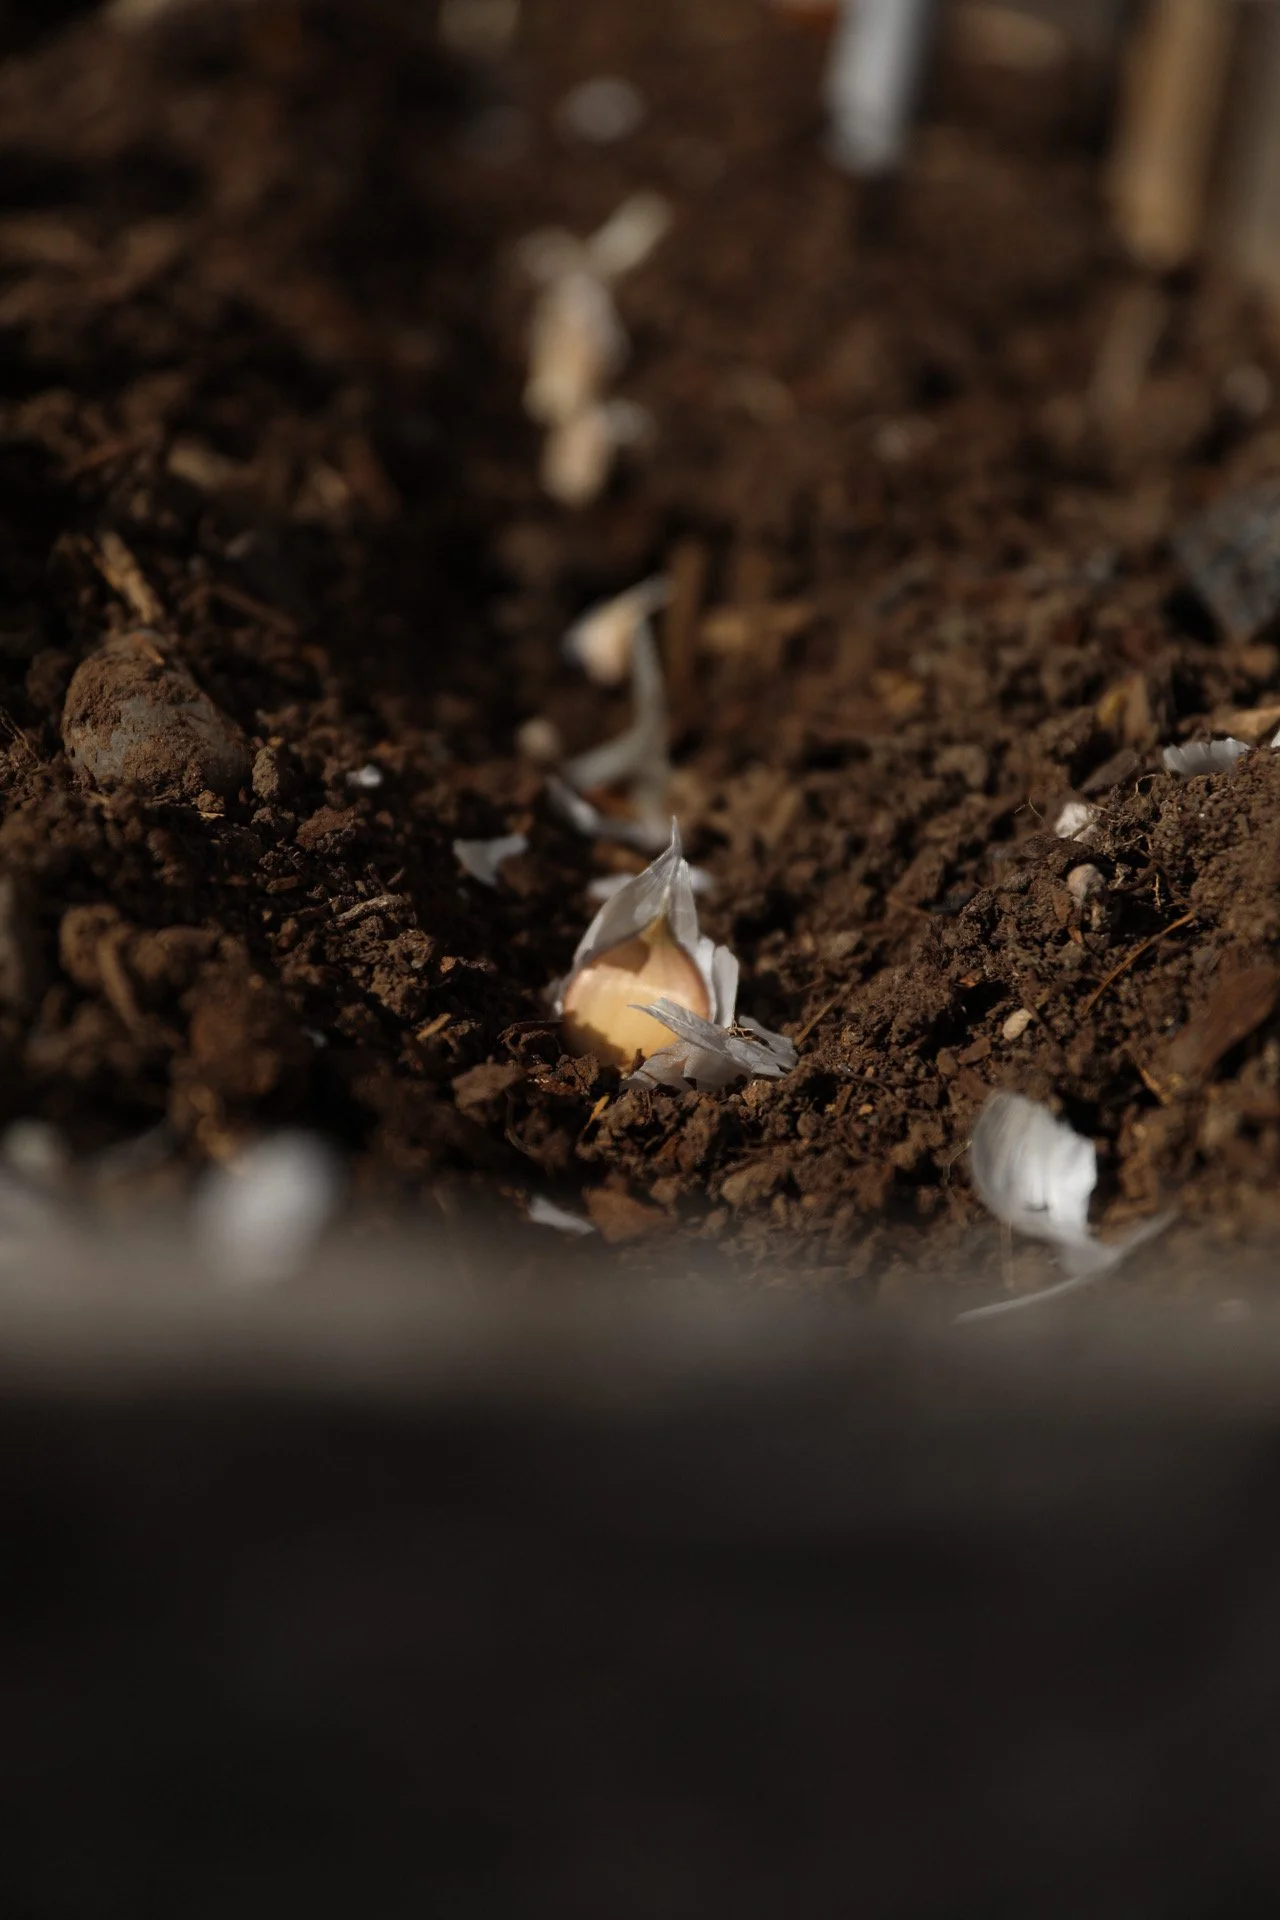
4. Plant each clove pointed side up
This part is important!
Each garlic clove has a pointed end and a flatter bottom where the roots develop.
The pointed end goes up.
A good starting point is to plant cloves about 2 inches deep and space them approximately 4 to 6 inches apart.
Give them a little room. Crowded garlic can mean smaller bulbs.
5. Cover and mulch
Cover the cloves with soil and add a light layer of mulch, such as clean straw or shredded leaves.
Mulch helps suppress weeds, moderate soil temperatures, and protect the bed from heavy winter weather.
And that's it.
Your garlic is planted.
Now comes the hard part: waiting.
What Happens to Garlic Over Winter?
One of the interesting things about fall-planted garlic is that it doesn't need much attention during winter.
Here in the Willamette Valley, our regular rainfall usually takes care of its moisture needs. The big concern is making sure the soil drains well and doesn't stay waterlogged.
You might see some green shoots emerge before winter really gets going. That's generally nothing to panic about.
The plants are working on their root systems, preparing for the stronger growth that comes in spring.
Once spring arrives, garlic appreciates a little extra nitrogen to support healthy leaf development.
It's also important to keep weeds under control. Garlic doesn't compete particularly well with other plants, so keeping the bed relatively clear helps.
As the weather becomes warmer and drier, watch soil moisture and water when needed. You'll gradually reduce watering as harvest approaches.
If you're planning your spring garden while waiting for your garlic to grow, check out my guide to spring gardening in the Pacific Northwest. Our unpredictable spring weather can make knowing when to plant a little tricky.
Don't Forget About Garlic Scapes
If you're growing hardneck garlic, there's a little bonus that comes before the actual garlic harvest.
Garlic scapes!
These are the curly flower stalks that hardneck varieties send up in late spring.
They're edible, with a mild garlic flavor, and they're wonderful in pesto, stir-fries, or sautéed with a little olive oil.
Removing the scapes also helps direct more of the plant's energy toward developing the bulb underground.
Softneck garlic generally doesn't produce these stalks, but it often stores longer after harvest.
Both types have their advantages.
When Will the Garlic Be Ready to Harvest?
This is where patience comes in.
Garlic planted in October generally won't be ready to harvest until the following summer, usually sometime in June or July here in the Willamette Valley.
One of the best indicators is the foliage.
When roughly half the leaves have started turning yellow or drying out, it's time to check whether the bulbs are mature.
Carefully loosen the soil with a garden fork rather than pulling aggressively on the stems. You don't want to damage those beautiful bulbs after waiting all those months.
After harvesting, garlic needs time to cure.
I recommend placing it somewhere shaded, dry, and well-ventilated for about two to three weeks. Once the outer skins are dry and papery, you can trim the roots and tops and move the bulbs into storage.
Curing is one of the most important steps for keeping your harvest fresh. It's a similar process to what I do with my onions, which I explain in my article on how to harvest, cure, and store homegrown onions.
And, of course, save a few of your best garlic bulbs for next fall.
That's how the cycle continues.
For additional information on growing, harvesting, and storing garlic, Oregon State University has a helpful garlic-growing guide for Oregon gardeners.
How Much Garlic Do You Actually Need to Plant?
Now we arrive at the lesson I learned the hard way.
You probably don't need an entire raised bed of garlic.
Unless you really, really love garlic.
When deciding how much to plant, think about how often you cook with it and how much you'd realistically use over the course of a year.
Remember, every clove you plant can produce an entire bulb. And each harvested bulb contains multiple cloves.
That means even a relatively small planting can produce a respectable harvest.
You can also stagger your garden space by planning what will grow in that area once the garlic comes out in early summer.
This year, I'm taking a more practical approach. I still want plenty of fresh, homegrown garlic, but I also want to leave room for the other vegetables I enjoy growing.
Gardening is a constant learning experience, and sometimes those lessons are as simple as realizing you don't need quite so much of one thing.
My Favorite Part About Growing Garlic
I think what I enjoy most about garlic is how it connects one gardening season to the next.
The garlic I just planted came from last year's harvest. Next summer, I'll dig up the new bulbs, use them in my kitchen, and hopefully save a few more for the following fall.
It's a simple, satisfying cycle.
And in a world where it's easy to feel like you need to buy something new for every project, there's something rewarding about growing next year's food from something you've already grown.
If you're thinking about planting garlic, give it a try. It's one of the easiest ways to keep your garden productive through the colder months.
Just take my advice: Start small.
You can always plant more next year.
And if you're looking for useful gardening tools, supplies, or other finds for your next project, check out my Garden & Gadgets Amazon storefront.
Happy planting!
Disclosure: As an Amazon Associate, I earn from qualifying purchases.